|
To use our lessons, you must have access to a
Microsoft SQL Server computer. If you don't have it installed already, you
can download a trial version from the Microsoft web
site. To do this,
access that site and do a search on "SQL Server" or "trial
software".
If you don't have access to Microsoft SQL Server or cannot
have it, you can use the second alternative: Microsoft SQL Server 2000 Desktop
Engine (MSDE). This is free software available from Microsoft. To get MSDE, you can connect to the Microsoft
web site, do a search on MSDE and follow the links to download it.
|
 Practical
Learning: Installing MSDE Practical
Learning: Installing MSDE
|
|
- First download the MSDE from the Microsoft web site. To get it, go to http://www.microsoft.com
and do a search on MSDE. A link will let you know how to download it

- After downloading MSDE, click Open

- Read the license agreement. If you don't agree with it, click Cancel. If
you agree with it, click I Agree and continue with the wizard

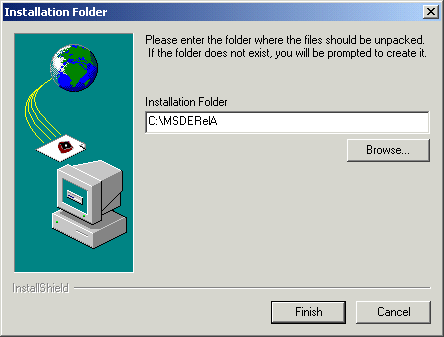
- Accept the suggested Installation Folder and Finish
- Click Yes to create the MSDERelA new folder

- When the files have been installed in the folder, click OK
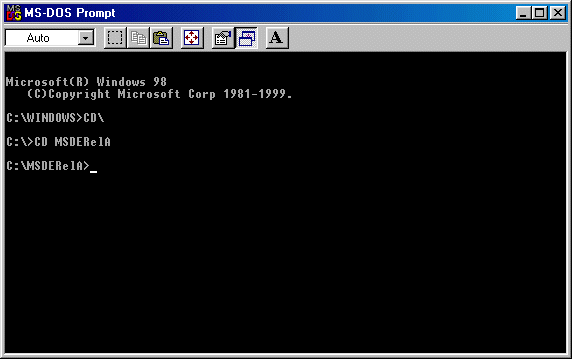
- Open the Command Prompt and switch to the folder where the MSDE files were
installed. By default, this would be C:\MSDERelA

- To install Microsoft SQL Server 2000 Desktop Engine, type setup SAPWD="DesiredPassword"
where DesiredPassword will be the password of the Administrator
account . Here is an example:
setup SAPWD="FOotbAlli$tic"
- Press Enter and the installation will start

When the installation is over, you may be asked to restart the computer

- If so, click Yes
|
|

