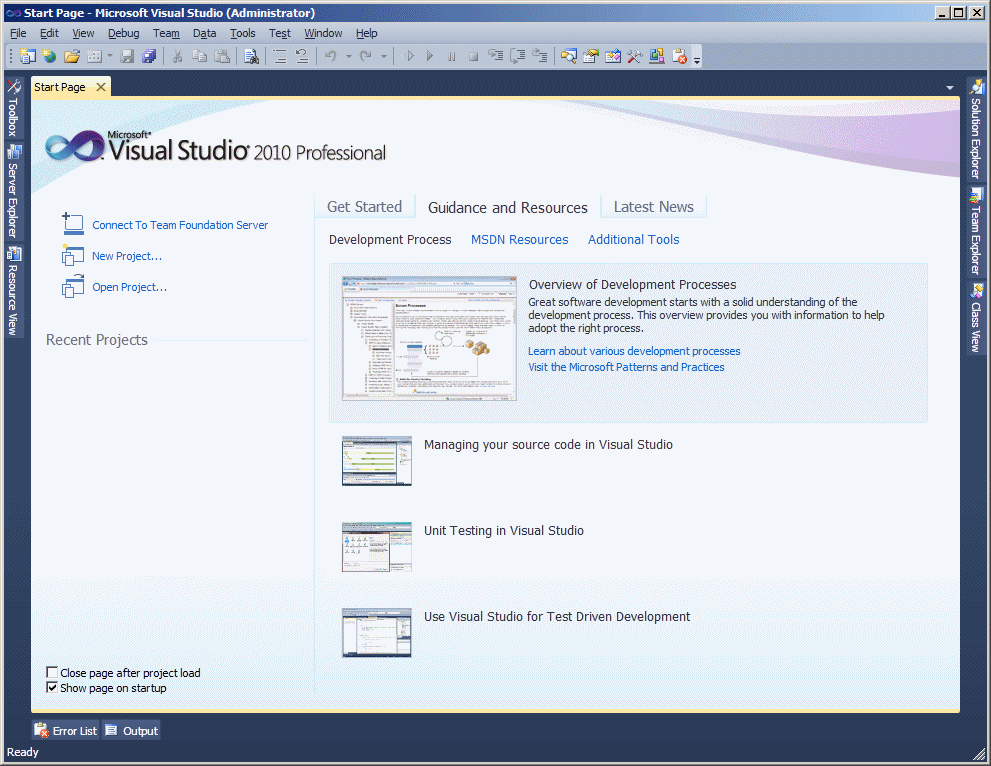
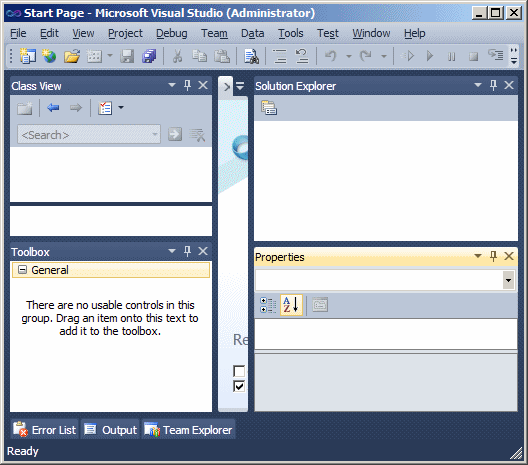
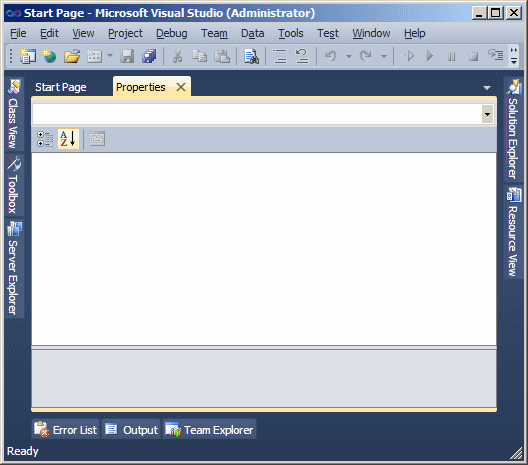
Microsoft Visual Studio is a programming environment used to create graphical user interface (GUI) applications for the Microsoft Windows family of operating systems. To use these lessons, you must have installed either Microsoft Visual C++ 2010 Express or Microsoft Visual Studio 2010. To get Microsoft Visual C++ 2010 Express, you can download it free from the Microsoft web site. After downloading it, you can install it. From now on, unless specified otherwise, we will use the expressions Microsoft Visual C++ 2010 Express, Microsoft Visual C++/CLI, or Microsoft Visual Studio 2010. After installing it, to use Microsoft Visual Studio, you must launch it. You can do this by clicking Start -> (All) Programs -> Microsoft Visual C++ 2010 Express Edition or Start -> (All) Programs -> Microsoft Visual Studio 2010 -> Microsoft Visual Studio 2010:
Microsoft Visual Studio presents itself as a series of tools used to assist you in creating computer programs. As a normal Windows application, it starts on top with a menu and some toolbars. It is also equipped with various windows, considered as tools, you will be using. Most of these tools are available or are functional only if you have primarily created or opened a project.
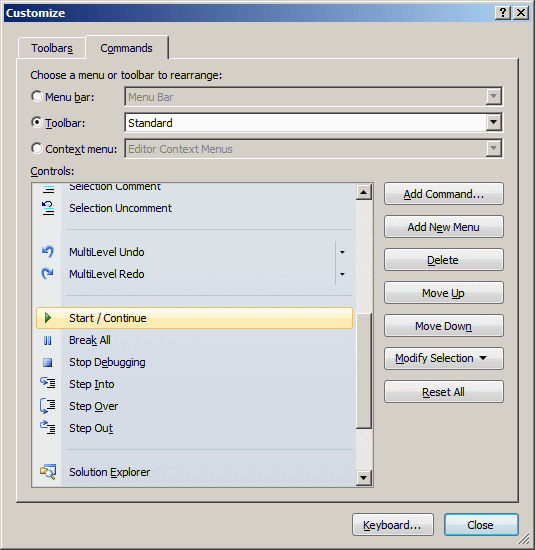
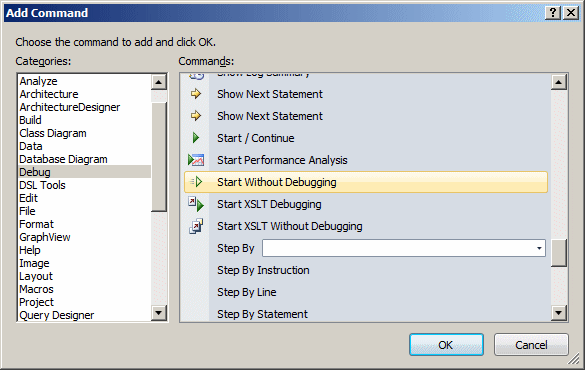
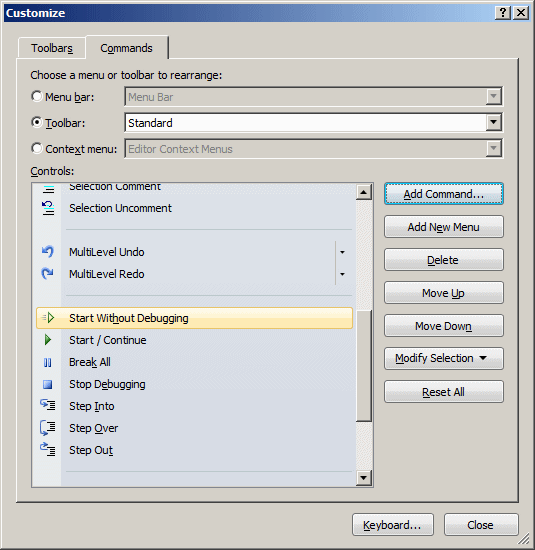
A toolbar is an object made of buttons. These buttons provide the same features you would get from the (main) menu, only faster. Under the main menu, the Integrated Development Environment (IDE) is equipped with the Standard toolbar. By default, when you start Microsoft Visual Studio, it is equipped with one toolbar: Standard. To get more toolbars, on the main menu, you can click View -> Toolbars and click the toolbar of your choice. You can also right-click any available toolbar or the main menu. This displays a list of all the available toolbars. Those that are currently opened have a check mark next to them. A toolbar is equipped with buttons. To know what a button is used for, you can position the mouse on top of it. A tool tip will come up and display for a few seconds. In our lessons, each button on any toolbar will be named after its tool tip. This means that, if a tool tip displays "New", its button will be called the New button. Microsoft Visual Studio's menus and toolbars can be customized. You can customize a menu category on the main menu by adding a menu item to it. You can customize a toolbar by adding a button to it. To start, right-click anything on the main menu or on any toolbar and click Customize... For example, imagine you want to add an item named Start Without Debugging so that it would let you easily execute your projects and you want to add its button to the Standard toolbar, and imagine you want to position it on the left side of the Start button:
To proceed:
In the same way, you can customize any toolbar and any menu category.
The Start Page is the first wide area that appears when Microsoft Visual Studio comes up. The left section displays a list of recently used projects under Recent Projects. At any time, to display the Start Page:
If you have just installed Microsoft Visual Studio or have not previously opened a project, the Recent Projects section would be empty. Once you start creating and using projects, they display in the Recent Projects section by their names.
When you start or open a project, Microsoft Visual
Studio makes some windows available. These are the most regularly used
windows. If you think that one of them is not regularly used in your types
of assignments, you can remove it from the screen. To hide a window, you
can click its Close button
All of the windows you can use are listed in the View menu. Therefore, if a window is not displaying, you can click View on the main menu and click a window of your choice.
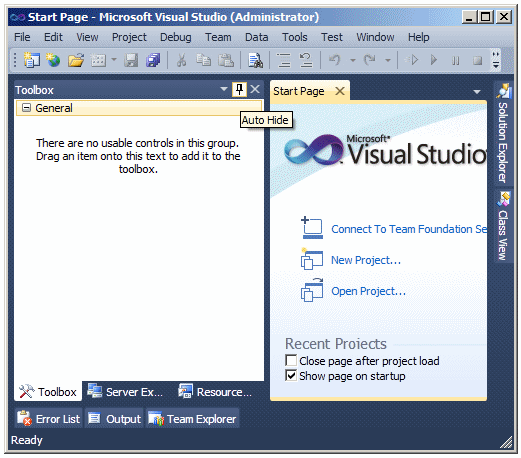
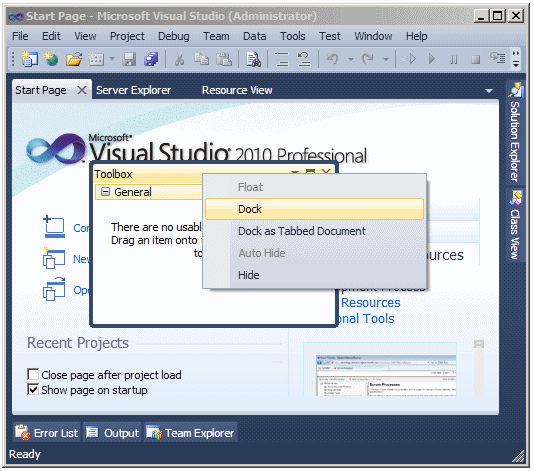
When working on a project, you will use a set of windows that each accomplishes a specific purpose. Some windows are represented with an icon but hide the rest of the body. To display such a window, you can position the mouse on it. This would expand the window: 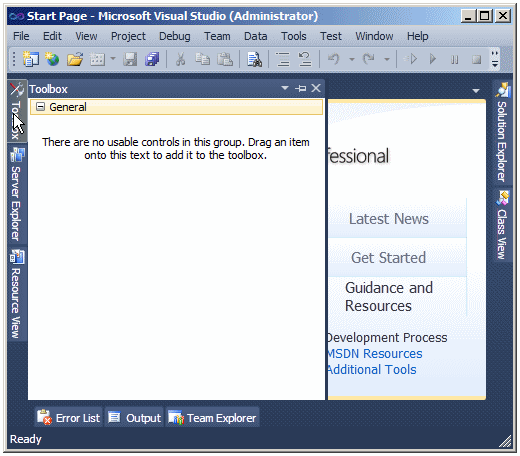 If you expand a window, it would display a title bar with three buttons. One of the button is called Auto Hide:  If you expand a window but find out you don't need it any more, you can just move the mouse away. The window would return to its previous state. Based on this functionality, if you are working with a window and move the mouse away, it would retract. If you need it again, you would have to reopen it using the same technique. If you are going to work with a certain window for a while, you can keep it open even if you move the mouse away. To do this, you can click the Auto Hide button. If clicked, the Auto Hide button changes from pointing left to pointing down:
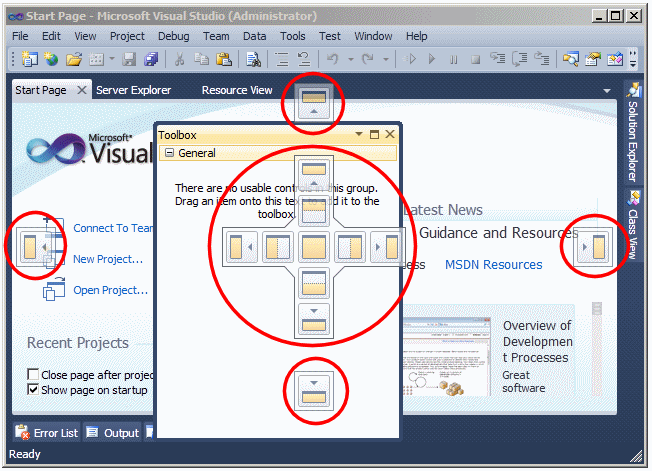
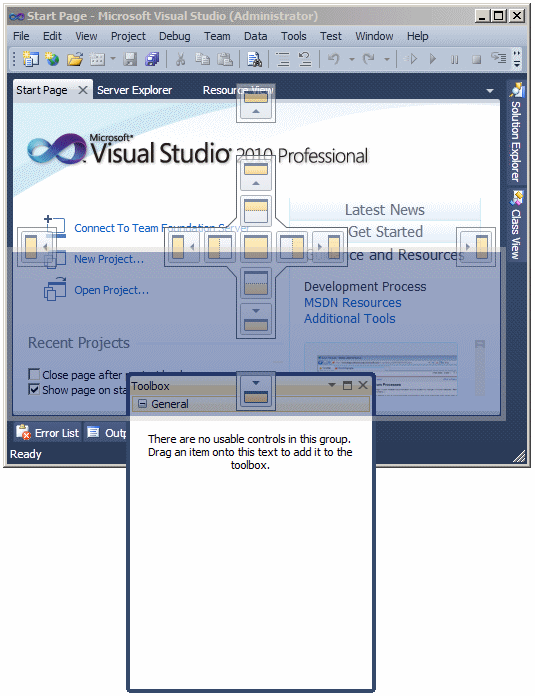
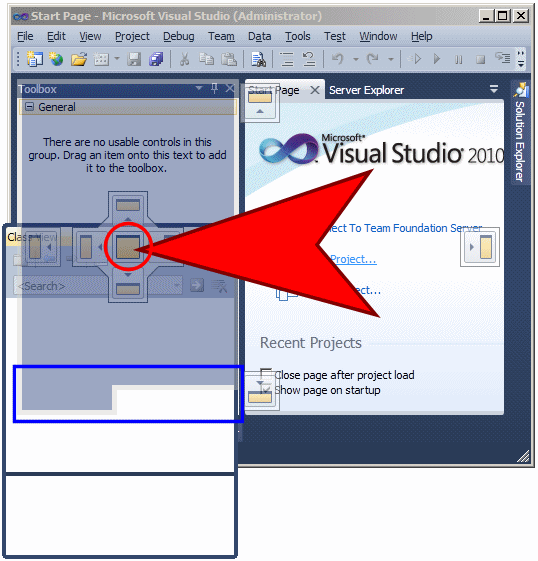
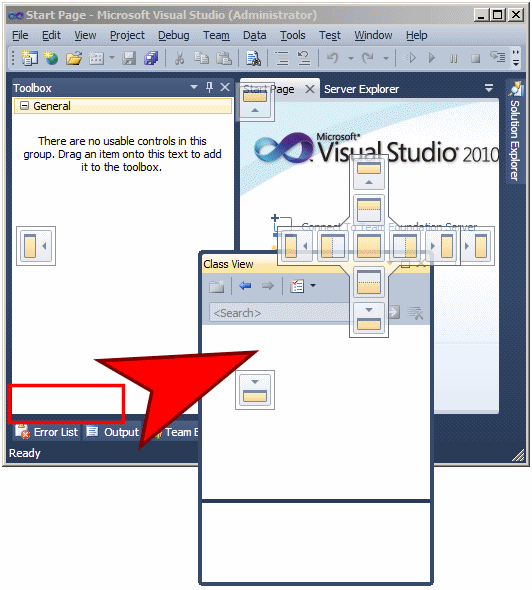
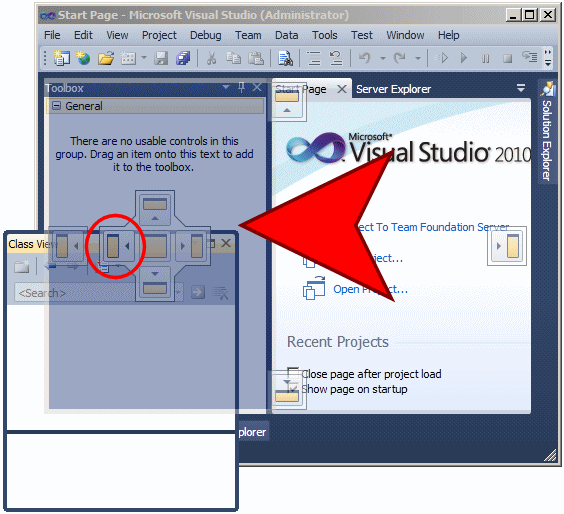
By default, Microsoft Visual Studio installs some windows to the left and some others to the right of the screen. You can change this arrangement if you want. To do this, expand a window, then click its title bar and start dragging. While you are dragging, to assist you with a new position, the studio displays five boxes:
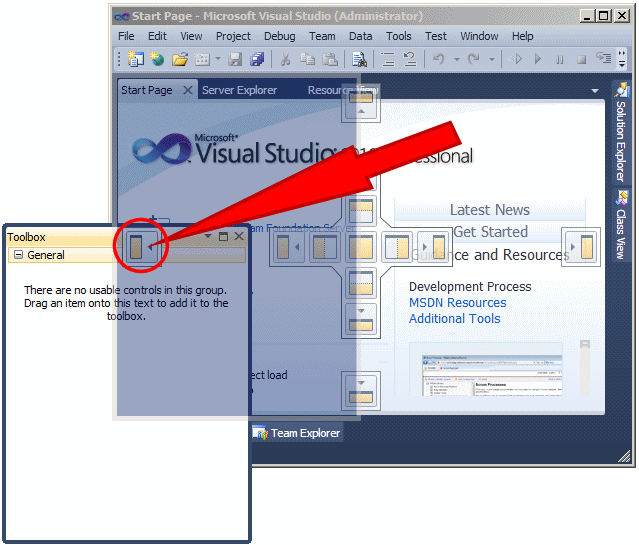
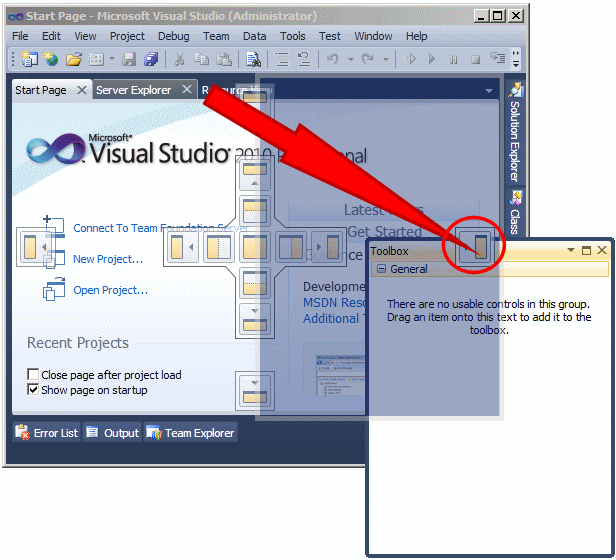
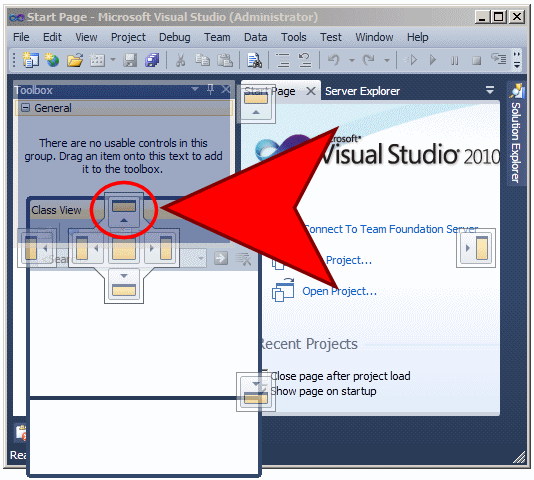
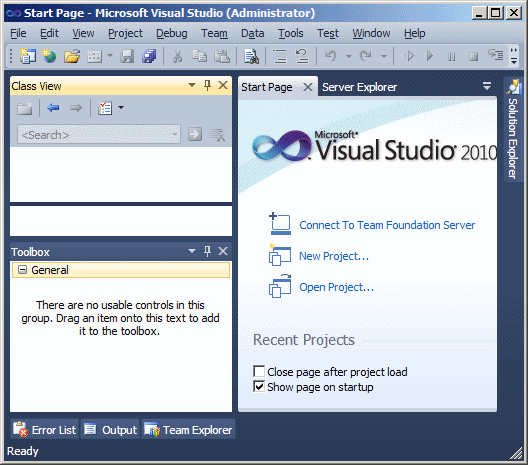
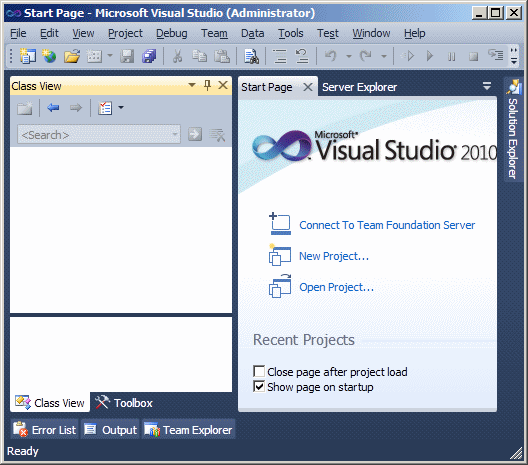
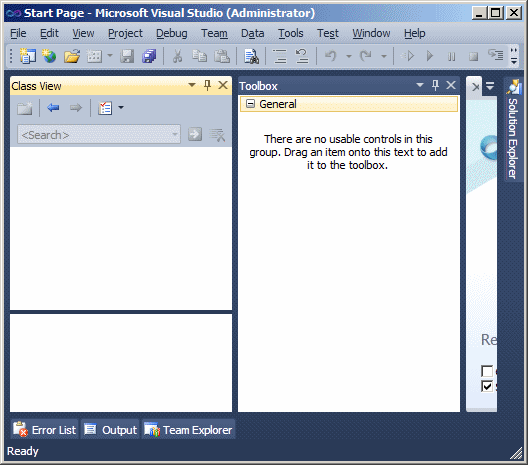
To position a window on one side of the screen, drag its title bar to the box that represents that side. When you get to a side, a transparent blue rectangle would be drawn to indicate the possible position. Drop the window to either the most right guiding box to position it to the right of the screen, or to the most left guiding box to position it to the left of the screen. Here is an example:
or
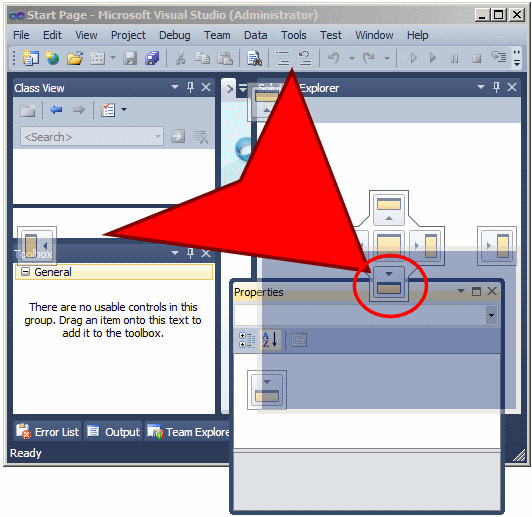
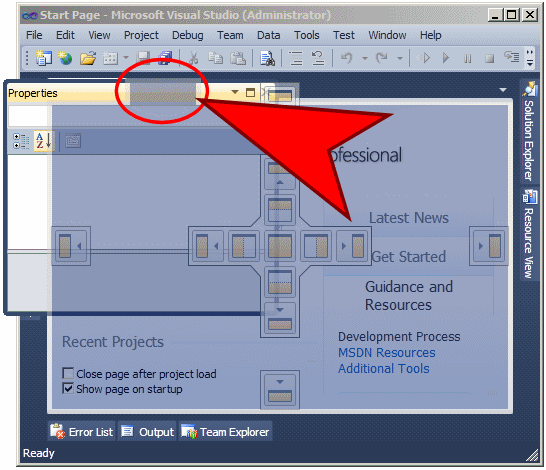
To position a window to the top or the bottom side of the studio, drag its title bar to either the most top guiding box to position it to the top of the studio or to the most bottom guiding box to position it to the bottom of the studio. Here is an example:
|
|
|||||||||||||||||||||||||||||||
|
|
||||||||||||||||||||||||||||||||

