
The Town Convenience Store

|
The Town Convenience Store |
Introduction
I was watching "Housesitter" the other day, a wonderful movie with a funny story. A great part of the movie is set in a small town. A certain detail got my attention for a database used by a convenience store. The fact is that the movie is an Americano-American story but the detail that interested me was universal because it applies also to an African village with exact certainty.
In some villages in Africa, which in American is called a town, there is a convenience store where people buy food items and other things that can be easily used. The items include kitchen utilities (paper towels, hand soap, disposable utensils, garbage bags, ice bags, etc), house items (toilet paper, cleaners, dog food, etc), cigarette, etc. Sometimes a person needs something but doesn't have money. He can simply come to the store, gets what he wants, and let the store owner know. The store owner can just shout in a soft and gentle voice, "Should I put it in your account?". As in the Housesitter movie, the customer would just respond, "Oh, Alright", and leave. Because in this village or town everybody knows everybody and certainly the store owner knows everybody by name, almost everybody, at least as reliable as a person can be, has an account. The contrasting aspect of this scenario is that it happens exactly like that in a village in Africa or another country, as well as in a town in America.
To keep track of what everyone owes, the store owner has a way to register the items that the customers take (or borrow, or request, however you want to qualify it). When a customer is ready, she can go to the store any time and pay. This is not like a credit card where you pay a minimum at the end of the month. There are no fees. Only the balance applies.
Payments are made in two main ways. Imagine a customer has taken items for $54.75. One day, the customer comes to the store and pays $22.68. The store owner applies this amount, subtracts it from $54.75. Now the customer owes $54.75 - $22.68 = $32.07. This is considered as the customer's balance. Although the customer still owes money to the store, he can still take other items. The customer may also decide to pay the full amount, which would bring his balance to $0.00.
As nature wants humans to be, there are disputes. For example, a customer may keep taking items, which would make her balance grow so much that at one time she may be overwhelmed. In this case the store owner may tell the customer that she can't take any more items until either she has paid a good part of her balance or she has completely paid what she owes. In the same way, even if the store owner knows a person, he may decide that, for any reason at his discretion, that particular person would not be allowed to "borrow" anything.
We are going to create a database that can help a store owner keep track of the items that the customers take and their balance.
Practical Learning: Creating the Application
| Column Name | Data Type | Other Properties |
| StoreItemID | AutoNumber | Caption: Item ID Primary Key |
| ItemTagNbr | Text | Caption: Item # |
| ItemName | Text | Caption: Item Name |
| UnitPrice | Currency | Caption: Unit Price |
| Item ID | Item # | Item Name | Unit Price |
|---|---|---|---|
| 1 | 87485 | Kandy Paper Towel - 2Pack | $2.15 |
| 2 | 24058 | Soda Bottle - 2L | $1.25 |
| 3 | 68456 | Video K7 - 4Pack | $7.88 |
| 4 | 84674 | Solista Condoms - 12Pack | $10.95 |
| 5 | 58475 | Molly Toilette Paper - 4Pack | $2.55 |
| 6 | 90752 | CD Cleaner Kit | $12.95 |
| 7 | 48538 | Gang Magazine | $3.95 |
| 8 | 81484 | Washington Post Newspaper | $0.28 |
| 9 | 69002 | Soda 12Pack Can | $4.50 |
| 10 | 64857 | Universal Remote Control | $48.25 |
| 11 | 75465 | Soda 2-Litter | $1.45 |
| 12 | 18554 | 150-Sheet Notebook | $2.15 |
| 13 | 28365 | Rubber Band Transparent Tape | $2.65 |
| 14 | 74556 | Multicolor Pencils | $1.75 |
| 15 | 60635 | Ball Point Pens | $1.85 |
| 16 | 85476 | Turtle Mini Calculator | $12.55 |
| 17 | 85576 | Bag O' Ice | $2.95 |
| 18 | 46254 | 10-Pack Hot Dog | $2.75 |
| 19 | 26855 | Sneakers Chocolate Bar | $0.55 |
| 20 | 47795 | Jumbo Sneakers Bar | $0.95 |
| Column Name | Data Type | Other Properties |
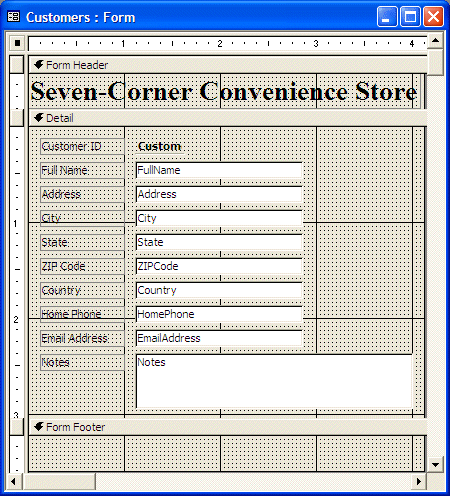
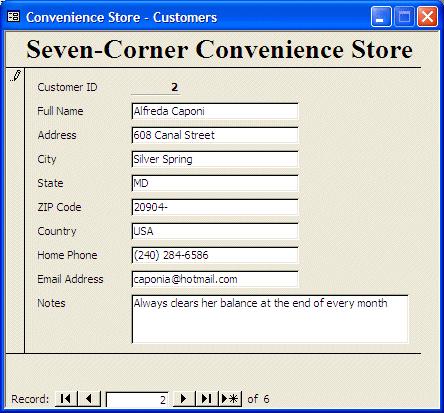
| CustomerID | AutoNumber | Caption: Customer ID Primary Key |
| FullName | Text | Caption: Full Name |
| Address | Text | |
| City | Text | Default Value: Silver Spring |
| State | Text | Default Value: MD |
| ZIPCode | Text | Caption: ZIP Code Default Value: 20904 |
| Country | Text | Default Value: USA |
| HomePhone | Text | Caption: Home Phone |
| EmailAddress | Text | Caption: Email Address |
| Notes | Memo |
| Column Name | Data Type | Other Properties |
| CustomerOrderID | AutoNumber | Caption: Customer Order ID Primary Key |
| OrderDate | Date/Time | Caption: Order Date Format: Short Date Input Mask: 99/99/00 |
| CustomerID | Number | Field Size: Long Integer Caption: Customer Default Value: Delete 0 |
| Column Name | Data Type | Other Properties |
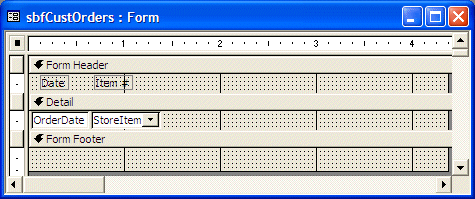
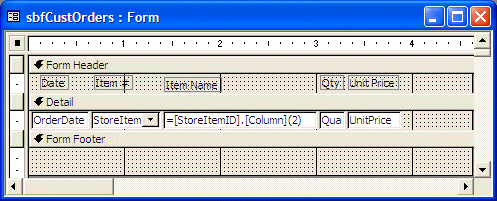
| CustomerOrderID | AutoNumber | Primary Key |
| OrderDate | Date/Time | Format: Short Date Input Mask: 99/99/00 |
| CustomerID | Number | Field Size: Long Integer |
| StoreItemID | Number | Column Heads: Yes Columns Widths: 0";0.55";2";0.85" List Width: 3.45" |
| Quantity | Number |
Field Size: Integer Default Value: 1 |
| UnitPrice | Currency | Caption: Unit Price |
| Column Name | Data Type | Other Properties |
| PaymentID | AutoNumber | Caption: Payment ID Primary Key |
| CustomerID | Number | Field Size: Long Integer Caption: Customer |
| PaymentDate | Date/Time | Caption: Pmt Date Format: Short Date Input Mask: 99/99/00 |
| PaymentAmount | Currency | Caption: Pmt Amt |
Private Sub StoreItemID_AfterUpdate()
    Me![UnitPrice] = Me![StoreItemID].Column(3)
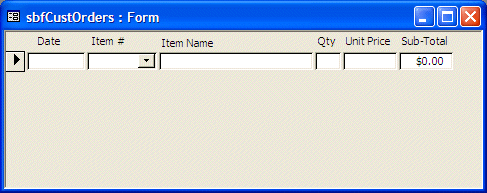
End Sub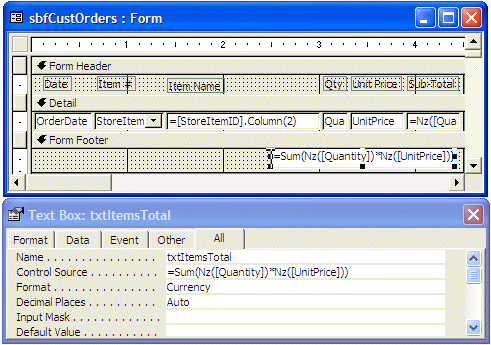
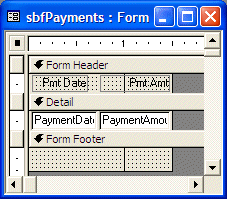
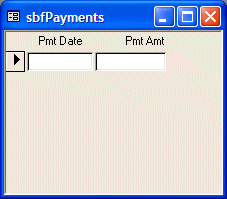
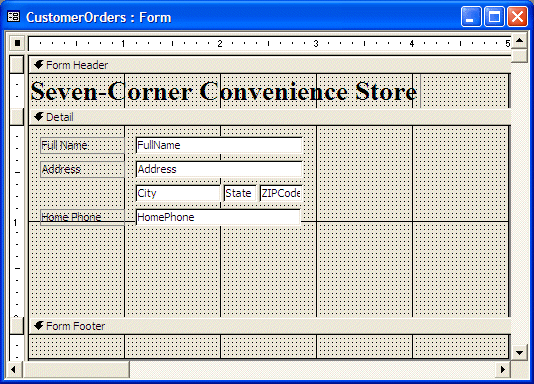
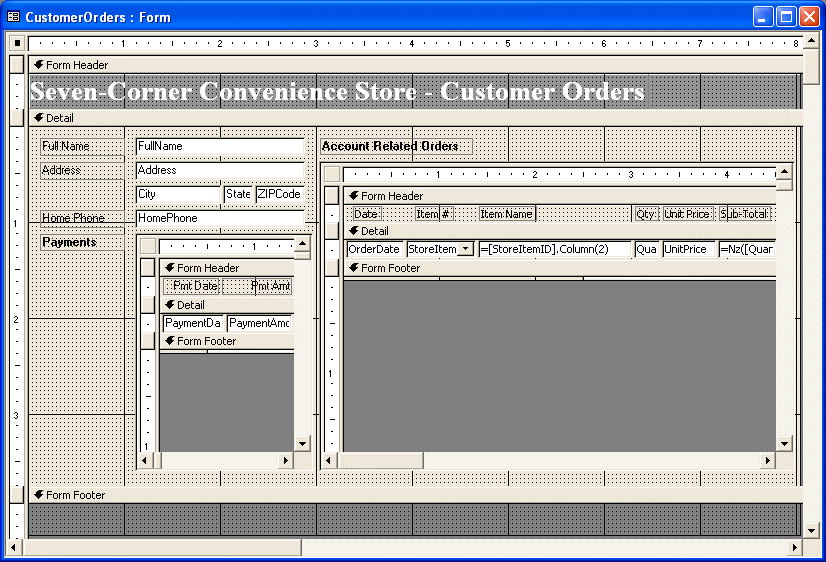
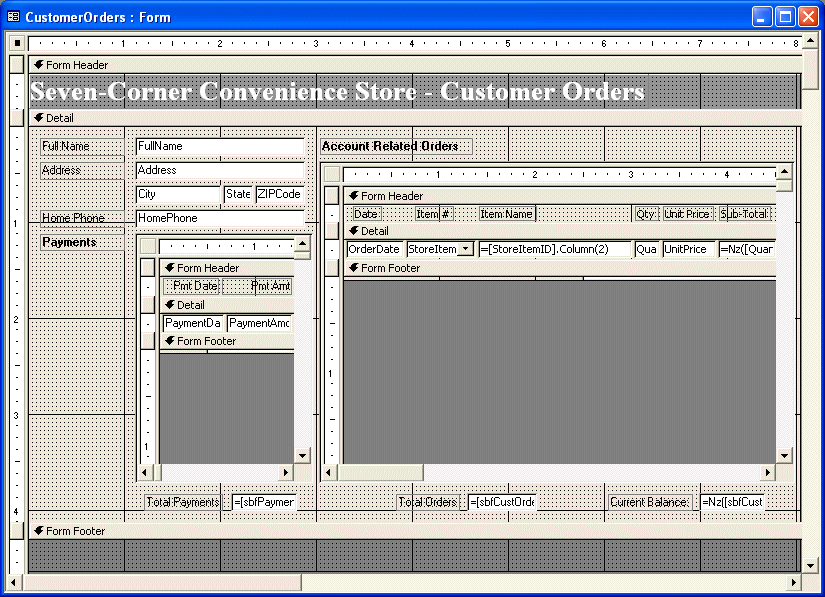 |
| TextBox Name: txtTotalPayments Control Source: =Nz([sbfPayments].[Form]![txtPayments]) Format: Currency |
| TextBox Name: txtTotalOrders Control Source: =Nz([sbfCustOrders].[Form]![txtItemsTotal]) Format: Currency |
| TextBox Name: txtCurrentBalance Control Source: =Nz([sbfCustOrders].[Form]![txtItemsTotal]) - Nz([sbfPayments].[Form]![txtPayments]) Format: Currency |
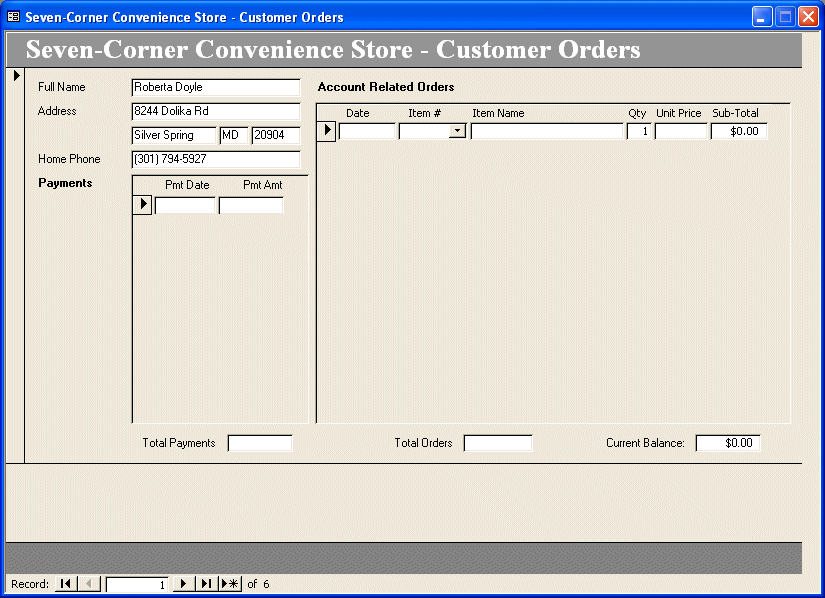


|
|
||
| Home | Copyright © 2004-2019, FunctionX | |
|
|
||