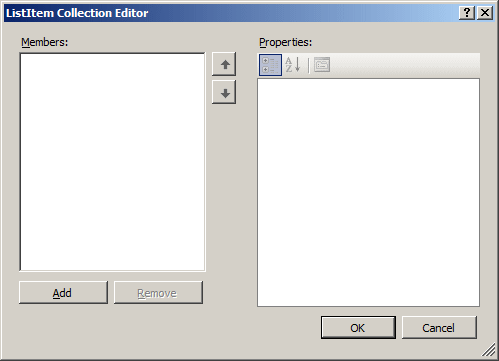
To visually create a drop down list, drag a DropDownList object from the Standard section of the Toolbox and drop it on the form. Then:
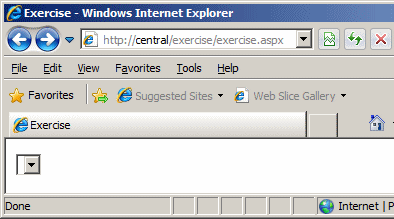
To manually add a drop down list to a form, create an <asp:DropDownList> tag. Here is an example: <%@ Page Language="C#" %> <html> <head> <title>Exercise</title> </head> <body> <form id="frmRealEstate" method="post" runat="server"> <asp:DropDownList id="TypesOfHouses" runat="server"></asp:DropDownList> </form> </body> </html> This would produce:
A drop down list contains a list of one or more text items. To add an item to the list:
<%@ Page Language="C#" %>
<html>
<head>

<title>Exercise</title>
</head>
<body>

<form id="frmRealEstate" method="post" runat="server">
  <asp:DropDownList id="TypesOfHouses" runat="server">
    <asp:ListItem></asp:ListItem>
  </asp:DropDownList>
</form>

</body>
</html>
To specify the text of an item, between its beginning and its ending tags, type the desired string. Here are examples: <%@ Page Language="C#" %>
<html>
<head>
<title>Exercise</title>
</head>
<body>
<form id="frmRealEstate" method="post" runat="server">
<asp:DropDownList id="TypesOfHouses" runat="server">
<asp:ListItem>Condominium</asp:ListItem>
<asp:ListItem>Townhouse</asp:ListItem>
<asp:ListItem>Single Family</asp:ListItem>
<asp:ListItem>Trailer</asp:ListItem>
</asp:DropDownList>
</form>
</body>
</html>
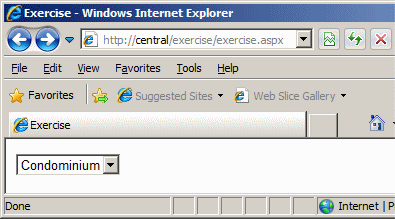
This would produce:
To use a drop down list, a user can click either the text box side or the down pointing arrow to display the list. Then, the user can click an item from the list. When this happens, the control must identify the index of the item that was clicked. To find out what that index is, type the ID of the control, followed by a period, followed by SelectedIndex. When a user has made a new selection on the list, the control fires a SelectedIndexChanged event. To visually implement this event, click it and, in the Properties window, double-click the SelectedIndexChanged field. To manually implement the SelectedIndexChanged event, create a procedure that takes an object and an EventArgs arguments. Then assign this method to the OnSelectedIndexChanged attribute of the <asp:DropDownList> tag. This can be done as follows: <%@ Page Language="C#" %>
<html>
<head>
<script runat="server">
private void ItemWasSelected(object sender, EventArgs e)
{
}
</script>
<title>Exercise</title>
</head>
<body>
<form id="frmRealEstate" method="post" runat="server">
<asp:DropDownList id="TypesOfHouses"
OnSelectedIndexChanged="ItemWasSelected"
runat="server">
<asp:ListItem>Condominium</asp:ListItem>
<asp:ListItem>Townhouse</asp:ListItem>
<asp:ListItem>Single Family</asp:ListItem>
<asp:ListItem>Trailer</asp:ListItem>
</asp:DropDownList>
</form>
</body>
</html>
You can then use the event to find out either the index of the item the user selected or the item the user selected. Here is an example: <%@ Page Language="C#" %>
<html>
<head>
<script runat="server">
public enum HouseType
{
Unknown,
SingleFamily,
TownHouse,
Condominium
}
private void IndexHouseSelected(object sender, EventArgs e)
{
lblSelection.Text = TypesOfHouses.Text; // .SelectedIndex.ToString();
}
</script>
<title>Altair Real Estate</title>
</head>
<body>
<h3>Altair Real Estate</h3>
<%
HouseType type = HouseType.Unknown;
int choice = 0;
%>
<form id="frmRealEstate" runat="server">
<table>
<tr>
<td>What type of property do you want to purchase?</td>
<td>
<asp:DropDownList id="TypesOfHouses"
AutoPostBack="True"
OnSelectedIndexChanged="IndexHouseSelected" runat="server">
<asp:ListItem>Condominium</asp:ListItem>
<asp:ListItem>Townhouse</asp:ListItem>
<asp:ListItem>Single Family</asp:ListItem>
</asp:DropDownList>
</td>
<tr>
</tr>
<td colspan="2">
<asp:Label id="lblSelection"
Text="Type of property"
runat="server"></asp:Label></td>
</tr>
</form>
</body>
</html>
|
|
|||||||||||||||||||
|
|
||||||||||||||||||||


