Saving an XML File
 |
Saving an XML File |
Probably the most common way to create an XML file in Microsoft Windows consists of using Notepad or any other text editor. After opening the text editor, you can enter the necessary lines of text. After creating the file, you must save it. When saving it, you can include the name of the file in double-quotes: |
|
You can also first set the Save As Type combo box to All Files and then enter the name of the file with the .xml extension.
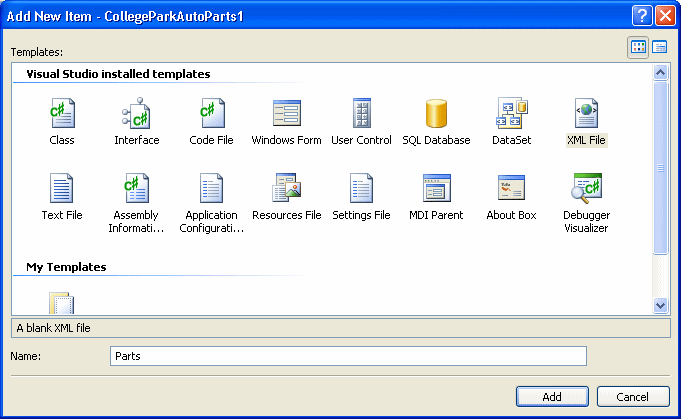
To assist you with creating XML Files, Microsoft Visual C# includes an XML File option in the Add New Item dialog box. After selecting this option, you can accept the suggested name of the file or replace it in the Name text box. If you don't specify the extension, the wizard would add it for you. |
|
|

|
Saving a DOM Object |
|
If you call the XmlDocument.LoadXml() method, only the XML code is created, not the file. To actually create the Windows file, you can call the XmlDocument.Save() method. This method is provided in four versions. One of the versions takes as argument a string value. The syntax of this method is: public virtual void Save(string filename); The argument must be a valid filename and must include the .xml extension. If you pass a string without backlashes, the file would be created in the same folder as the current project. If you want the file to be created somewhere else (in a different directory), pass the whole path. |
|
|
||
| Previous | Copyright © 2006-2006 FunctionX, Inc. | Next |
|
|
||