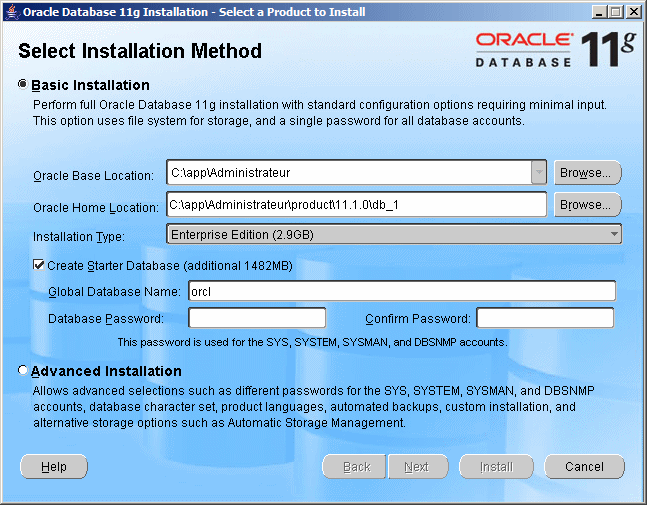
After logging in, you will be asked to accept the license agreement. Then, download the software based on the operating system you are using. For our lessons, we will use Microsoft Windows. After downloading the software, access the folder where Oracle stored (mine is C:\Users\Administrateur\AppData\Roaming\Microsoft\Windows\Start Menu\Programs\win64_11gR1_database_1013). Double-click database setup.exe and the installation will start. To prepare for the installation, you will be presented with a dialog box:
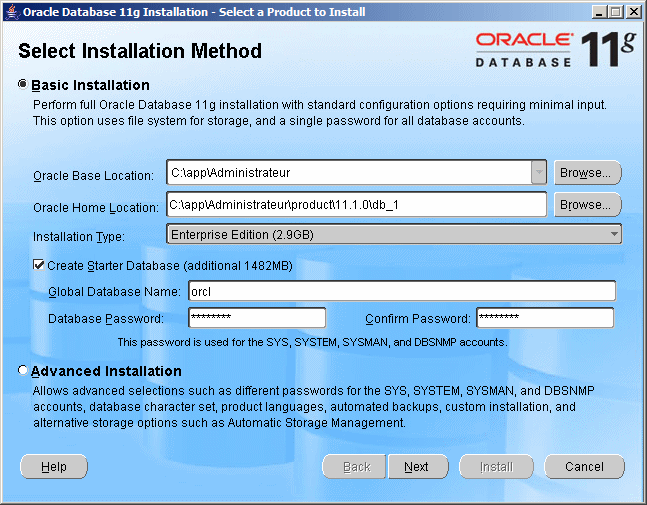
Enter the same password in the indicated text boxes. Remember the password you type here because you will (always) need it later:
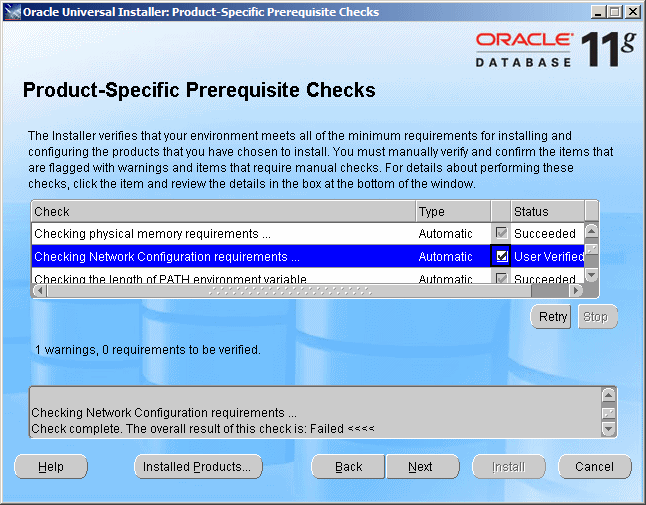
Then click Next. The dialog box will briefly disappear and come back. Check the results in the dialog box. If you receive a warning about the network configuration requirements, click the warning check box:
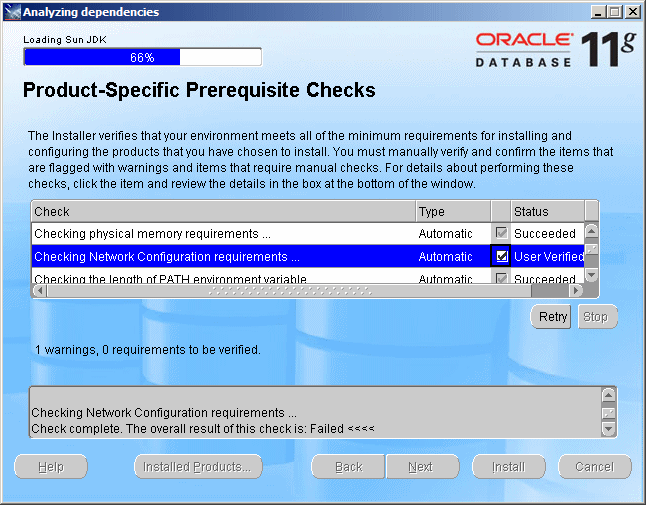
Click Next. The installation will continue:
You may receive a message, from your anti-virus application, that the installation wants to access the Internet. If so, click to allow Internet access. After a few seconds, you will be presented with a new dialog box:
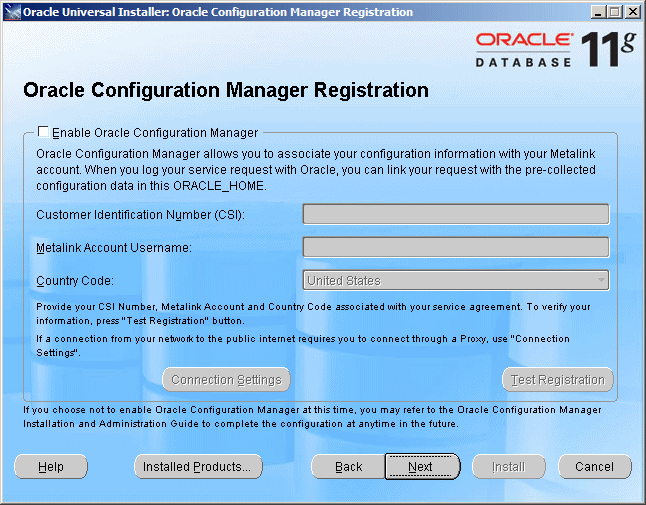
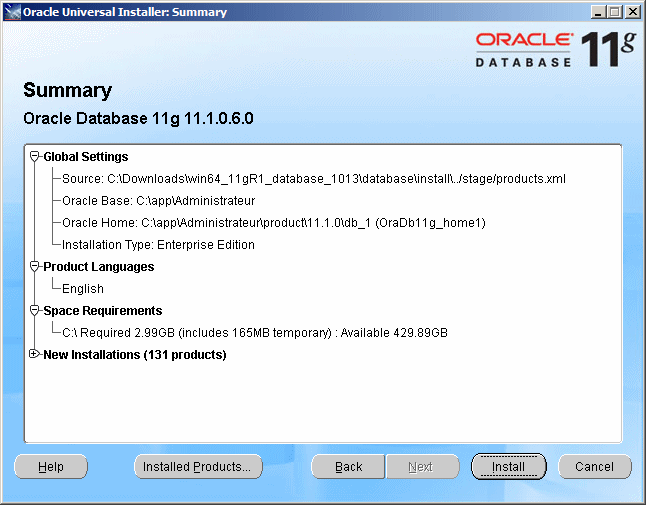
Click Next. A new dialog box will let you know that the installation is ready:
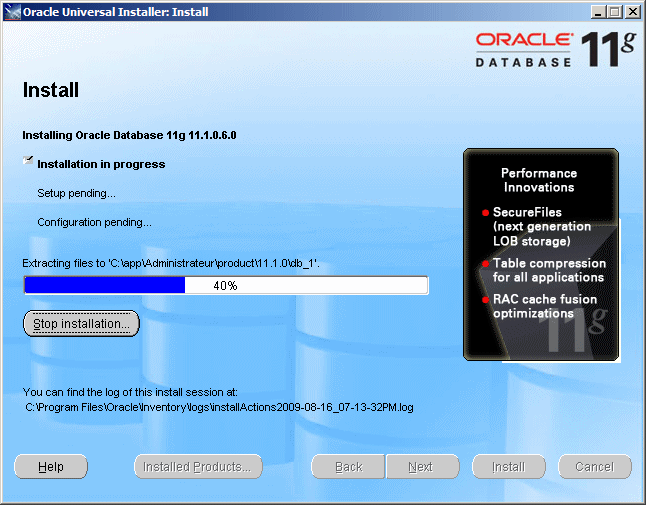
Click Install. The installation will start (this will take a while:
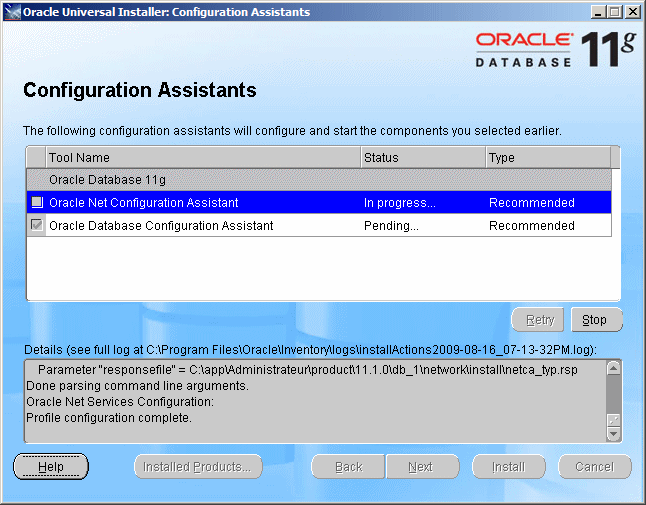
After a while, another dialog box will signal some configurations that need to be made:
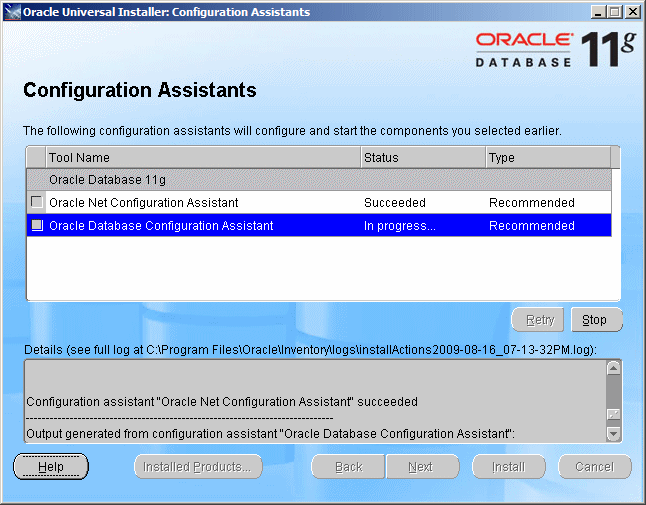
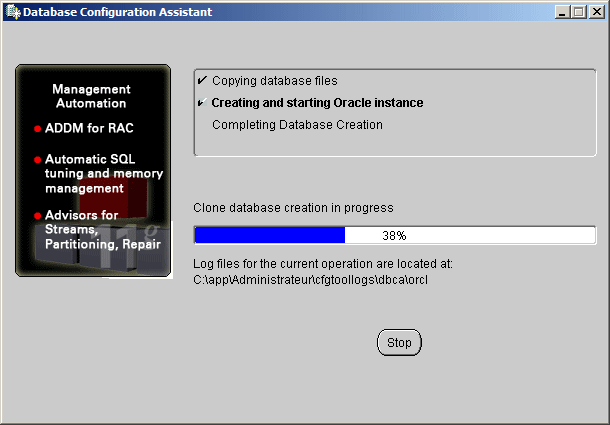
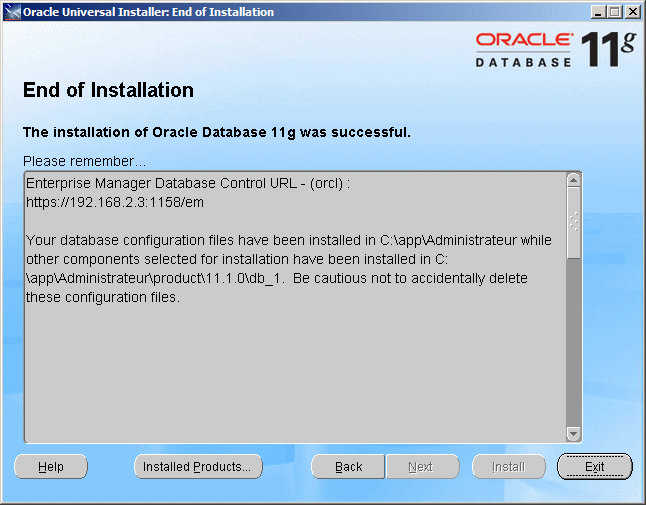
You also may get a message box that the installation wants to access the Internet. If so, allow that access. After a few seconds, you may receive another message box asking to access the Internet. If so, allow it. Then, the configuration will continue:
|
|
|||||||||||
|
|
||||||||||||

