|
To have MySQL, first download it from the MySQL
web site. At the time of this writing, the recommended version is MySQL 4.1.7. The
installation can be long but it is detailed as much as possible. Following the
tradition of Windows installations, it presents a default option in each
page when necessary and you may just accept this default.
The lessons on this site are for a Microsoft Windows installation. This means that you should select the Windows (x86)
(4.1.7 35.8M). After downloading it, you must install it on your computer.
|
 Practical Learning: Installing MySQL Practical Learning: Installing MySQL
|
|
- After downloading it, in the window, you can double-click the SETUP.EXE
icon
to start the installation

On Windows XP SP2, if you are presented with a File Download dialog box,
click Run

- After double-clicking the icon, in the first page of the wizard, click
Next

- Accept to perform a Typical installation and click Next

- To start the installation, click Install

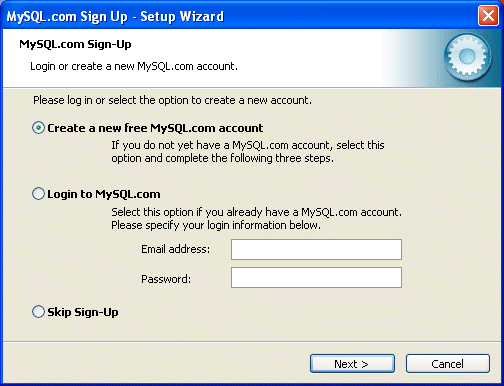
- If you want to create an account with the MySQL.com web site, accept the
first radio button.
If you already have an account, select the second radio button, type your
email address and password
If you don't want to open an account with the MySQL.com web site, select the
bottom radio button

- Click Next
- When the installation is over, keep the Configure The MySQL Server
Now check box and click Finish

- In the MySQL Server Instance Configuration Wizard, click Next

- If you are installing MySQL on a computer that doesn't have MySQL already,
click the Standard Configuration radio button

- Click Next
- Accept to Install As Windows Service and click Next

- Although you can skip it, you should provide a password for the root
account

- Click Next
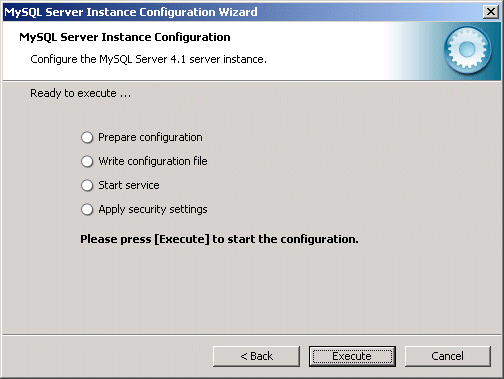
- To process the setup, click Execute

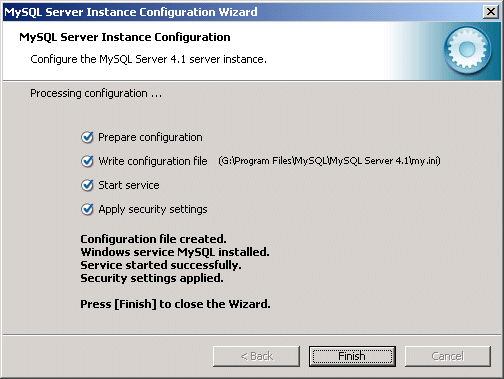
- When the server configuration is complete, click Finish

|
|

