Home

Embarcadero Controls: The Frame


Introduction

A frame is a type of control container that resembles a form. Like a form, when you create a frame, it possesses its own unit where its children can be programmatically managed. Unlike a form, and like all the other containers we will review after this one except the data module, a frame should be embedded on a form that would act as its ultimate parent. Unlike most other containers except for the data module, users do not see a frame and are not aware of its presence. It is used only by the programmer.

A frame is used for better management of controls because, like a form, a frame is created as a separate entity with a body independent of a form.

Practical LearningPractical Learning: Introducing Frames

  1. Start Embarcadero RAD Studio
  2. To create a new project, on the main menu, click File -> New -> VCL Forms Application - C++Builder
  3. In the Object Inspector, set the properties of the form as follows
    Caption: Interest and Discount
    Name: frmMain
    ShowHint: true


Frame Creation

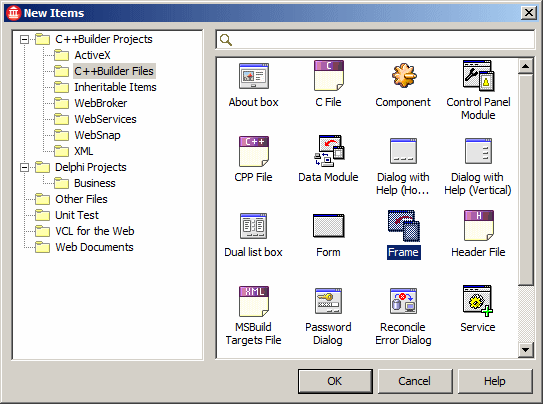
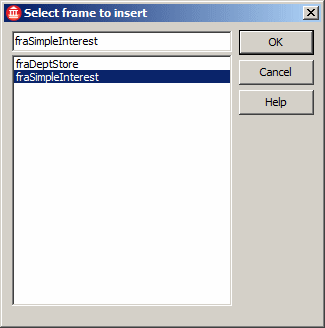
There are two general steps to making a frame available to your application

  1. You must create a "physical" frame. This can be done from the New Items dialog box. In the New Items dialog box, you would select Frame. Any of these actions would position an empty rectangular object on the screen. In the same way, you can create additional frames as needed. Once a frame is available, you can position and design controls on it as you would proceed for a form. There is no restriction on the types of controls you can place on a frame
  2. Once the frame exists, to embed it onto a form, from the Standard section of the Tool Palette, you can click the Frame button and click the form. As soon as you click the form, you would be asked, from a dialog box, to specify what frame would be placed where you clicked

After creating and embedding a frame, you can change its controls in either the form or the frame. Anything you do in one, such as adding, removing, or resizing controls, would be automatically updated on the other.

When a frame has focus at design time, you can change its controls as you see fit. From the form on which a frame is embedded, to programmatically access a control placed on that frame, do so indirectly through the frame. For example, the following code would change to blue the background color of an edit control named Edit2 that is placed on a frame named Frame21 and created in Unit2:

//---------------------------------------------------------------------------

#include <vcl.h>
#pragma hdrstop

#include "Unit1.h"
#include "Unit2.h"
//---------------------------------------------------------------------------
#pragma package(smart_init)
#pragma link "Unit2"
#pragma resource "*.dfm"
TForm1 *Form1;
//---------------------------------------------------------------------------
__fastcall TForm1::TForm1(TComponent* Owner)
	: TForm(Owner)
{
}
//---------------------------------------------------------------------------
void __fastcall TForm1::FormDblClick(TObject *Sender)
{
	Frame21->Edit2->Color = clBlue;
}
//---------------------------------------------------------------------------

A frame control is based on the TFrame class which is in turn based on TCustomtFrame.

Practical LearningPractical Learning: Using Frames

  1. On the main menu, click File -> New -> Other...
  2. In the left list of the New Items dialog box, expand C++Builder Projects and click C++Builder Files
  3. In the right list, click Frame
     
    New Items
  4. Click OK
  5. In the Object Inspector, click Name, type fraSimpleInterest and press Enter
  6. In the Tool Palette, click the + of Standard to expand it.
    Click TEdit and click the body of the frame (no need for precision)
  7. In the Standard section of the Tool Palette, click TButton and click the body of the frame (no need for precision)
  8. To create a new frame, on the Standard toolbar, click the New button New Items
  9. In the New Items dialog box, double-click Frame
  10. In the Object Inspector, click Name and type fraDeptStore
  11. In the Standard section of the Tool Palette, click TComboBox and click the frame (no need for precision)
  12. In the Standard section of the Tool Palette, click TListBox and click the frame (no need for precision)
  13. In the Standard section of the Tool Palette, click TLabel and click the frame (no need for precision)
  14. To select the main form, on the View toolbar, click the View Form button View Form
  15. In the list, click frmMain and click OK
  16. While the form is displaying, in the Standard section of the Tool Palette, click the Frames button Frames
  17. Click the top-left section of the form
  18. In the Select Frame To Insert dialog box, click fraSimpleInterest
     
    Select Frame to Insert
  19. Click OK
  20. Once again, on the Standard section of the Tool Palette, click the Frame button Frame and click an unoccupied area on the right section of the form
  21. In the Select Frame To Insert dialog box, double-click fraDeptStore
  22. Adjust the positions of the frames as you see fit, using the same techniques we reviewed for moving controls
  23. Press F9 to test the application
  24. Close the form and return to your programming environment
  25. On the main menu, click File -> Close All
  26. When asked whether you want to save, click No
 

Home Copyright © 2010-2016, FunctionX