To use Adobe Flash to create something, you must have installed it on your computer. If you don't have it (yet), you can check the Adobe web site to check the availability of a trial version. After installing it, you can launch it. To do this, you can click Start -> (All) Programs -> Adobe Creative Suite CS4 ... -> Adobe Flash CS4 Professional.
Adobe Flash primarily uses a classic interface. The top section displays a menu made of categories such as File, Edit, View, etc. In our lessons, we will call it the main menu. Of course, to expand a category, you can click it, which would display its list of options. Alternatively, uou can press Alt to show an underlined letter on each menu item:
Then press the key of that letter to activate the menu. To start a new project, on the menu, you can click File -> New... The shortcut is Ctrl + N. This would display the New Document dialog box from which you can make a selection.
There is an empty area on the right side of the row of menu items. If Adobe Flash is not maximized, you can click the area above the menu items or the area on the right side of the row of menu and drag in the direction of your choice. In the top-right side of Adobe Flash, it display the Windows system button used to minimize, maximize, restore, or close the application.
Under the main menu, there is one or more tabs. A tab or each tab represents a project you had started. Every time you start a new project, a tab is created for it. To access a project, you can click its tab.
Under the Tabs bar, there is another bar that displays an arrow, a Scene X label, and some buttons on the right side. We will review the options on that bar when necessary.
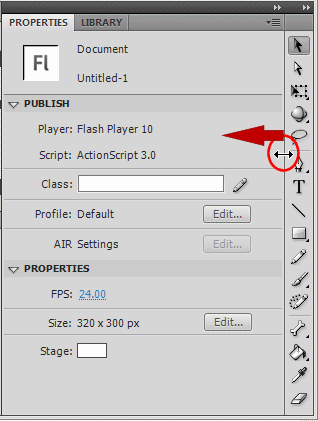
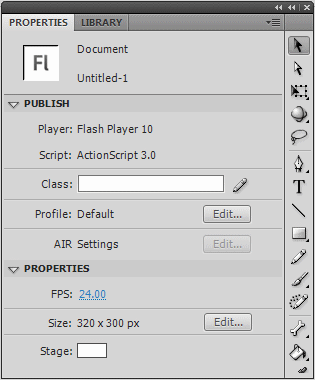
The middle-center of Adobe Flash display a (white) rectangle surrounded by a gray area. This white area is called the Stage. The Stage is characterized by a size (a with and a height) and a color. There are various ways you can specify the size of the Stage:
At any time, you can change the size of the Stage. To do this:
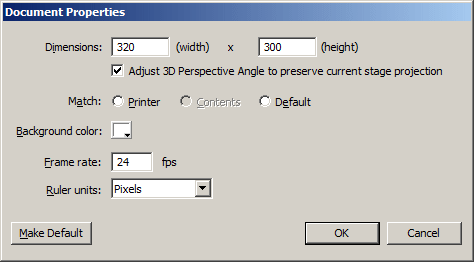
Any of these actions would display the Document Properties dialog box. To change the size, in the Dimensions section, change the values of the (width) and/or the (height) text box:
The click OK.
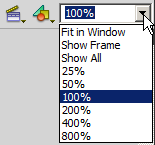
You can make the Stage appear bigger than normal, or smaller than normal, without changing its dimensions. This allows you to have both a larger and taller view, or a smaller view. This is helpful when you want to focus on a certain part of the Stage to apply a certain detail. Zooming consists of enlarging or shrinking the view of the Stage. To apply it, you have various options. Zooming in consists of enlarging the Stage. You can specify it exactly using a percentage or relatively. To use a percentage, on the right side of the Scenes bar, click the arrow of the Zoom combo box and select a value higher than 100%:
As an alternative, on the main menu, you can click View -> Magnification, and select a value higher than 100%. To zoom in with at a relative value, on the main menu, you can click View -> Zoom In. The shortcut is Ctrl + =. You can continue using any of these techniques until you can the view you want. Zooming out is the opposite to enlarging the Stage. Once again, you can apply a percentage or use a relative value. To use a percentage, on the right side of the Scenes bar, click the arrow of the Zoom combo box and select a value lower than the current value. For an alternative, on the main menu, you can click View -> Magnification, and click a value lower than the current one. To zoom out with at a relative value, on the main menu, you can click View -> Zoom out. The shortcut is Ctrl + -. |
|
|||||||||||||||||||||||||
|
|
||||||||||||||||||||||||||


