 |
Introduction to Drawing |
|
|
|
A line is a connection of two points. As such, a line starts
at a certain point and ends at another. Normally, a line is considered a
straight geometric shape.
|
|
 Practical
Learning: Introducing Lines Practical
Learning: Introducing Lines
|
|
- Start Adobe Flash
- In the opening dialog box, click Flash File (ActionScript 3.0)
To draw a line in Adobe Flash CS4, you can use the Line
Tool, then click and hold your mouse on a starting point in the Stage, drag in the direction of your
choice, then release the mouse. In the same way, you can draw as many lines as you
want.
|
 Practical
Learning: Drawing Lines Practical
Learning: Drawing Lines
|
|
- In the Tools palette, click the Line Tool

- On the Stage, click and hold the mouse down somewhere in the top-right section (of the white
area) (no need for precision) and hold the mouse down
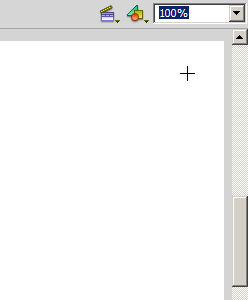
- Drag down to a lower point (no need for precision)
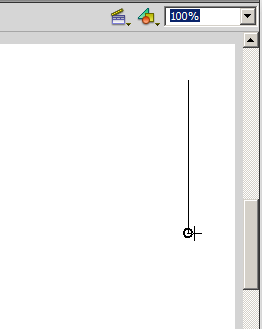
- And release the mouse:
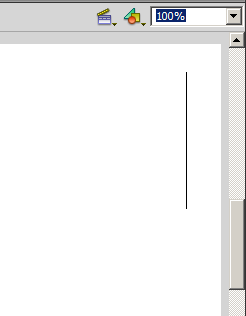
As mentioned already, you can draw as many different
individual lines as you want. Instead of disjointed lines, you can draw lines that
follow and touch each other so that the end of one is the beginning of the next.
Such connected lines are also referred to as adjacent lines.
To draw lines that are connected, in the
Tools palette, click the Line Tool. On the Stage, click somewhere, drag in the
direction of your choice and release the mouse to end the line. To start the
next line, click the end of the previous line or click close to where you ended
the previous line, drag in the direction of your choice, and release the mouse.
Continue this process until you get as many necessary
lines as you want.
|
 Practical
Learning: Drawing Adjacent Lines Practical
Learning: Drawing Adjacent Lines
|
|
- Make sure the Line Tool is still selected (otherwise, in the Tools
palette, click the Line Tool
 ). ).
On the Stage, click somewhere in the lower-right section where you ended the
first line and hold your mouse down
- Drag to the left side (no need for precision) and release the mouse
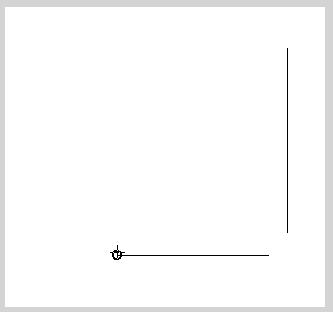
- Click where you ended the previous line and hold the mouse down
- Drag up just a little above the previous point (no need for precision)
and release the mouse
- Click close to the last point of the previous line and hold the mouse
down
- Drag a little to the right side (no need for precision) and release the
mouse
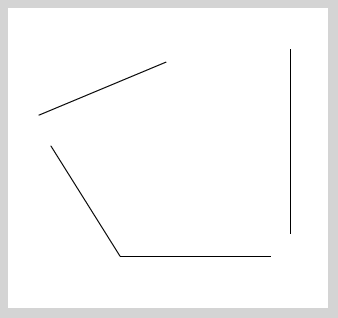
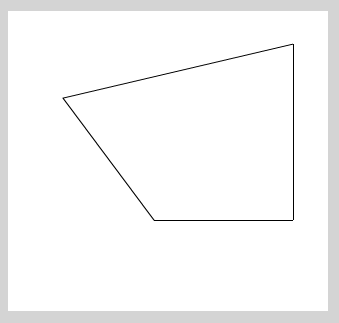
A closed shape is a geometric object that has no beginning
and no end.
To draw a closed shape, in the
Tools palette, click the Line Tool. On the Stage, draw adjacent lines as we saw
previously. To
close the shape, click the end of the last line or close to where you ended it,
drag to the starting point of the first line until you touch it, and release the
mouse.
|
 Practical
Learning: Drawing a Closed Shape Practical
Learning: Drawing a Closed Shape
|
|
- To start a new drawing, on the main menu, click File -> New...
- In the New Document dialog box, click Flash File (ActionScript 3.0)
- Click OK
- In the Tools
palette, click the Line Tool

- On the Stage, click somewhere in the upper-left section (no need for
precision) and hold the mouse down
- Drag to the right of the upper-center section and release the mouse
- Click next to the end of the previous line and hold your mouse down
- Drag down to the middle-center section of the Stage and release the
mouse
- Click next to the end of the previous line and hold your mouse down
- Drag left to the middle-left section of the Stage and release the mouse
- Click next to the end of the previous line and hold your mouse down
- Drag up to the left side of the first line and release the mouse
As an object, a line can be manipulated. It can be selected, copied, moved,
modified, or deleted.
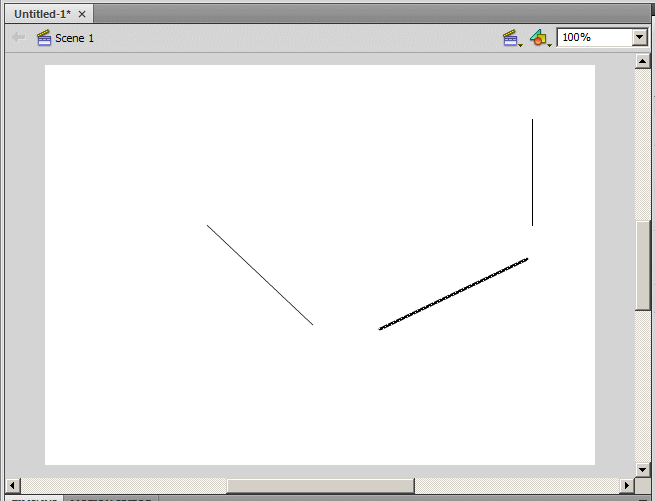
To select a line, in the Tools palette, click the Selection Tool, and
click the line on the Stage. A selected line is thick or thicker than the
other line in the Stage:
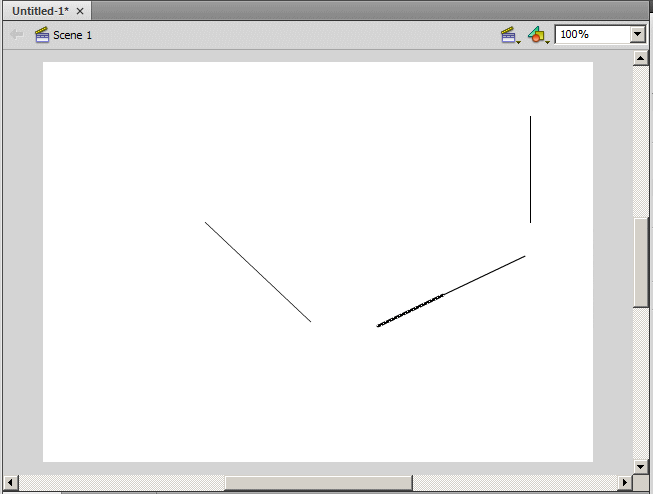
To select a section of a line, in the Tools palette, click
the Selection Tool. In the Stage, draw a fake rectangle that would touch the
part you want to select on the line:
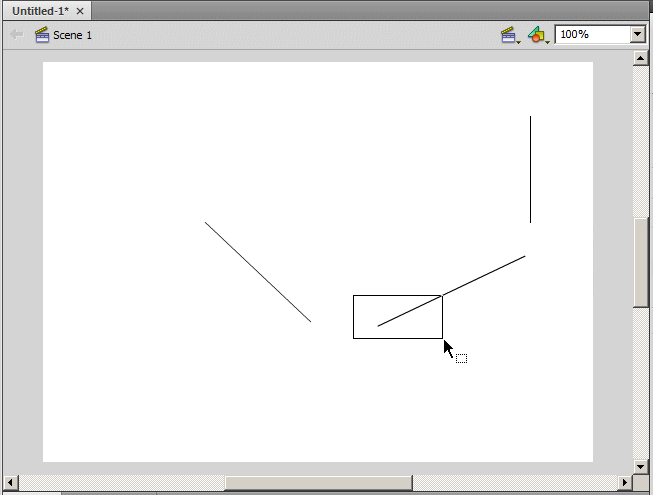
The part that is selected on a line is thicker than the rest of the line:
To select a series of lines, in the Tools palette, click the Selection Tool.
Click one of the lines you want to select. Press and hold Shift, the click each
of the desired lines, and release Shift.
To select everything in the Stage, press Ctrl + A or, using the Selection Tool,
draw a fake rectangle that includes everything.
To copy a line, first select it, then:
- On the main menu, click Edit -> Copy
- Right-click the line and click Copy
- Press Ctrl + C
To copy a series of lines, select them and use the same
approaches to copy. To copy everything in the Stage, select and use the above
techniques.
After copying the line, you can paste it. To do that:
- On the main menu, click Edit -> Paste
- Right-click somewhere in the Stage and click Paste
- Press Ctrl + V
|
|