|
 Practical Learning: Using the Master Slide
|
|
-
Open the Human Body Structure4 presentation
If necessary, in the lower-left side of the screen, click the Normal
View button
-
On the main menu, click View -> Master ->
Slide Master
-
On the Drawing toolbar, click the Rectangle button
-
On the Master slide, draw a rectangle that spans
from the left border to the right border and covers half an inch from
the bottom border of the slide

-
While the rectangle is still selected, on the
Drawing toolbar, click the arrow of the Fill Color button and click
Fill Effects
-
In the Gradient property page of the Fill Effects
dialog box, click the Two Colors radio button
-
click the arrow of the Color 1 combo box and
select the blue color
-
Make sure the Color 2 combo box has white
selected, otherwise, select the white color
-
On the Shading Styles section, make sure the
Horizontal radio button is selected, otherwise, select it
-
In the Variants section, click the button in the
1st row - 2nd column

-
Click OK
-
While the shape is still selected, on the Drawing
toolbar, click the arrow of the Line Color and click No Line
-
On the slide, right-click the selected shape and
click Copy
-
Right-click an empty area on the slide and click
Paste
-
While the new shape is still selected, on the
Drawing toolbar, click the arrow of the Fill Color button and click
Fill Effects
-
In the Gradient property page of the Fill Effects
dialog box, make sure the the Two Colors radio button is selected, the
Color 1 is blue, the Color 2 is white, and the Horizontal radio button
is selected.
In the Variants section, click the first button and click OK
-
Press and hold the up arrow key to move the new shape completely to the top border of
the slide. When it gets to the top of the slide, release the up arrow
key
-
To add another shape, on the Drawing toolbar, click
the Rectangle button
-
On the slide, there is a vertical line on the left
side of the main title title. Draw a thin rectangle that covers it
completely. To move your new rectangle, press and hold Alt while you
are moving the rectangle
-
While the rectangle is selected, on the Drawing
toolbar, click the arrow of the Line Color button and click No Line
-
While the rectangle is still selected, on the
Drawing toolbar, click the arrow of the Fill Color button and click
Fill Effects.
-
Click the Two Colors radio button and change Color
1 to black. In the Shading Styles, make sure the Horizontal radio
button is selected. In the Variants section, make sure the first
button is selected. Click OK

-
Click the Normal View button and click the Outline tab
-
Scroll up and click the second slide

-
To view the presentation, on the main menu, click
View -> Slide Show
-
View the whole presentation until the end.
-
Save the presentation
If you access a presentation whose slides were already
formatted with a common design, you can change some of the aspects of the
existing design and you can add new ones. Working from no design is more engaging
because you must create all of your objects manually and decide on the
fonts. This can be tremendously arduous which is why you would hardly do
it.
|
 Practical Learning: Designing From Scratch
|
|
- Open the Web Design3 presentation. If you don't have it, then
open the Web Site Design3 presentation
- On the main menu, click View -> Master -> Slide Master
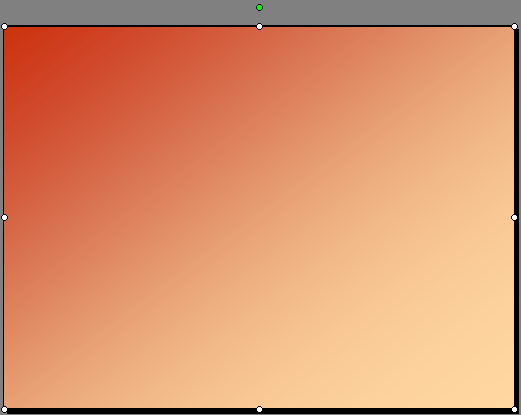
- On the Drawing toolbar, click the Rectangle button and draw a
rectangle that completely covers the slide but doesn't go overboard:

- While the rectangle is still selected, on the Drawing toolbar, click
the arrow of the Fill Color button and click Fill Effects...
- Click the Two Colors radio button
- Click the Color 1 combo box and click More Colors... In the Custom
property page, set the color to Red = 205, Green = 50, Blue = 0. Click
OK
- Click the Color 2 combo box and click More Colors... In the Custom
property page, set the color to Red = 255, Green = 215, Blue = 160.
Click OK
- In the Shading Styles section, click the Diagonal Up radio button
- In the Variants section, make sure the button in 1st column - 1st
row is selected and click OK
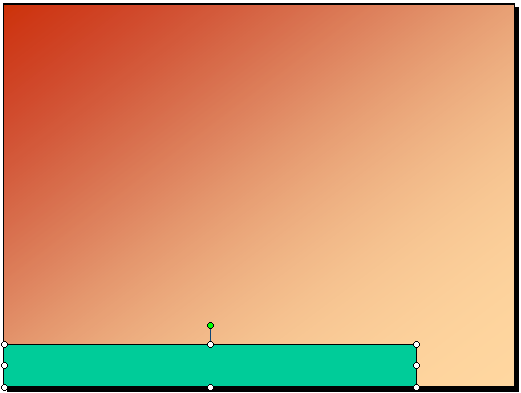
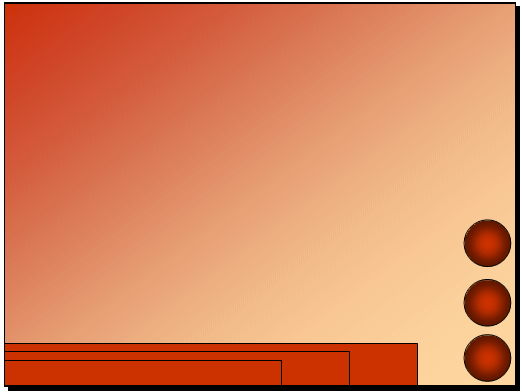
- Once again, on the Drawing toolbar, click the Rectangle button and
draw a rectangle that covers part of the bottom section of the slide
as follows:
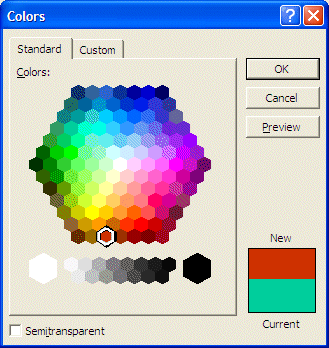
- While the rectangle is still selected, on the Drawing toolbar, click
the arrow of the Fill Color button and select More Fill Colors... In
the Standard property page of the Colors dialog box, select a dark red
color:
- Click OK
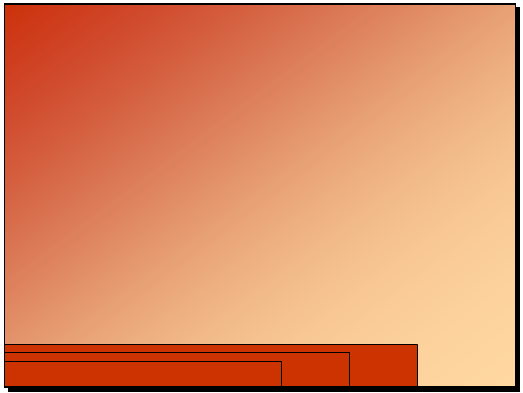
- While the rectangle is still selected, press Ctrl + C and press Ctrl
+ V twice to get two more copies of the rectangle. Resize and position
them as follows:
- Click the rectangle that is between the other two bottom rectangle.
On the Drawing toolbar, click the arrow of the Fill Color button and
click More Fill Colors... In the Custom property page of the Colors
dialog box, set the color to Red=255, Green=90, Blue=40, and click OK
- On the Drawing toolbar, click the Ellipse button and click in the
lower-right corner of the slide
- While the circle is still selected, on the Drawing toolbar, click
the arrow of the Fill Color button and click Fill Effects...
- In the Gradient property page of the Fill Effects dialog box, click
the One Color radio button
- Click the Color 1 combo box and click More Colors...
- In the Standard property page of the Colors dialog box, click a dark
red color and click OK
- Back in the Fill Effects dialog box, in the Shading Styles section,
click the From Center radio button
- In the Variants section, make sure the 1st column - 1st row button
is selected and click OK
- While the circle is still selected, on the Drawing toolbar, click
the arrow of the Line Color button and click No Line
- While the circle is still selected, press Ctrl + C and press Ctrl V
twice
- Position the three circles one above the other in the lower-right
side of the slide:
- Right-click the smallest rectangle in the bottom section of the
slide, position the mouse on Order, and click Send to Back
- Click the rectangle that was just larger than the smaller one and
press F4
- Click the rectangle that was bigger than the other bottom two and
press F4
- Click each of the spheres on the slide and press F4
- Click the middle of the slide to select the rectangle that covers
the whole slide and press F4

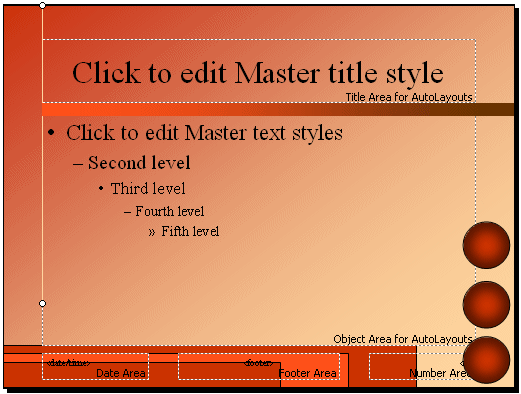
- On the Drawing toolbar, click the Rectangle button and draw a
rectangle that spans from the right border of the slide to the left
border of the Click To Edit Master Title Style box and position under
that title
- While the rectangle is still selected, on the Drawing toolbar, click
the arrow of the Fill Color button and click Fill Effects...
- Click the Once Color radio button and click More Colors... In the
Standard property page of the Colors dialog box, select a dark red
color and click OK
- In the Shading Styles section, click the Vertical radio button
- In the Variants section, make sure the button in 1st column - 1st
row is selected and click OK
- While the rectangle is still selected, on the Drawing toolbar, click
the arrow of the Line Color button and click No Line
- On the Drawing toolbar, click the Line button and draw a vertical
line from the top border of the slide to a 1/4 from the bottom and the
line should touch the left border of the Click To Edit Master Title
Style box
- While the line is still selected, on the Drawing toolbar, click the
arrow of the Line Color button and click More Line Colors
- In the Custom property page of the Colors dialog box, set the color
to Red=255, Green=160, Blue=130, and click OK
- While the line is still selected, on the Drawing toolbar, click the
Dash Style button and click the style on the third line (Square Dot)
- Click the Click To Edit Master Text Styles line then click the
border of its box
- Move it to the left so its bullet is on the left side of the
vertical line but its text remains on the right side of the vertical
line (for more precision, to move, press and hold Ctrl while you are
pressing the left and/or right arrow keys)
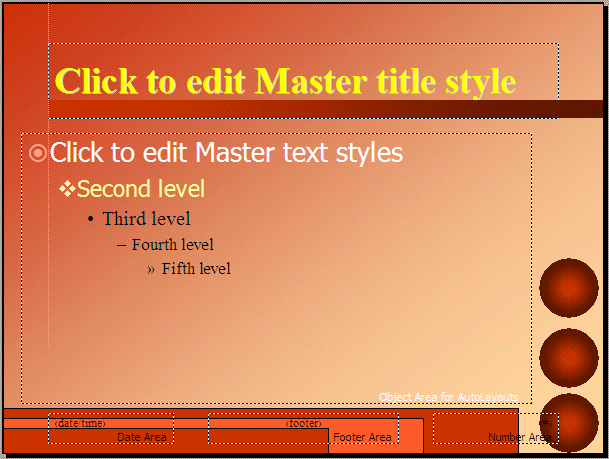
- Right-click the Click To Edit Master Title Style line and click
Font...
- Set the font to Times New Roman, Bold, 44, Shadow, Color=yellow, and
click OK
- Right-click the Click To Edit Master Text Style line and click
Bullets and Numbering...
- In the Bullets and Numbering dialog box, click Character... In the
Bullets From combo box, select Wingdings 2. Set the Color to Red=255,
Green=160, Blue=130. Set the Size to 95. In the list of characters
select the button at 15th column - 5th row

- Click OK
- Right-click the Click To Edit Master Text Style line again and click
Font...
- Set the font to Tahoma, Regular, 32, Color=white, and click OK
- Select the Second Level line. Right-click it and click Bullets and
Numbering. In the Bulleted property page, click the button at 2nd
column - 2nd row. Set the Size to 95. Set the Color to Red=255,
Green=255, Blue=155 and click OK
- Right-click the selected Second Level line again and click Font...
Set the font to Tahoma, Regular, 28, Color=yellow, and click OK
- Click the Click To Edit Master Title Style and, on the Formatting
toolbar, click the Left button

- In the lower section of the slide, click one of the rectangles.
Press and hold Shift. Then click each of the other rectangles to
select all three. Press Ctrl + C to copy them
- If you have the Master toolbar, click its Close button. Otherwise,
on the main menu, click View -> Normal
- Display the first slide
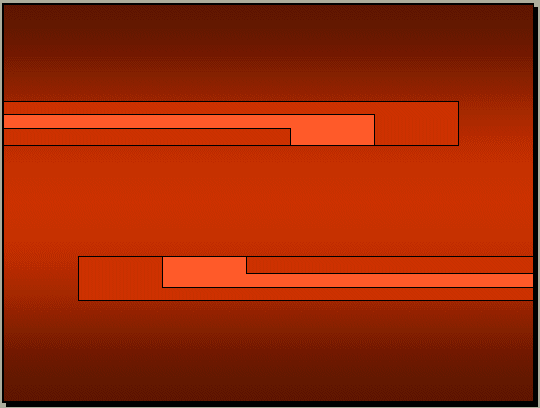
- Using the Rectangle shape, draw a rectangle that covers the whole
slide
- Using the Fill Effects of the Fill Color button of the Drawing
toolbar, format the rectangle to a One Color that is a dark red,
Shading Style = Horizontal, Variants = 2nd column - 2nd row
- Press Ctrl + V to paste the rectangles
- Move the selected rectangle to the middle top section of the slide
- Press Ctrl + V again
- Move and position the rectangles as follows:
- Add three circles to the lower -right section of the slide and
format them as we did for the Master slide:

- Right-click one of the smaller rectangle, position the mouse on
Order and click Send To Back
- Click the other smaller rectangle and press F4
- Click each of the smaller rectangles and press F4
- Click each of the larger rectangles and press F4
- Click each of the spheres and press F4
- Click the middle of the slide to access the rectangle that covers
the slide and press F4
- Change the slide title to Web Design
- Change its font size to 72 and align it to the center of the slide
- Save the presentation and press F5 to view it


|
|

