 |
Microsoft SQL Server Installation |
|
|
|
To make it possible for you and other students to study
databases and SQL, Microsoft made available a trial version of Microsoft SQL
Server 2008. This full version is available from the Microsoft web site.
|
 |
To get the trial edition of Microsoft SQL
Server 2008, go to the Microsoft
web site, do a search on "trial software", and follow the links to locate the
trial edition of Microsoft SQL Server 2008 Enterprise Edition (this is a big file: 3GB).
You can download it and create a DVD. If you are downloading, the file will be saved
to your
computer. When the download is over, you must create an image. After
creating the DVD image, you can insert the DVD in the drive.
|
As an alternative, you can purchase the Developer Edition of
Microsoft SQL Server, which is very cheap (compared to the Enterprise Edition).
|
Installing the Server of Microsoft SQL Server |
|
As we will see in the next lesson(s), there are various ways
you use, or connect to, Microsoft SQL Server. For this reason, there are also
various ways to install it. The primary type consists of installing Microsoft
SQL Server on only one computer you will use to do everything. That machine may
not be connected to another or you will not be concerned with using things
(files or databases) in other computers. With this type of setup, you perform
the installation on that computer and simply start using Microsoft SQL Server.
|
 Practical
Learning: Installing Microsoft SQL Server Practical
Learning: Installing Microsoft SQL Server
|
|
- Server: Start the computer
- Server: Log in using an account with administrative rights
- Server: Insert the DVD in the drive. You may (should) receive a dialog box with a Run
SETUP.EXE link:
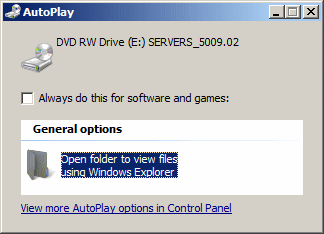
If so, click Run SETUP.EXE
- Server: The
installation will start. You may get a message that the .NET
Framework needs to be installed. If you get that message, click OK. You will be prompted
to start the installation:

Server: After clicking the ACCEPT button,
you can click Install. The installation of the .NET Framework would start.
When the installation of the .NET Framework is over, you would receive a
message:
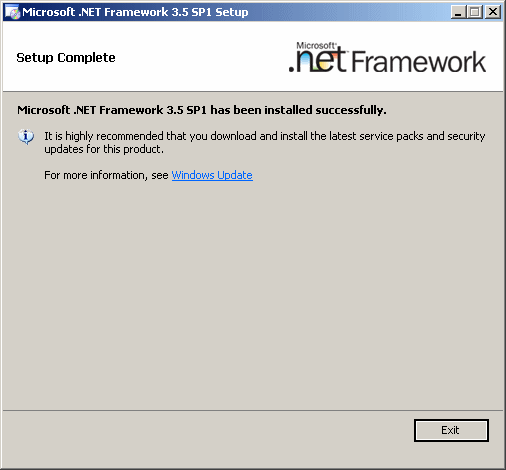
Server: From there, you can click Exit. If you are installing in
either Microsoft Windows XP or Microsoft Windows Server 2003, you may be asked to install a
hotfix:
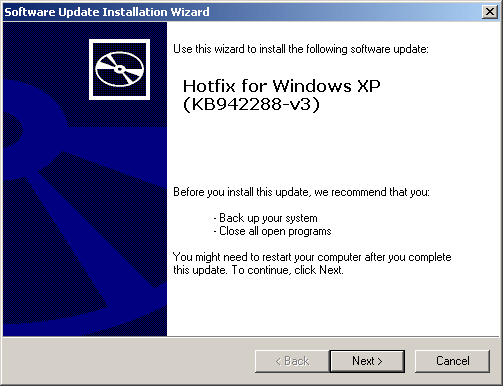

Server: In this case, accept to install it
by clicking Next and following the wizard. When the installation is over,
you may be asked to restart:
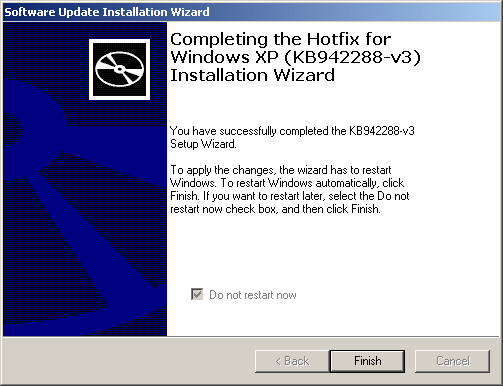
Which you should do.
- Server: To start the installation, put the Microsoft SQL Server 2008 DVD in
the drive. A window would come up:
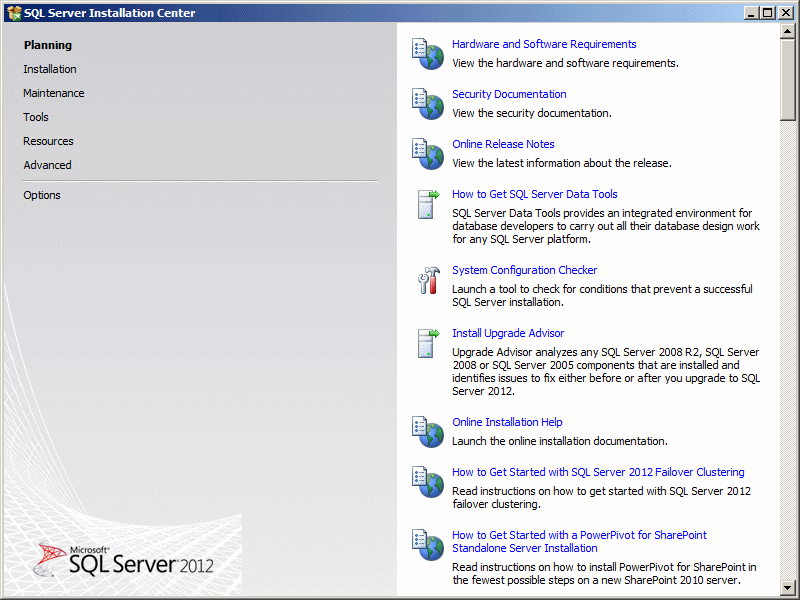
- Server: In the left section, click Installation

- Server: If you are only interested in studying database design and
development in Microsoft SQL Server, on the right side, click New SQL Server
Stand-Alone... The installation would start:

- Server: After the message box, click OK

- Server: Another message box would come up. When it finishes, the next page of the
wizard would come up. If you are using the evaluation version, read the
message and click the first radio button

Server:
If you are installing with a product key, click the second radio button and
enter the key

- Server: Click Next
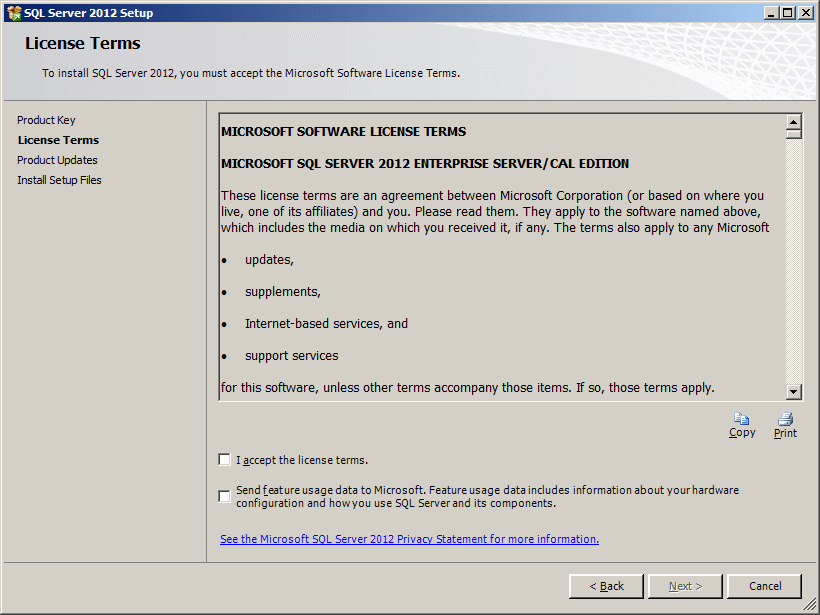
- Server: The License Terms page is presented to you. Read it. If you don't agree with the license, click Cancel. Otherwise,
click the I Accept check box:

- Server: Click Next
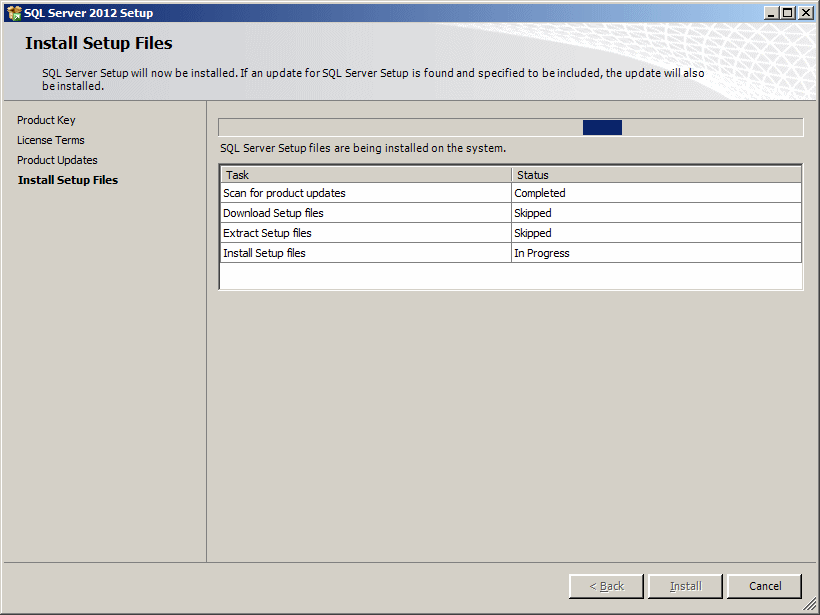
- Server: Read the messages and click Install:
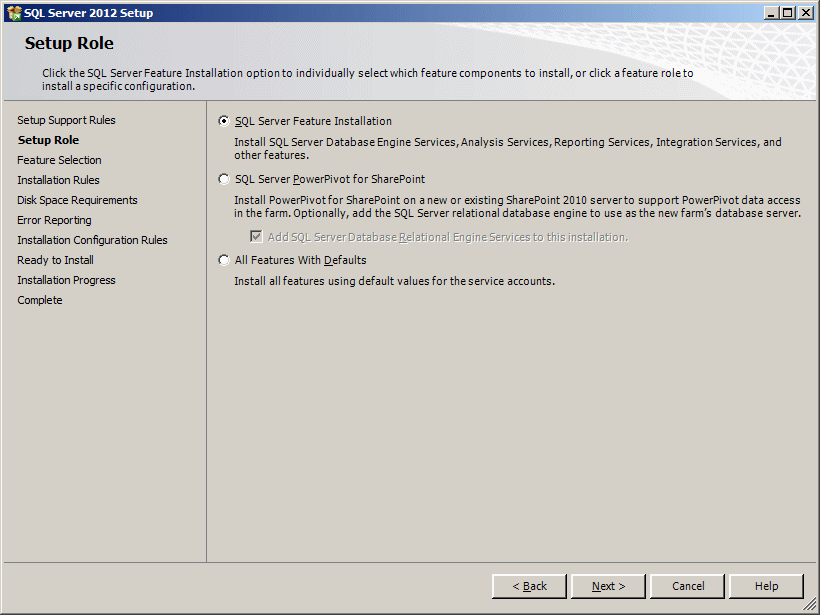
- Server: You may receive a warning message about the firewall:
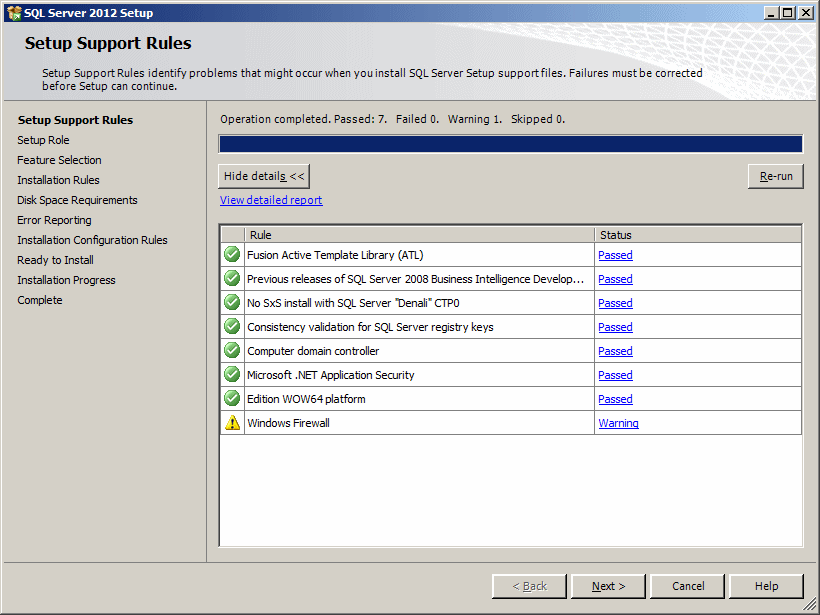
For now, ignore it (there is no true justfication in trying to disable the firewall, the
installation will proceed fine).
If you are installing on the only computer
you use as your server, you may receive a warning that it is not recommended
to install Microsoft SQL Server on a domain controller:

Ignore the warning for now.
Server: Click Next
(We are not encouraging you to
ignore warnings; just these ones)
- Server: If you had previously installed Microsoft SQL Server Express, you may
receive a message box asking you to specify an instance name. If so, specify
it as MSSQLSERVER.
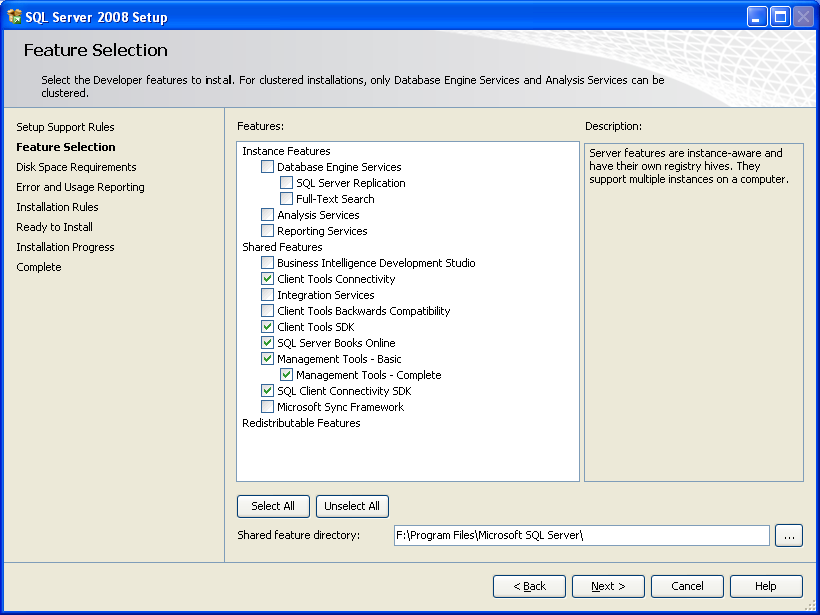
The next page allows you to specify what you want to install and what would
be left out. For our example, we select all, then removed Reporting Services.
The eventual
location of Microsoft SQL Server is specified in the bottom text box:

If you are installing the Developer Edition and if you to change the
directory of Microsoft SQL Server, you can type it in the Shared Feature
Directory text box, or you can click the browse button to select it.

If you are installing the Enterprise Edition, if you to change the directory
of Microsoft SQL Server, click the broser button on the right side of the
Shared Feature Directory text box and locate the directory you want.
After making your selections, click Next
- Server: The next page allows you to name the instance of Microsoft SQL Server (and to specify where the
server would be installed). In most cases, you should accept the suggested
name of the instance as MSSQLSERVER:

After making your selections, click Next
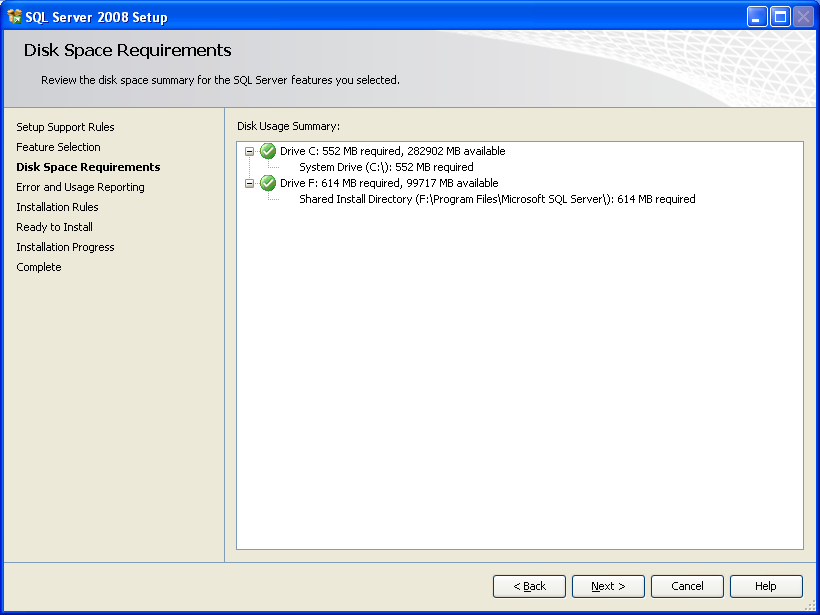
- Server: The next page mostly allows you to check and confirm the disk space:
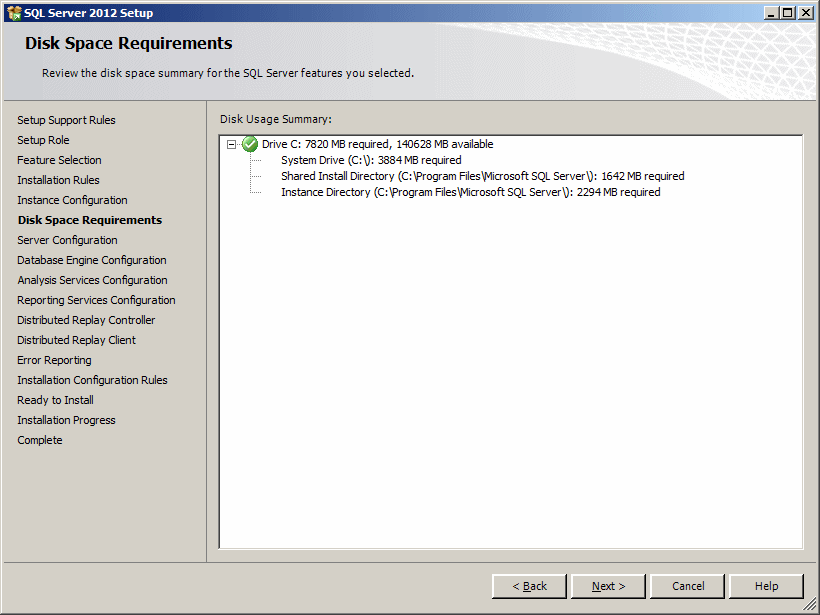
After checking it, click Next
- Server: The next page allows you to specify the account that is performing the
installation:
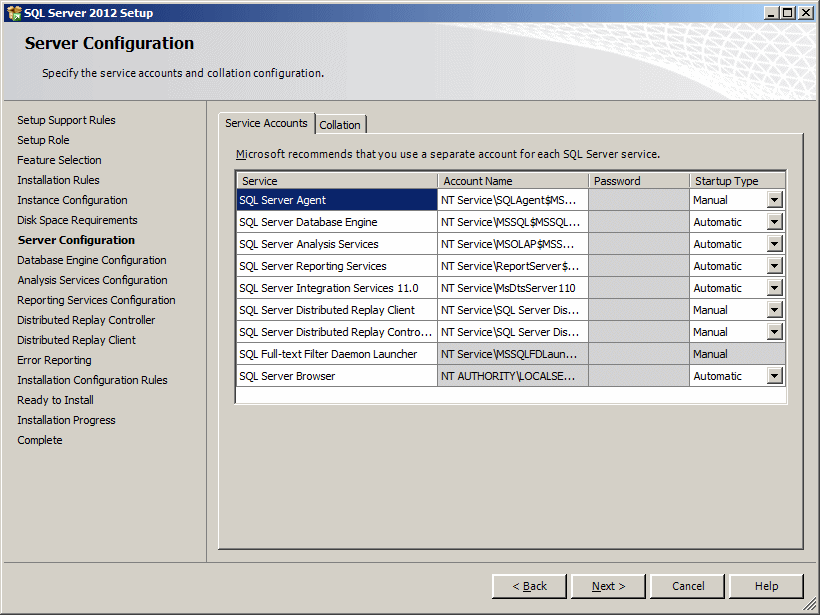
Click Use the Same Account For All Server Services
- Server: A dialog box would come up.
If you are installing in Microsoft
Windows 7 and you want to use a local account, in the Account Name text box,
enter the name of the computer, followed by a back slash, followed by the
user name, and press Tab. In the Password text box, enter the password:

If you are installing in Microsoft Windows Server 2008, in the Account Name
text box, enter the name of the domain, followed by a back slash, followed
by the user name, and press Tab. In the Password text box, enter the
password:

- Server: Click OK


- Server: Click Next
- Server: After making your selections, click Next
- Server: In the next page, specify how authentication would be made. You should
also specify the account used as the administrator. To do this, you can click
Add Current User:
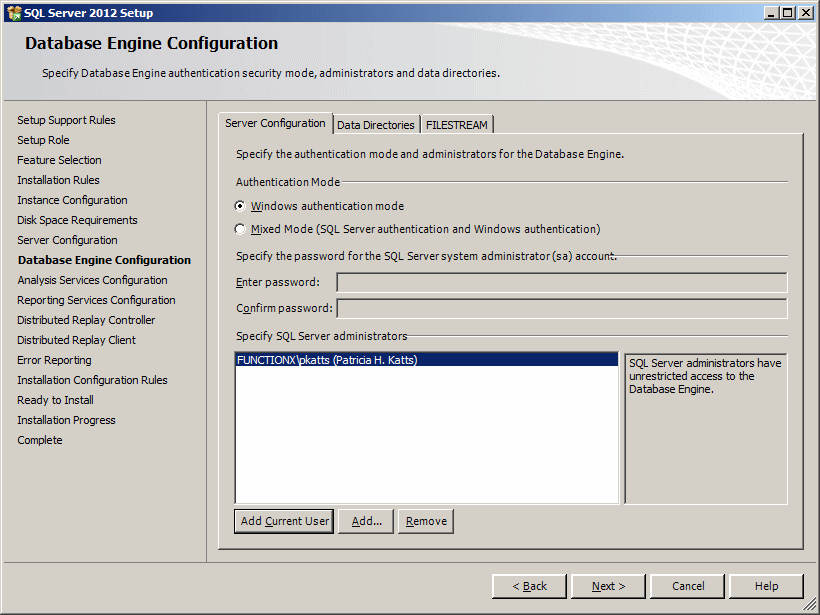
- Server: Microsoft SQL Server provides a default user named sa. To prepare that
user for database authentication, click the Mixed Mode
- Server: Type a password in the Enter Password text box. For this exercise, you
can use P@assword1 and press Tab
- Server: Enter the same password in the Confirm Password text box
- Server: To add an additional account, click Add...
A dialog box would
display. In the bottom text box, type the
(complete) user name of a user and click Check Names. In the same way, you can
add as many users as possible

- Server: Click Next
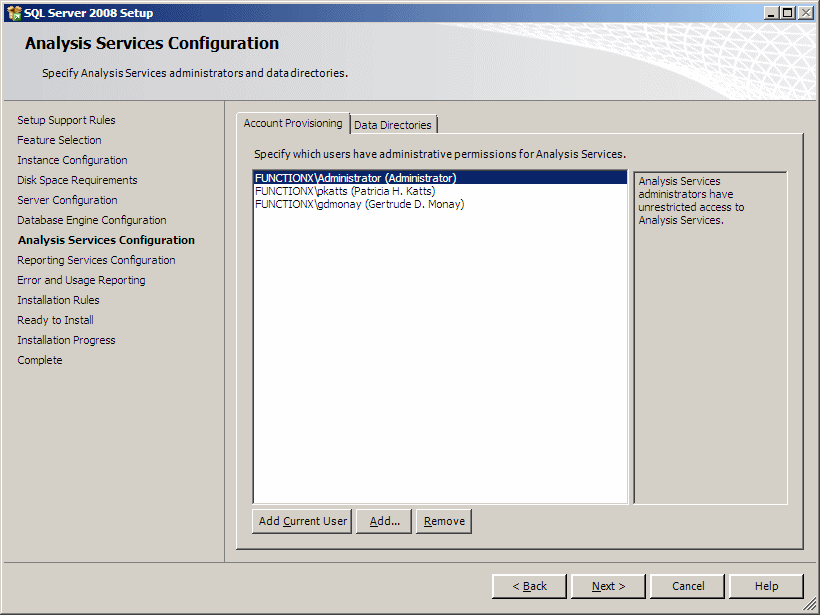
- Server: The next step allows you to specify an account for the analysis services.
Click Add Current User
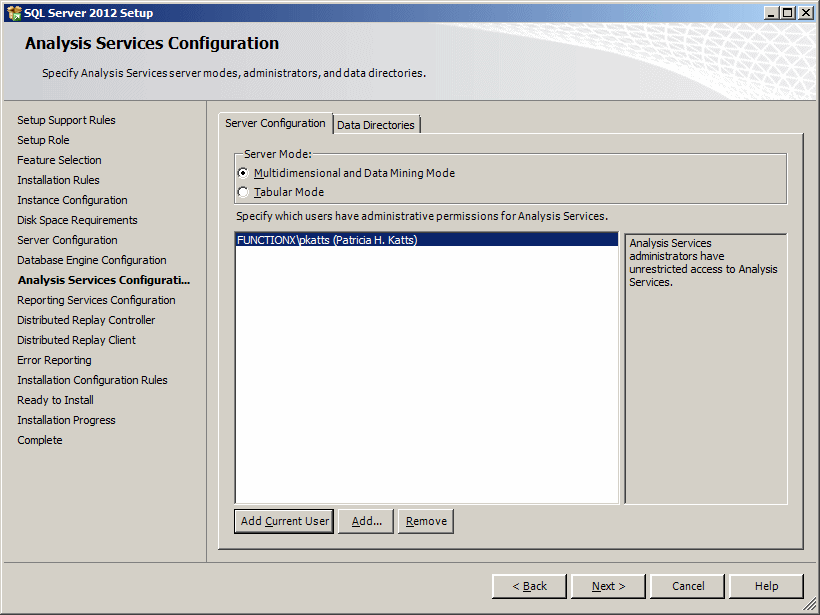
Server: To add an additional account, click Add... In the bottom text box, type the
(complete) user name of a user and click Check Names. In the same way, you can
add as many users as possible
- Server: Click Next
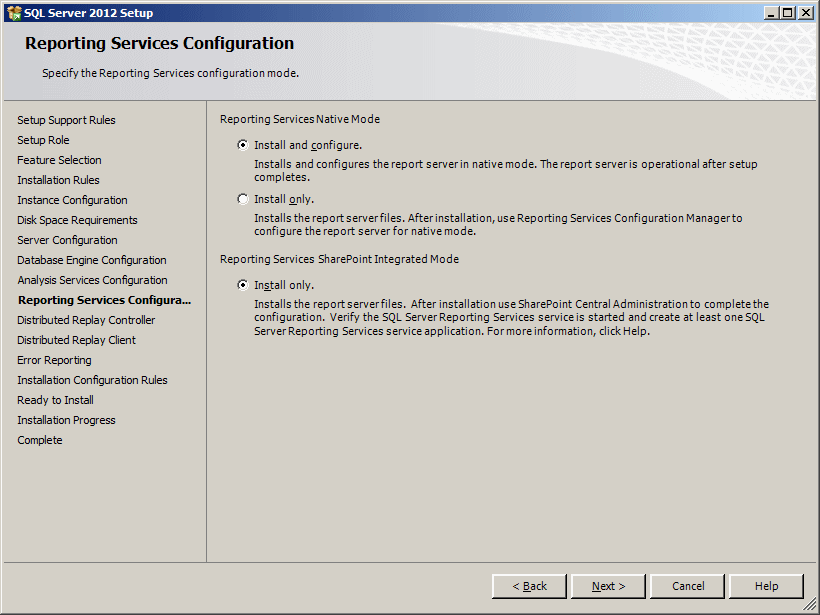
- Server: In the Reporting Services Configuration page, click the last radio
button to install but without configuring the reporting:
- Server: Click Next.
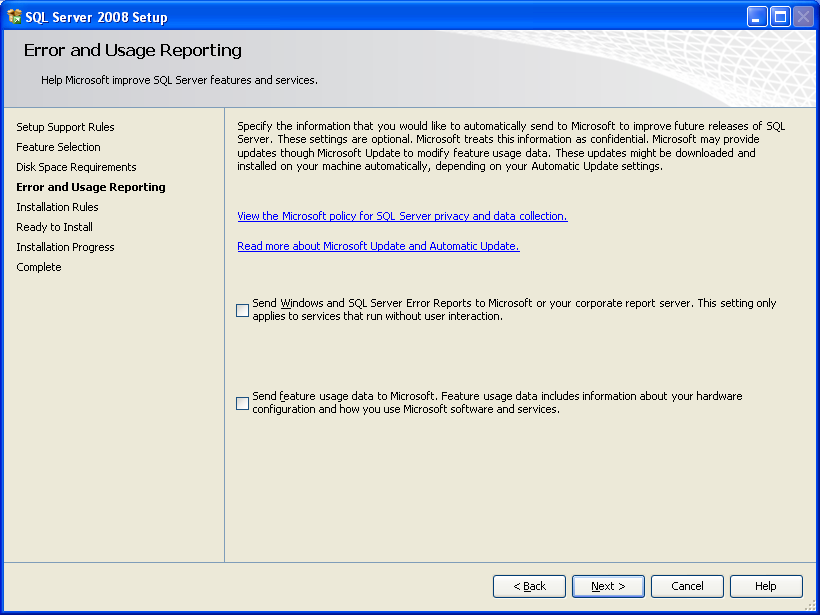
The next page allows you to specify whether you want and
installation report to be sent to Microsoft:

- Server: Read it and click Next
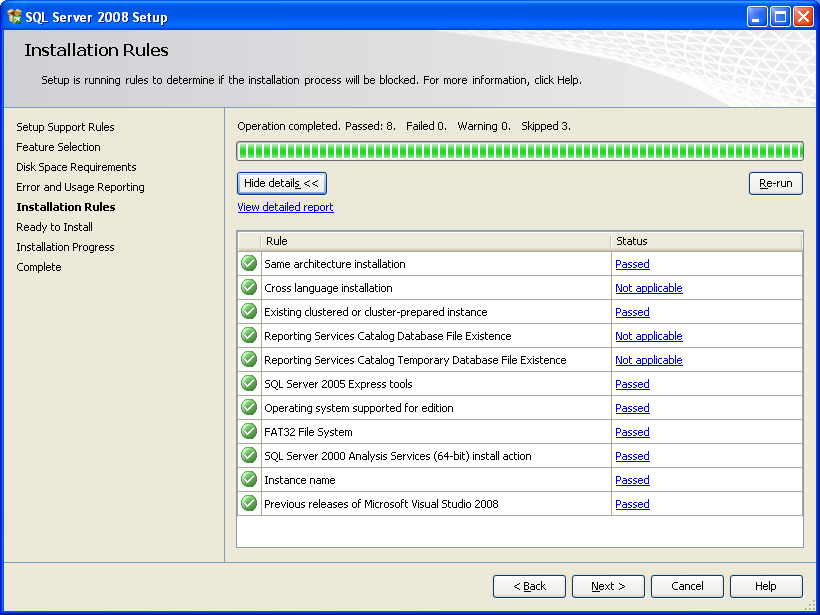
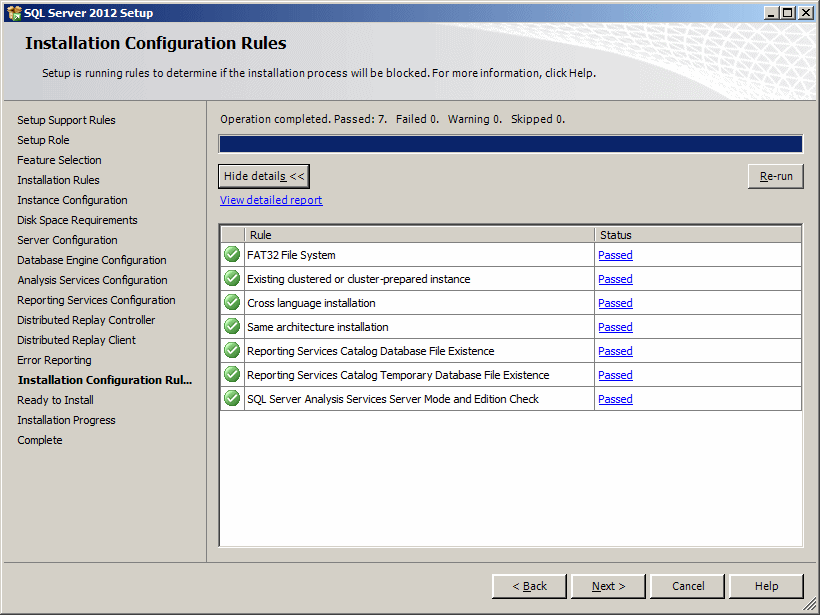
- Server: The next page gives you a summary of tests that were performed before the
installation:
- Server: After reading, click Next.
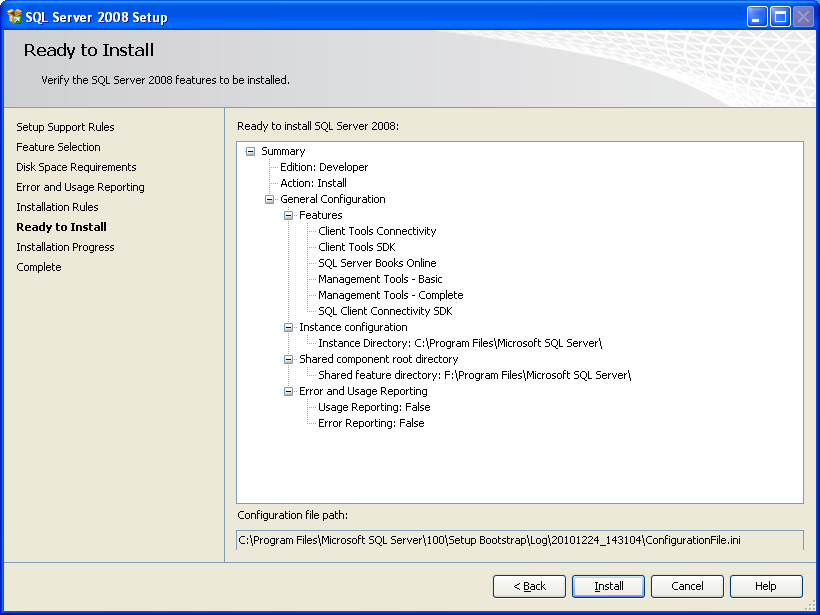
This would indicate that the installation is ready to proceed:

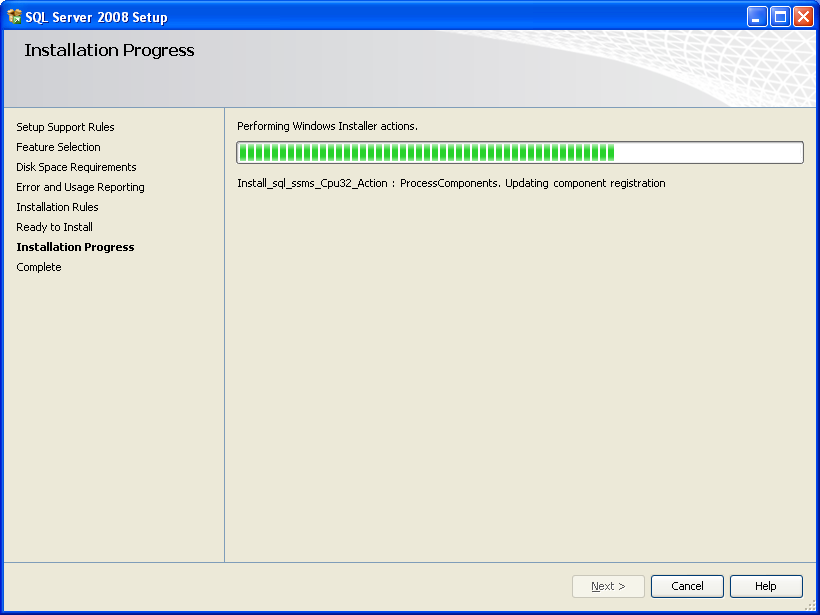
- Server: To start the installation, click Install. The installation would
start and a progress bar would indicate the evolution. This can take a
while
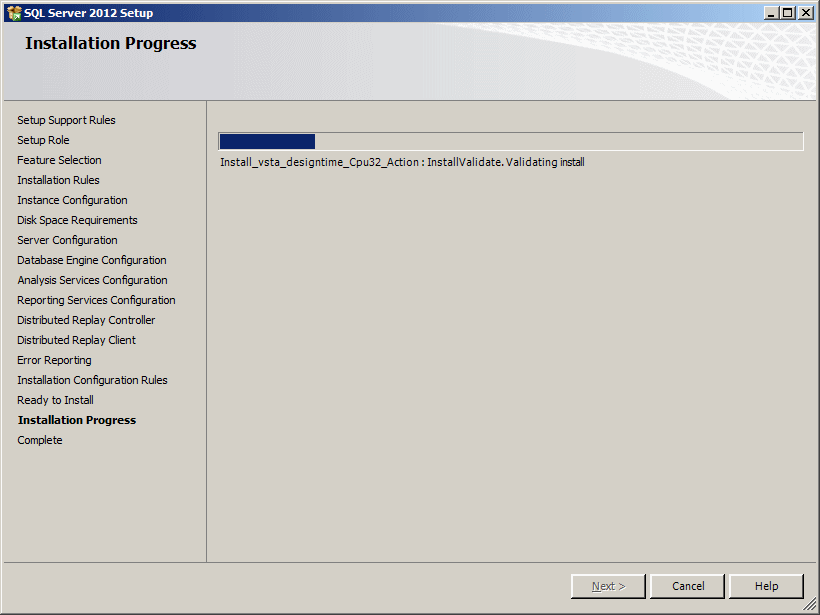

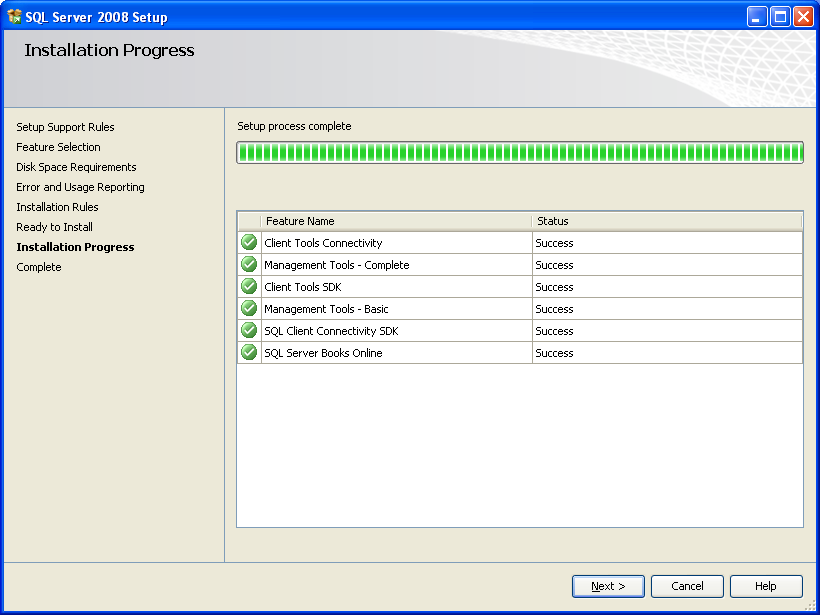
- Server: When this phase is over, a message box will let you know. After reading
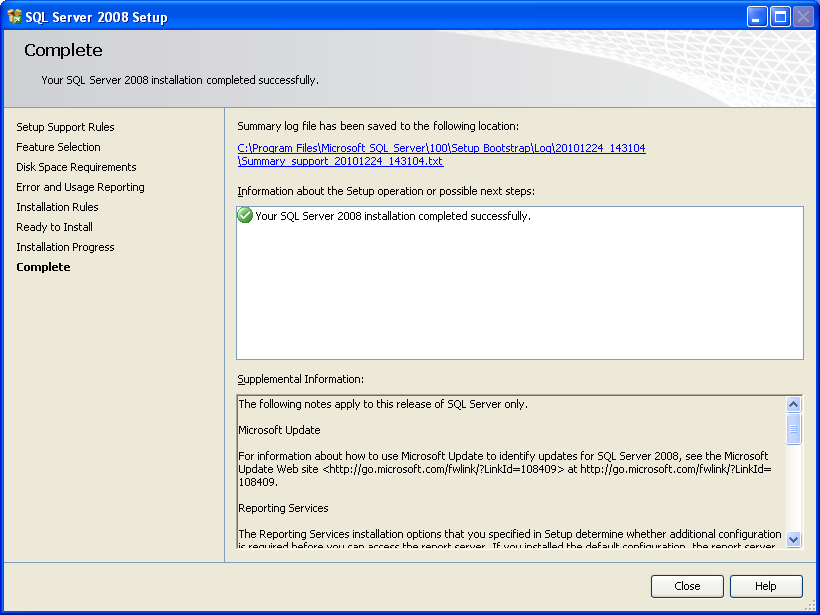
it, you can click Next. The last page of the wizard should announce that the
installation was complete

- Server: After reading the message, click Close
|
|


