|
Introduction |
An icon is a small picture that can be used to represent a Windows control, application, or anything else appropriate on the monitor screen. For example, icons are used to represent applications in My Computer or Windows Explorer.
- Start Microsoft Visual Studio .NET
- On the Start Page, click New Project (alternatively, on the main menu, you can click File -> New -> Project...)
- On the New Project dialog box, in the Project Types tree list, click Visual C++ Projects
- In the Templates list, click Managed C++ Empty Project
- In the Name edit box, replace the <Enter name> content with Icon Design and Nothing Else
- In the Location combo box, accept the suggestion or type your own. If you don't have any, type C:\Programs\MSVC.NET
- Click OK
|
Icon Design |
- To create an icon, on the main menu, click Project -> Add Resource...
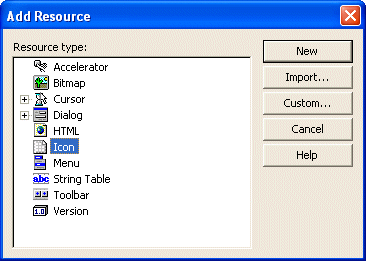
- In the Add Resource dialog box, click Icon:
- Click New
- While the new icon is still selected, on the Properties window,
click Filename, type Belgium and
press Enter. Notice that an extension was added to the file name.
If the Image Editor toolbar is not displaying, on the main menu, click View -> Toolbars -> Image Editor

If the Colors window is not displaying, on the main menu, click Image -> Show Colors Window

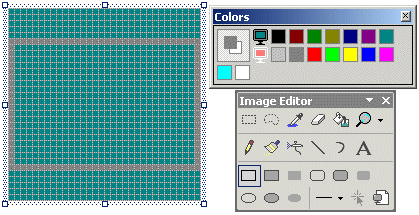
- On the Image Editor toolbar, click the Rectangle Tool button .
- On the Colors window, click the gray button (2nd column, 2nd row)
- On the drawing area, draw a rectangle as follows:
- On the Image Editor toolbar, click the Fill Tool button

- On the Colors window , click the red color (3rd column, 2nd row)
- Click inside of the drawn rectangle
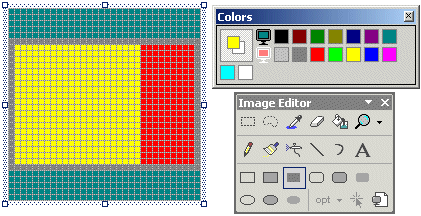
- On the Image Editor toolbar, click the Filled Rectangle Tool button.
- On the Colors window, click the yellow color (4th column, 2nd row).
- Draw a rectangle as follows (if you make a mistake, to modify the color of
one of the areas, change the color using the Colors window):
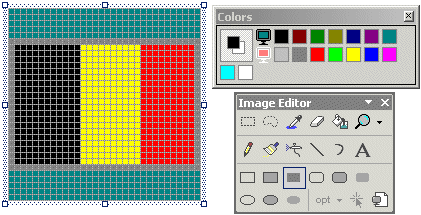
- On the Colors window, click the black color (1st column, 1st row)
- Draw a rectangle as follows:
- To associate an equivalent smaller icon, on the main menu, click Image
-> New Image Type...
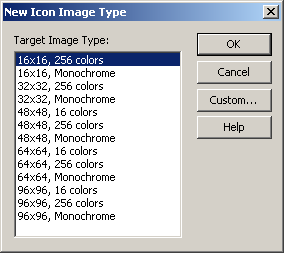
- Make sure that 16x16, 16 Colors is selected and click OK.
- On the Image Editor toolbar, click the arrow of the Magnification Tool and click 8x
- On the Image Editor toolbar, click the Filled Rectangle button.
- On the Colors window, click the red color.
- Draw a red rectangle as follows:
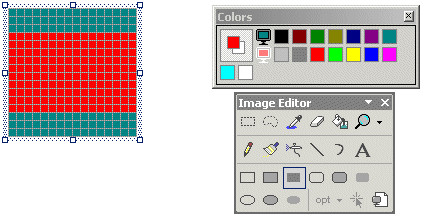
- On the Colors window, click the yellow color
- Draw a yellow rectangle as follows:
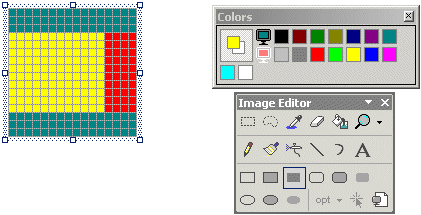
- On the Colors window, click the black color
- Complete the flag as follows:
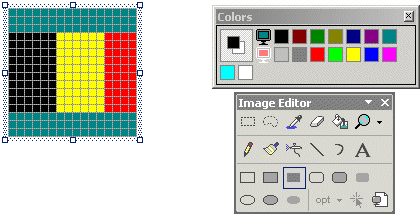
- To save the icon, click the Save All button
- To create another icon, on the main menu, click Project -> Add Resource...
- In the Add Resource dialog box, double-click Icon.
- On the Properties window, click Filename. Type Diamond and press Enter
- On the Image Editor toolbar, click the arrow of the Magnification Tool and click 8x
- On the Image Editor toolbar, click the Line Tool button

- In the Colors window, click the blue color (7th column, 2nd row)
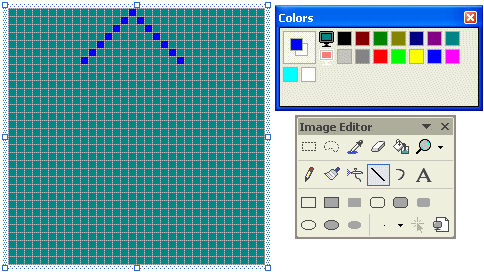
- In the empty drawing area, count 15 pixels from the top left to the right. On the 16th box, click and drag right and down for an angle of 45˚ for 7 boxes. Release the mouse
- Click the same top blue box and drag left and down at 45˚ for 7 boxes:
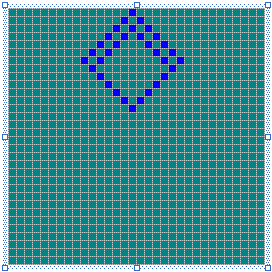
- Draw a diamond under the first one as follows:
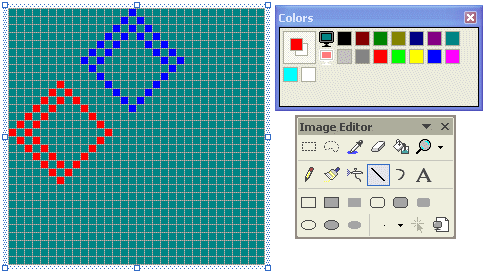
- On the Colors window, click the red color (3rd column, 2nd row).
- Draw a reverse graphic with regard to the above dialog as follows:
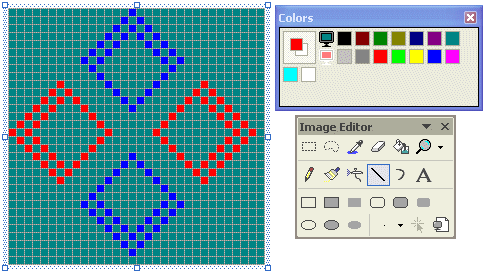
- Using the blue and the red colors, design the other diamonds as follows:
- On the Colors window, click the white button
- Using the Line Tool, draw four borders as follows:
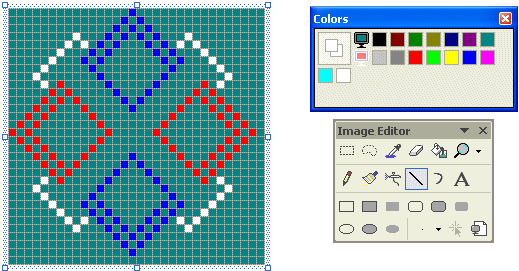
- Still using the Line Tool and the white color, draw new white lines as
follows:
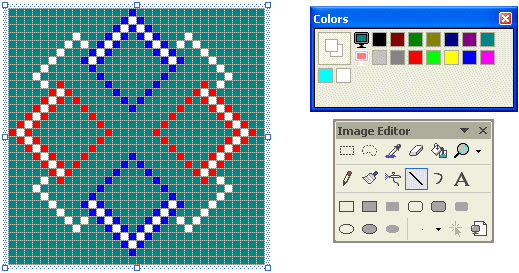
- On the Image Editor toolbar, click the Fill Tool button
 .
. - Using the white, red, and blue colors, fill the icon as follows:
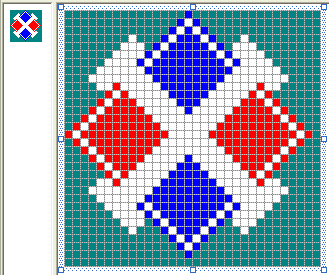
- To create the smaller equivalent icon, on the main menu, click Image -> New Image Type...
- Make sure that 16x16, 16 Colors is selected and click OK.
- Using the same above approach, design the icon as follows:
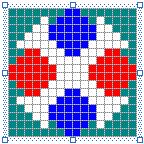
- Save the icon
- To create a new icon, on the main menu, click Project -> Add Resource…
- Double-click Icon and zoom for 8x ratio
- Save the icon as Feather
- On the Image Editor toolbar, click the Curve Tool.
- In the drawing area, position your mouse on the top right corner 3 pixels from the right border and one pixel from top.
- Click and drag down and left to draw a diagonal line to stop at 3 pixels from the left border and 1 pixel from the bottom border:
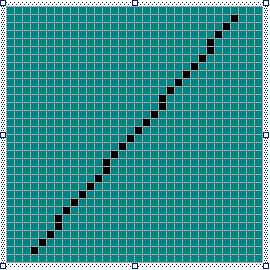
- While the curve is still selected, click the 3rd pixel from left and 1st
from top as follows:
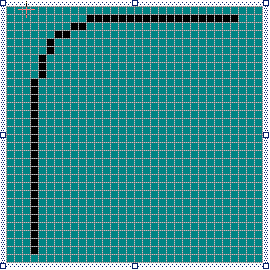
- As the curve is still continuing, to smooth the curved line, click
somewhere in the middle left section as follows:
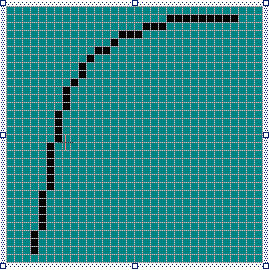
- With the Curve Tool still selected, draw the same diagonal line you drew
earlier:
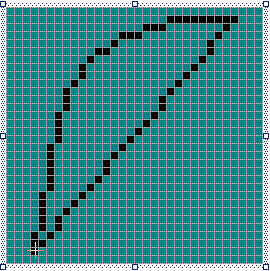
- Click the 3rd pixel from right and the bottom borders:

- Click somewhere in the middle center of the icon:
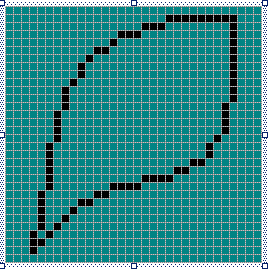
- While the Curve tool is selected, draw one more diagonal line similar to the previous
ones:
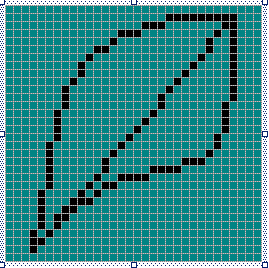
- To make the line curved, click somewhere in the middle top section of the
icon. Click somewhere in the Center left section of the icon to complete the
curved middle line:
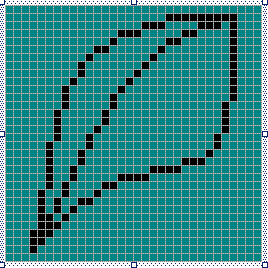
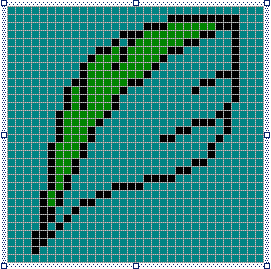
- As you may realize, we are drawing a leaf or feather. Therefore, add a few black pixels to decorate the
icon. Using the Fill Tool, add a green background to the icon:
- In the same way, design an equivalent 16x16 pixels icon
- Save All