Blender Tutorials: African Drum - Ñgom
Blender Tutorials: African Drum - Ñgom
Modeling a Plane
Blender.
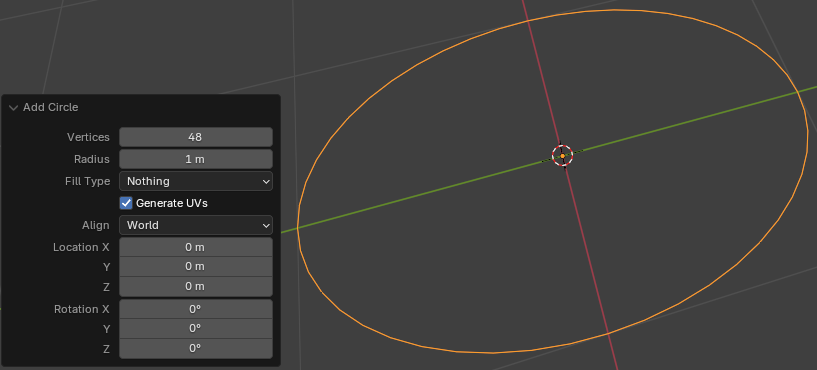
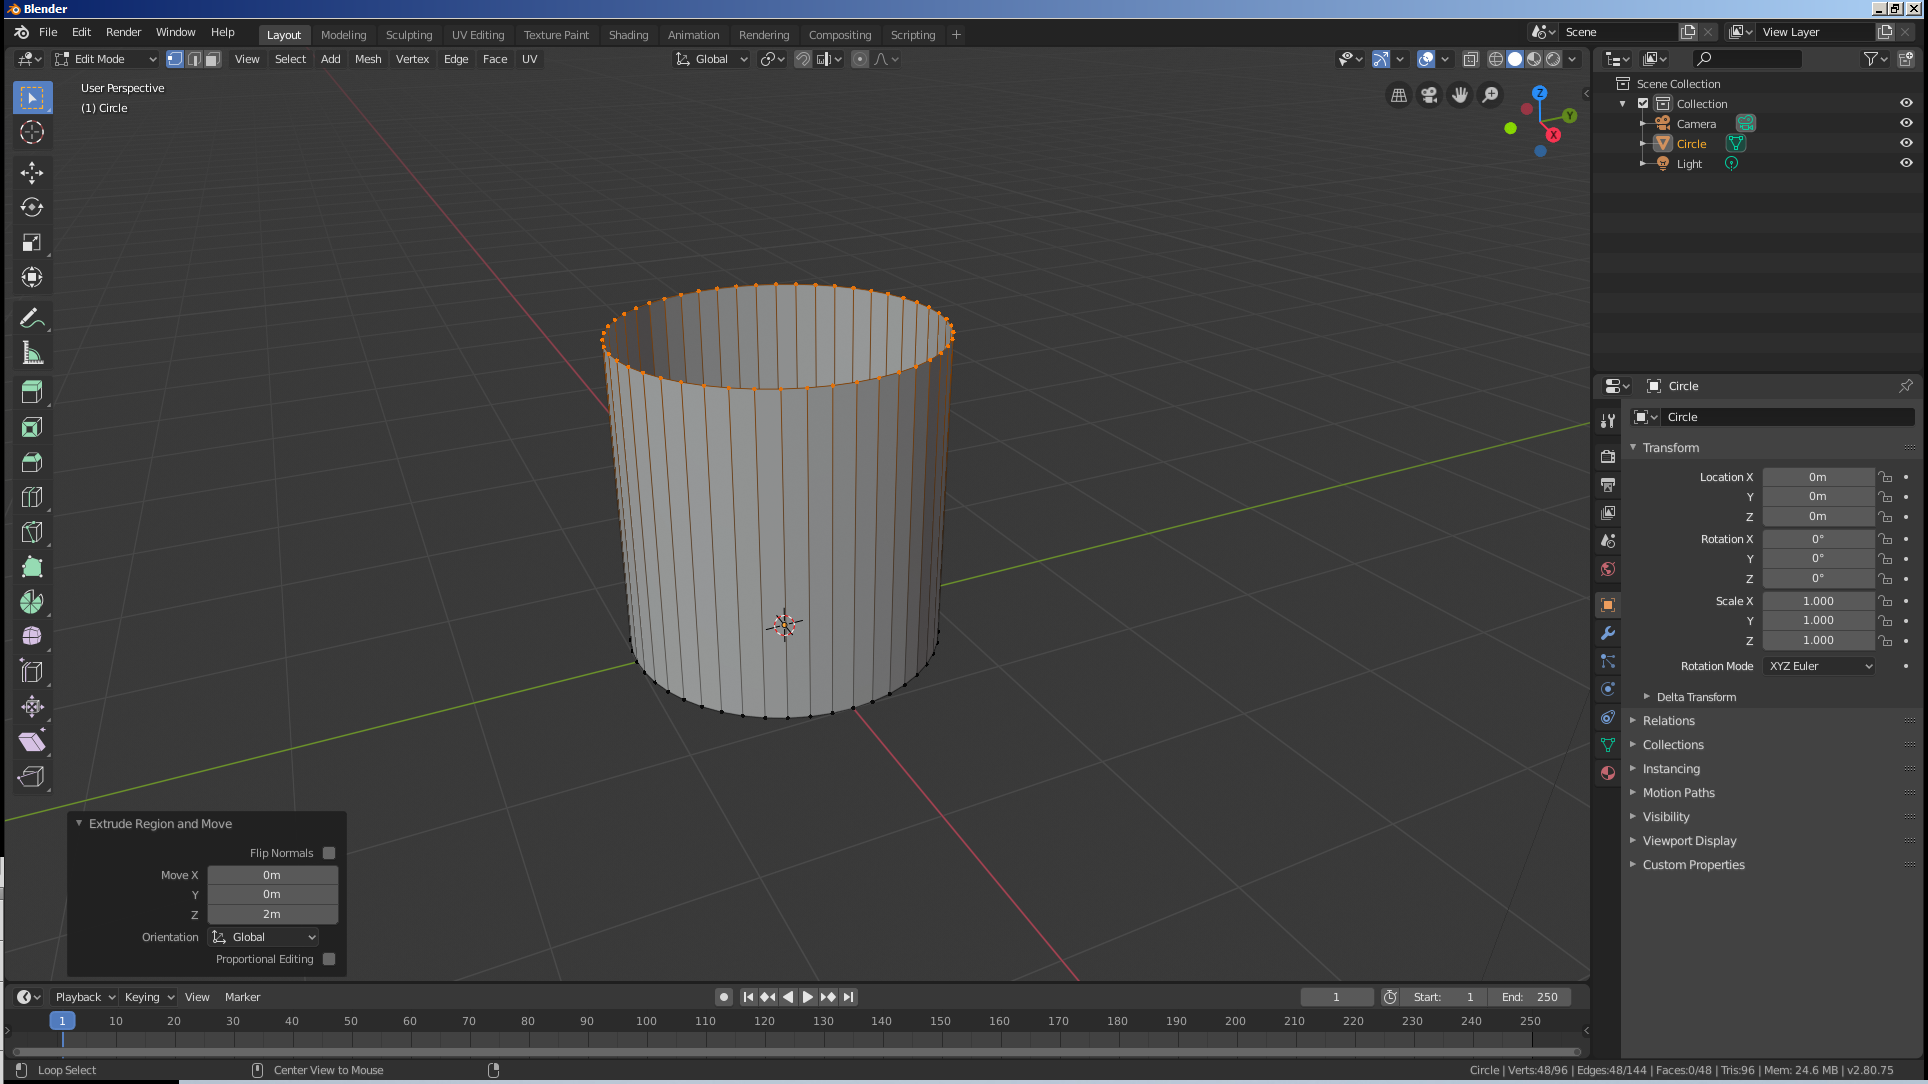
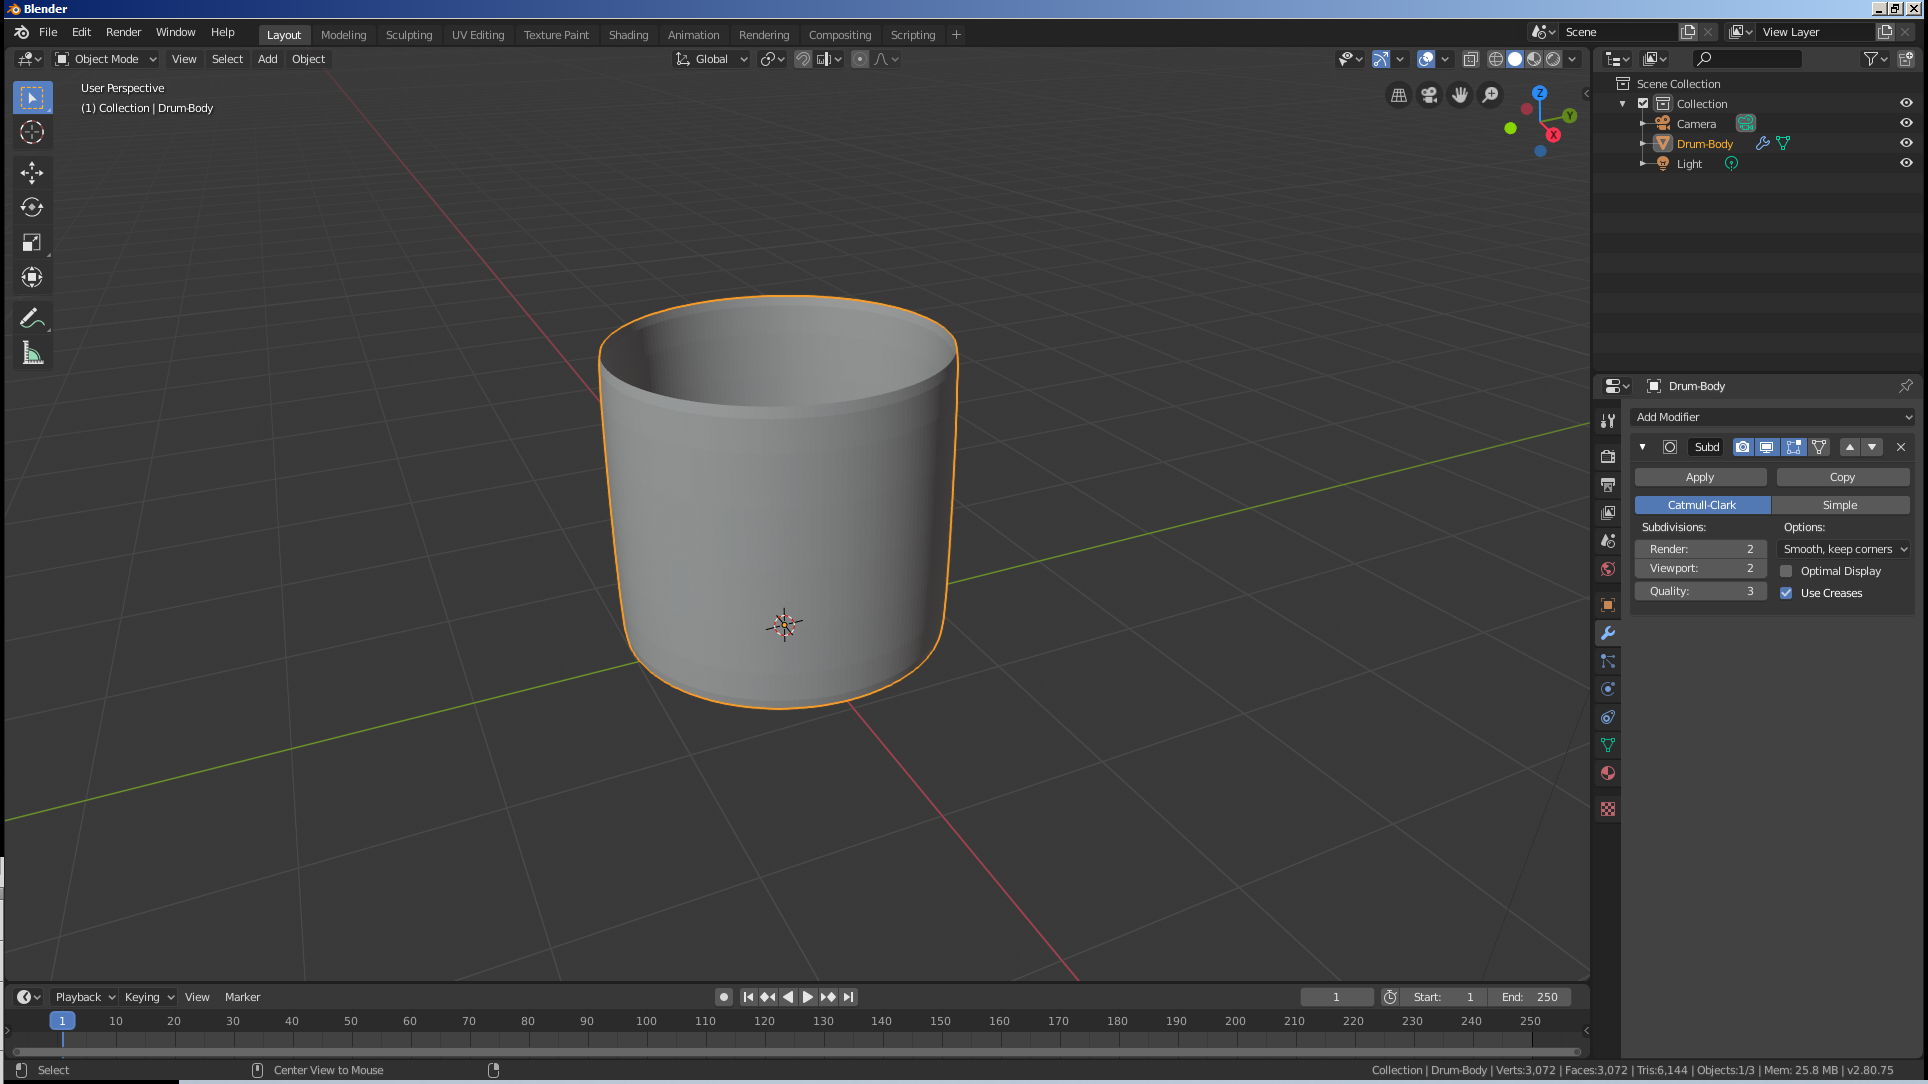
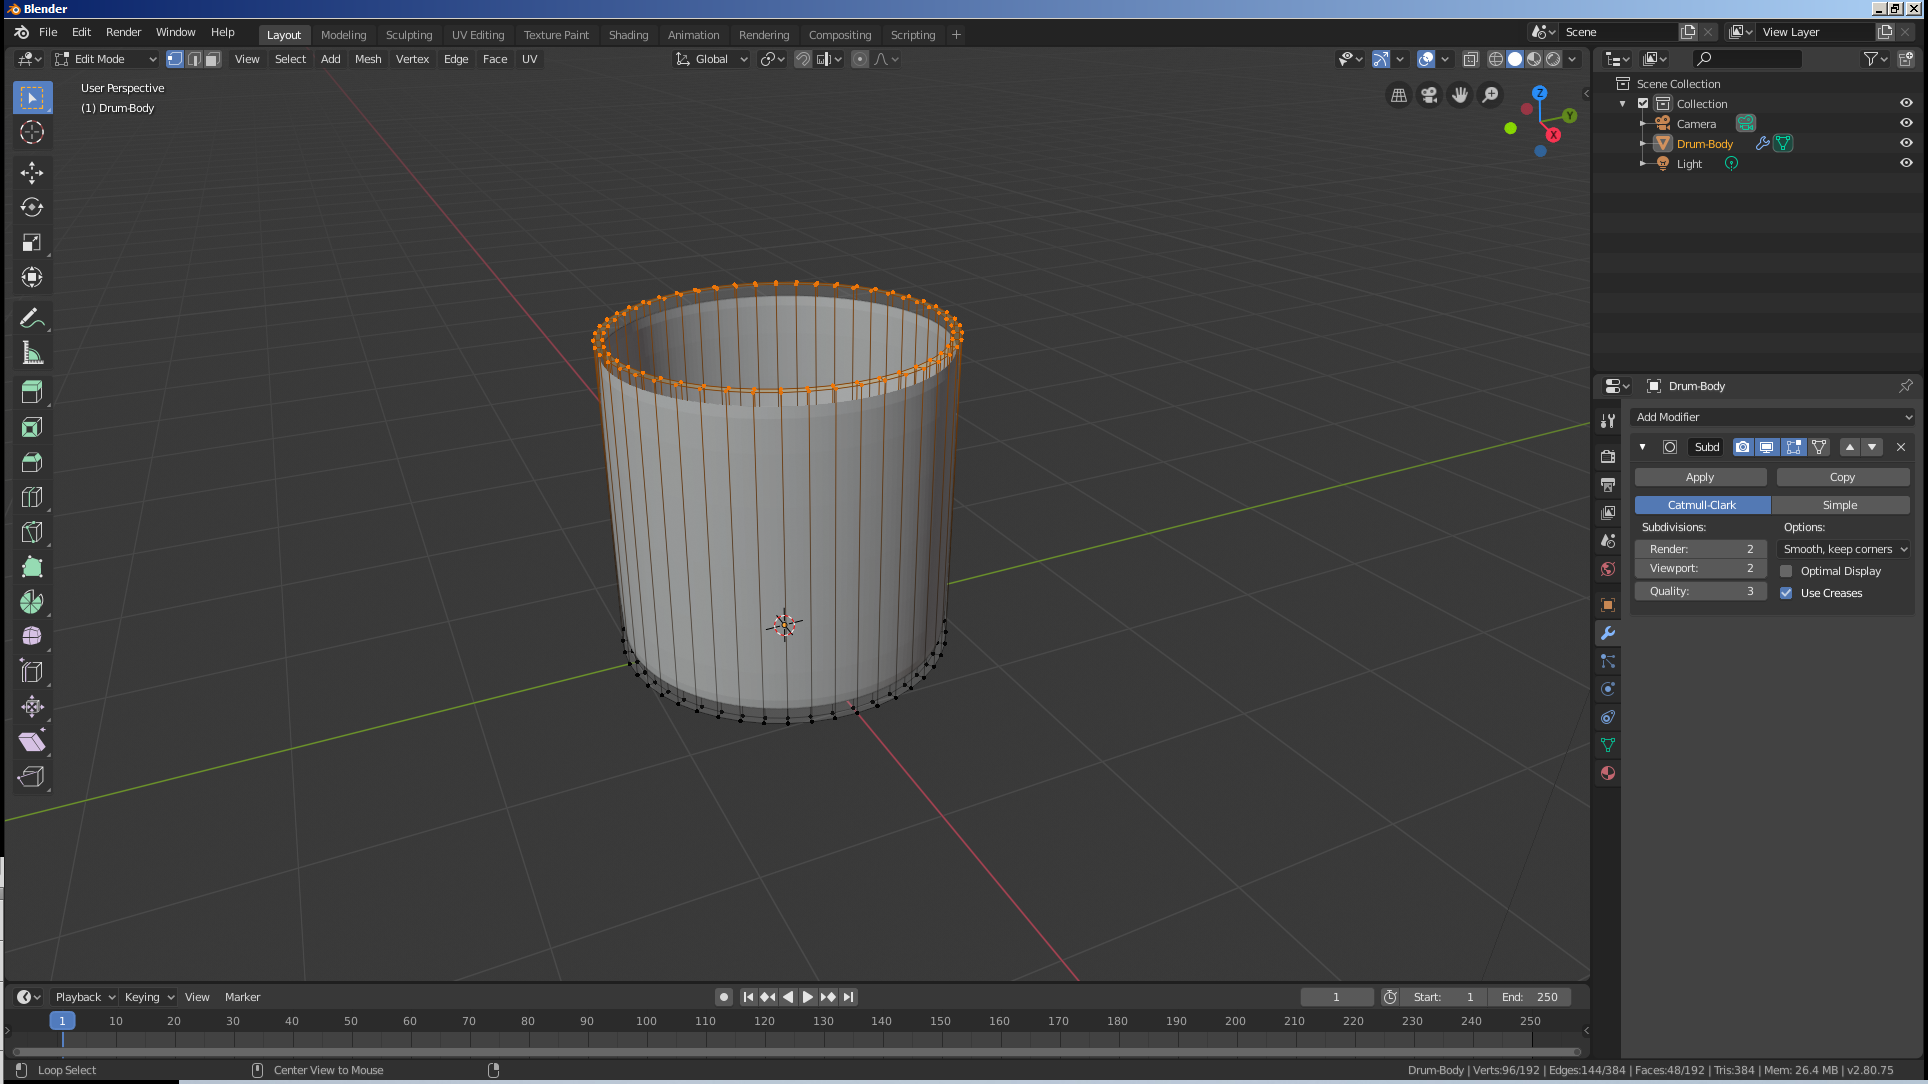
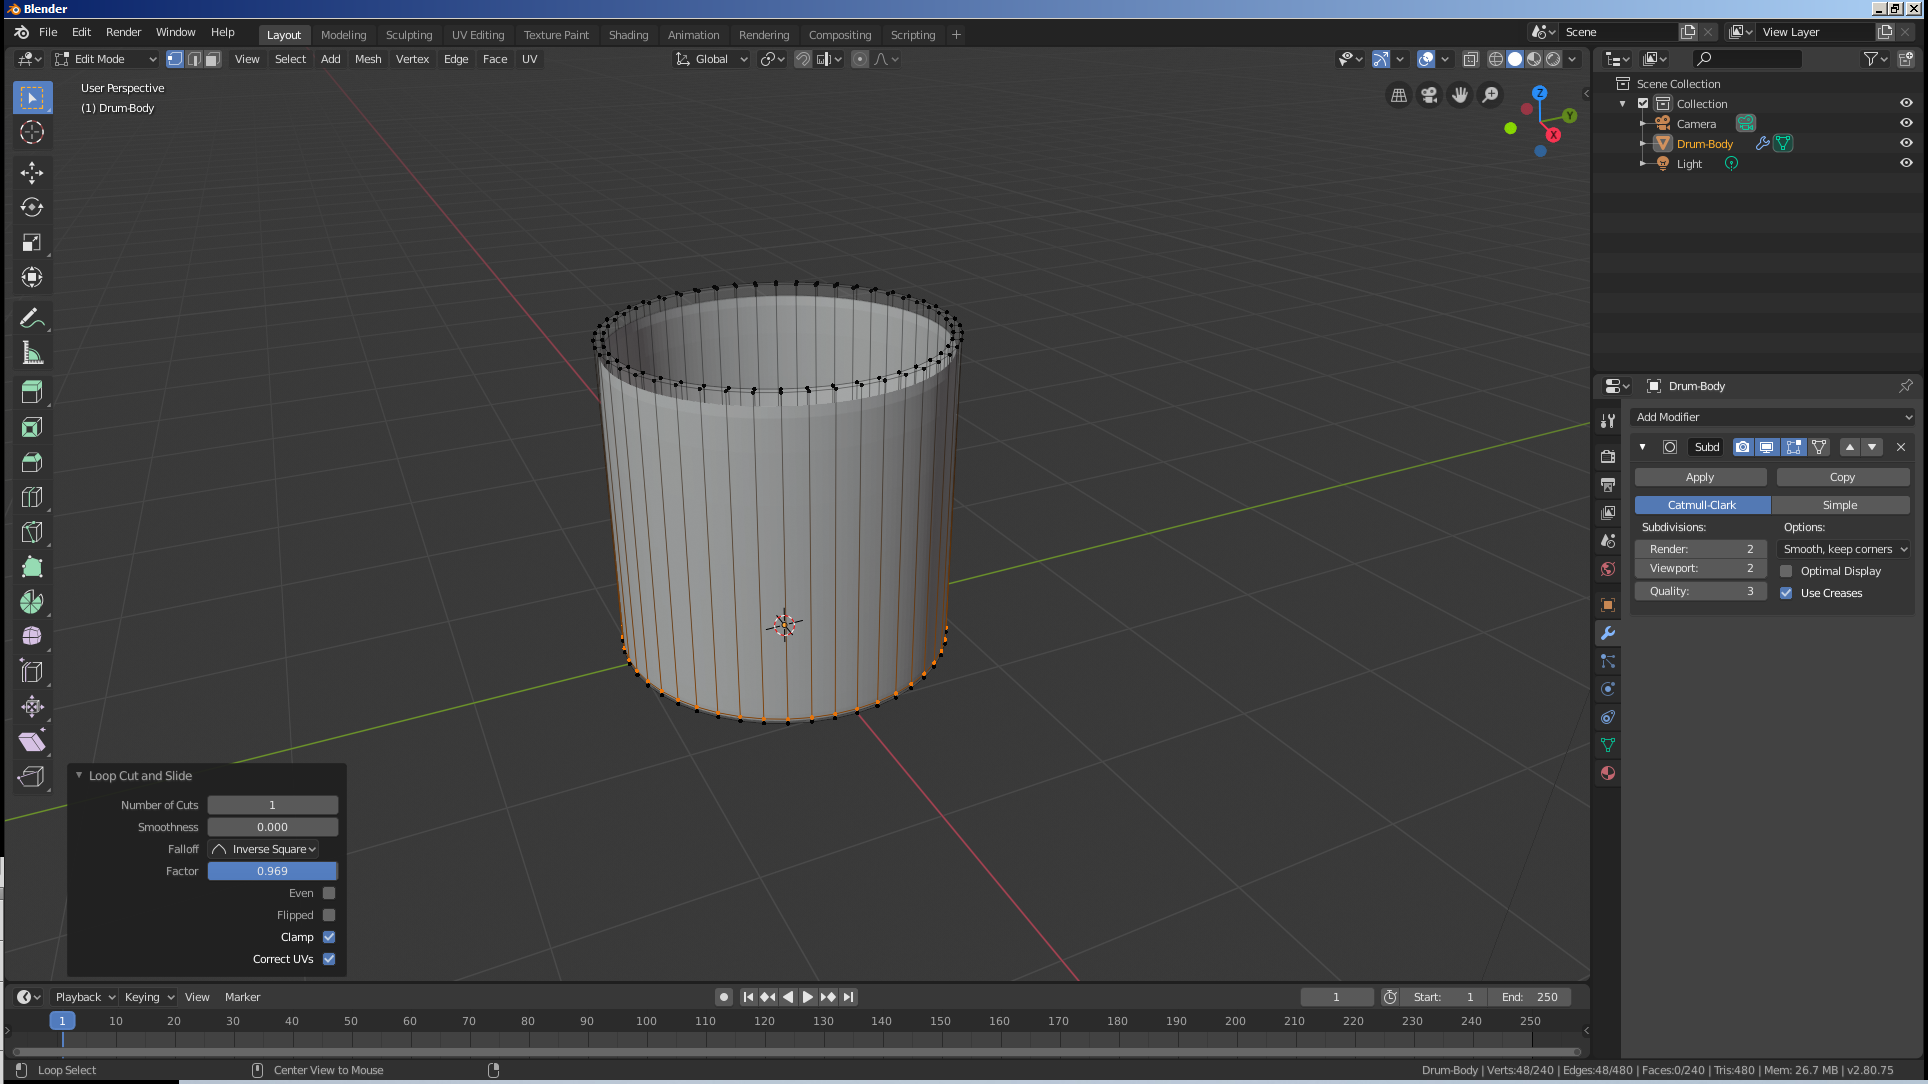
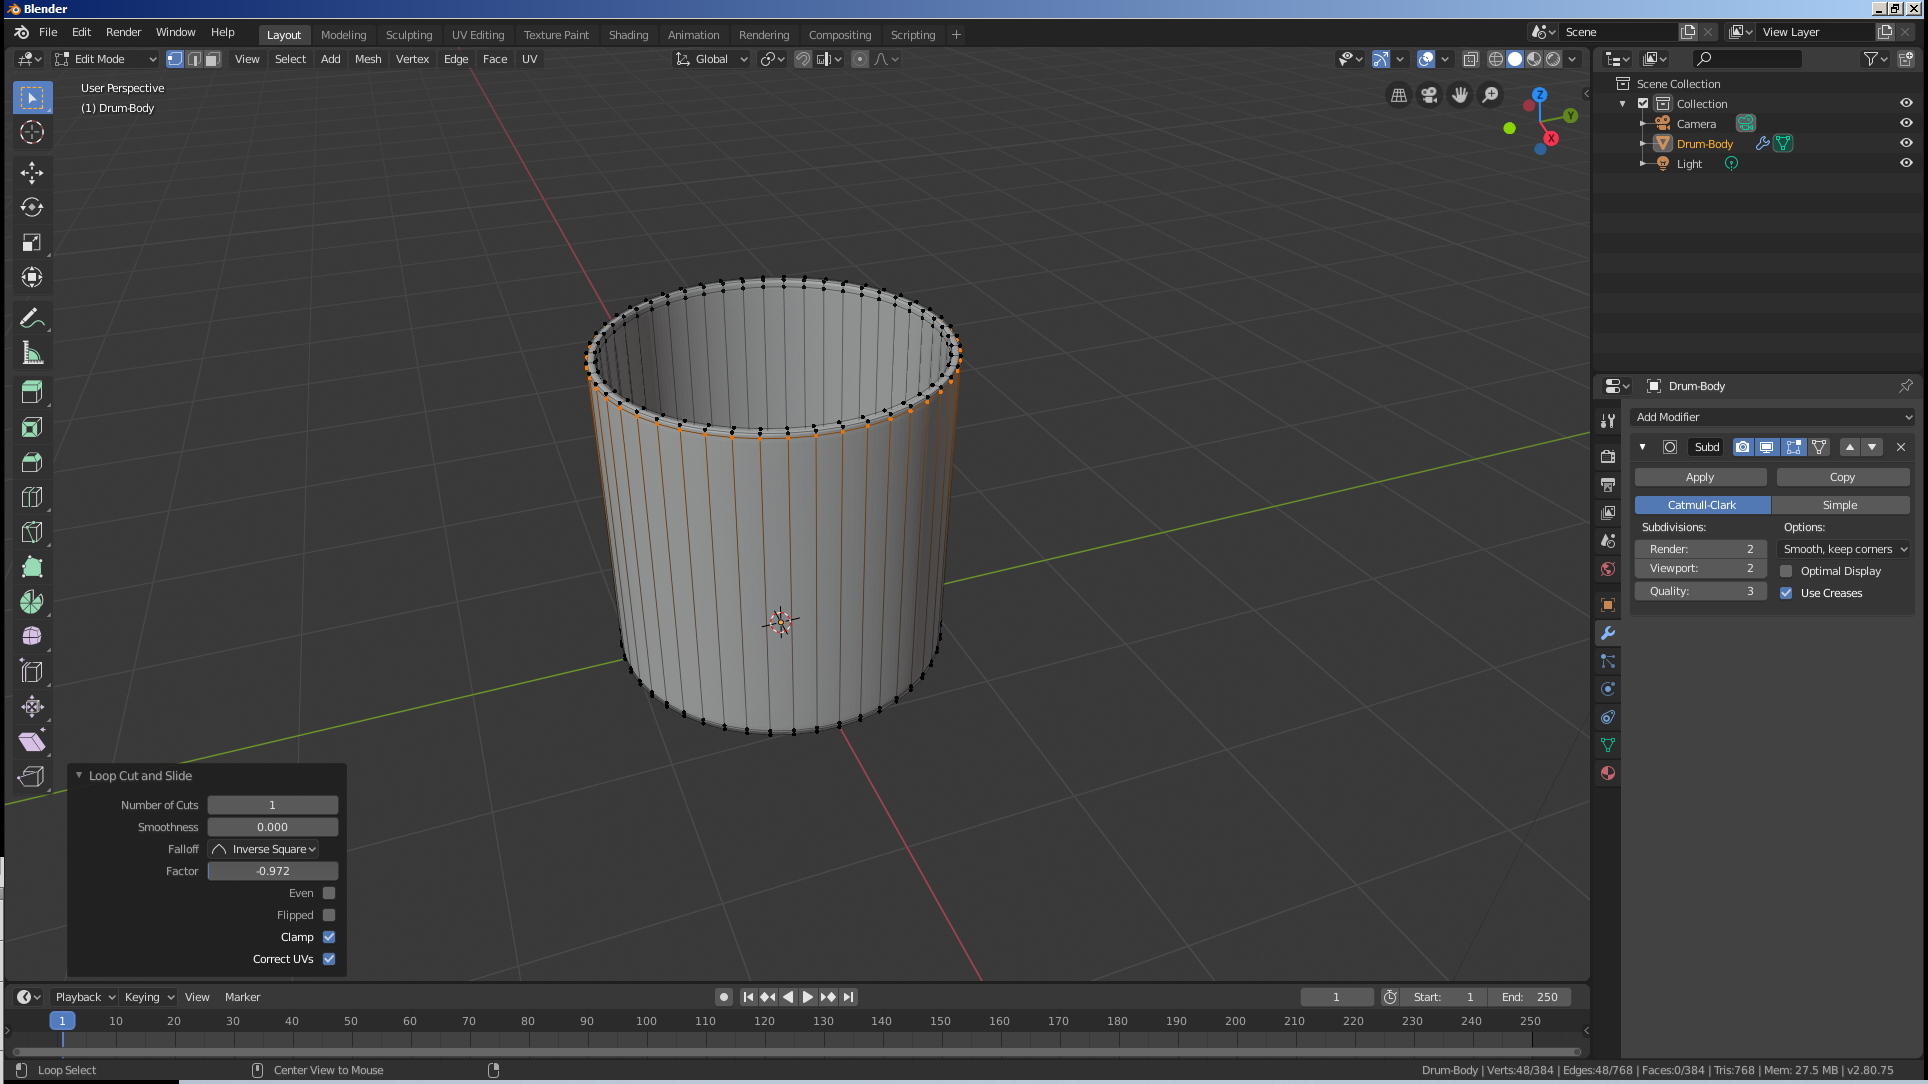
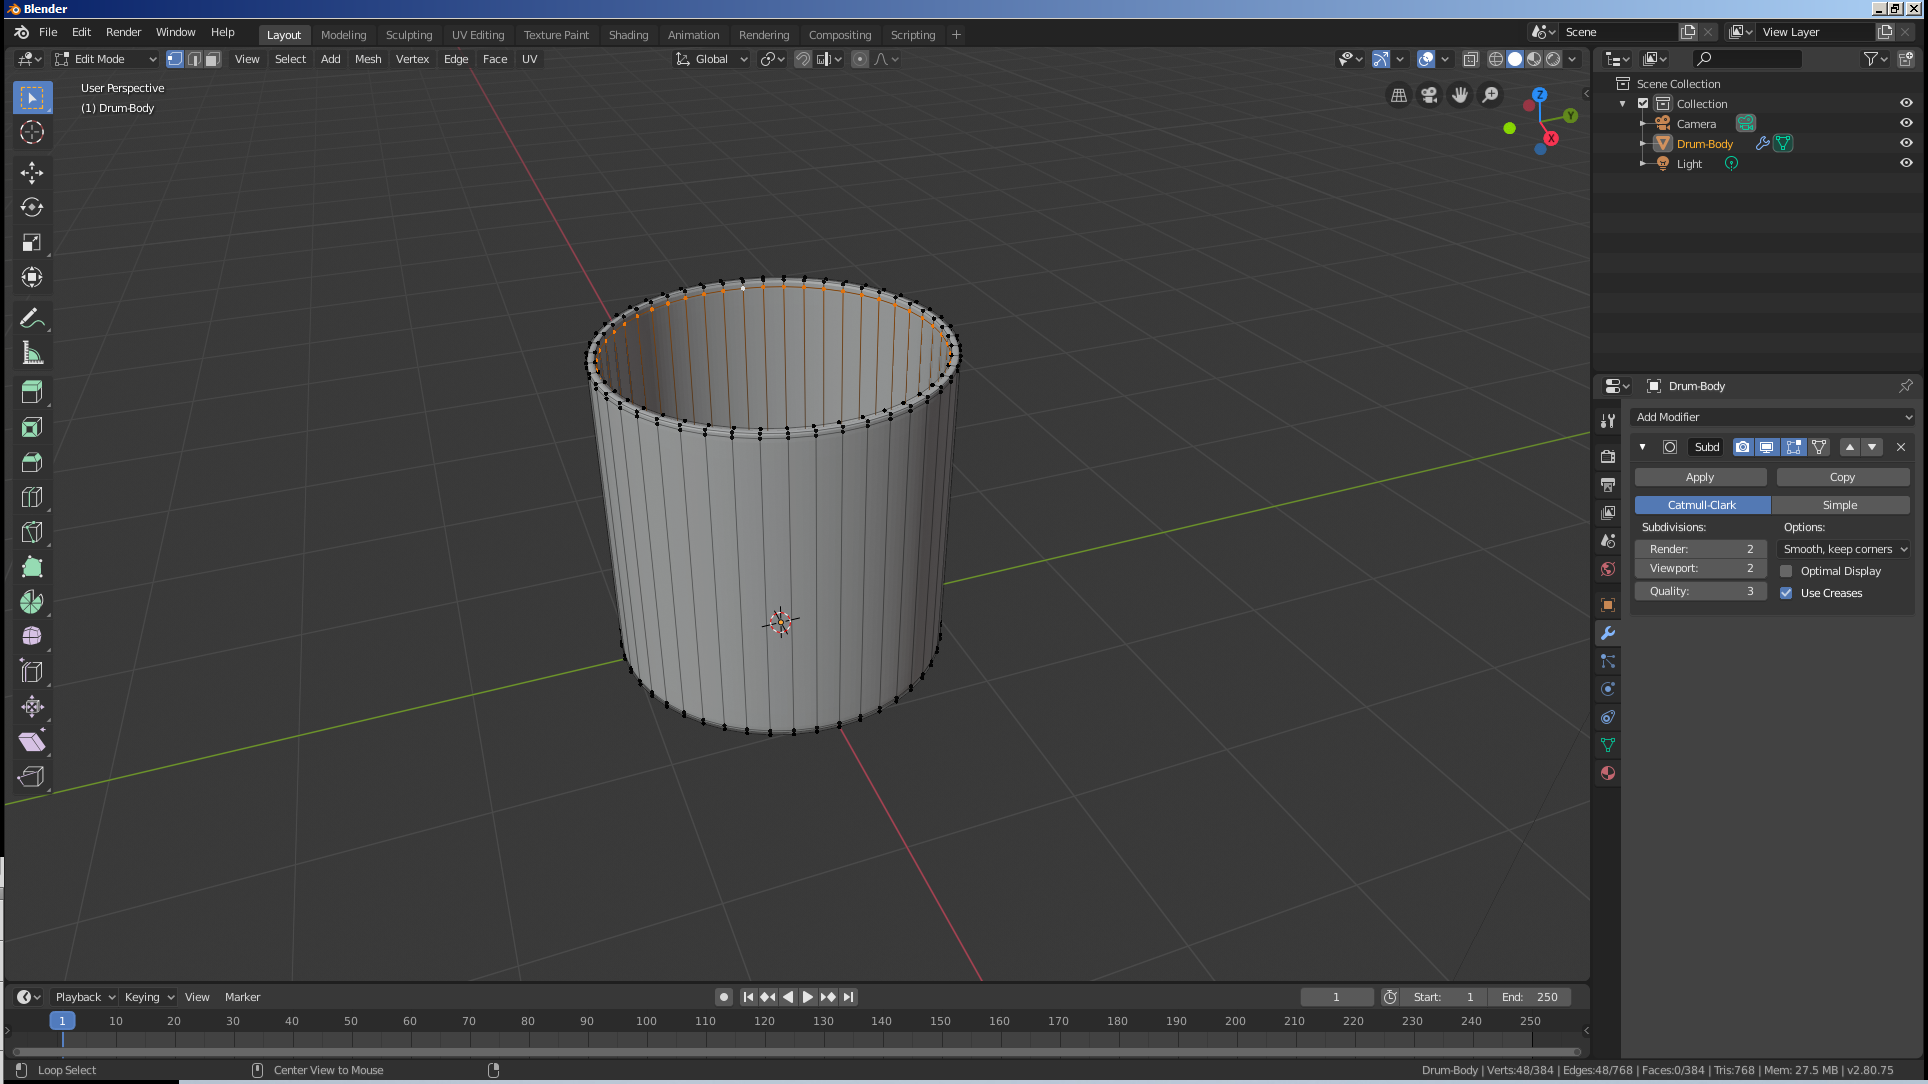
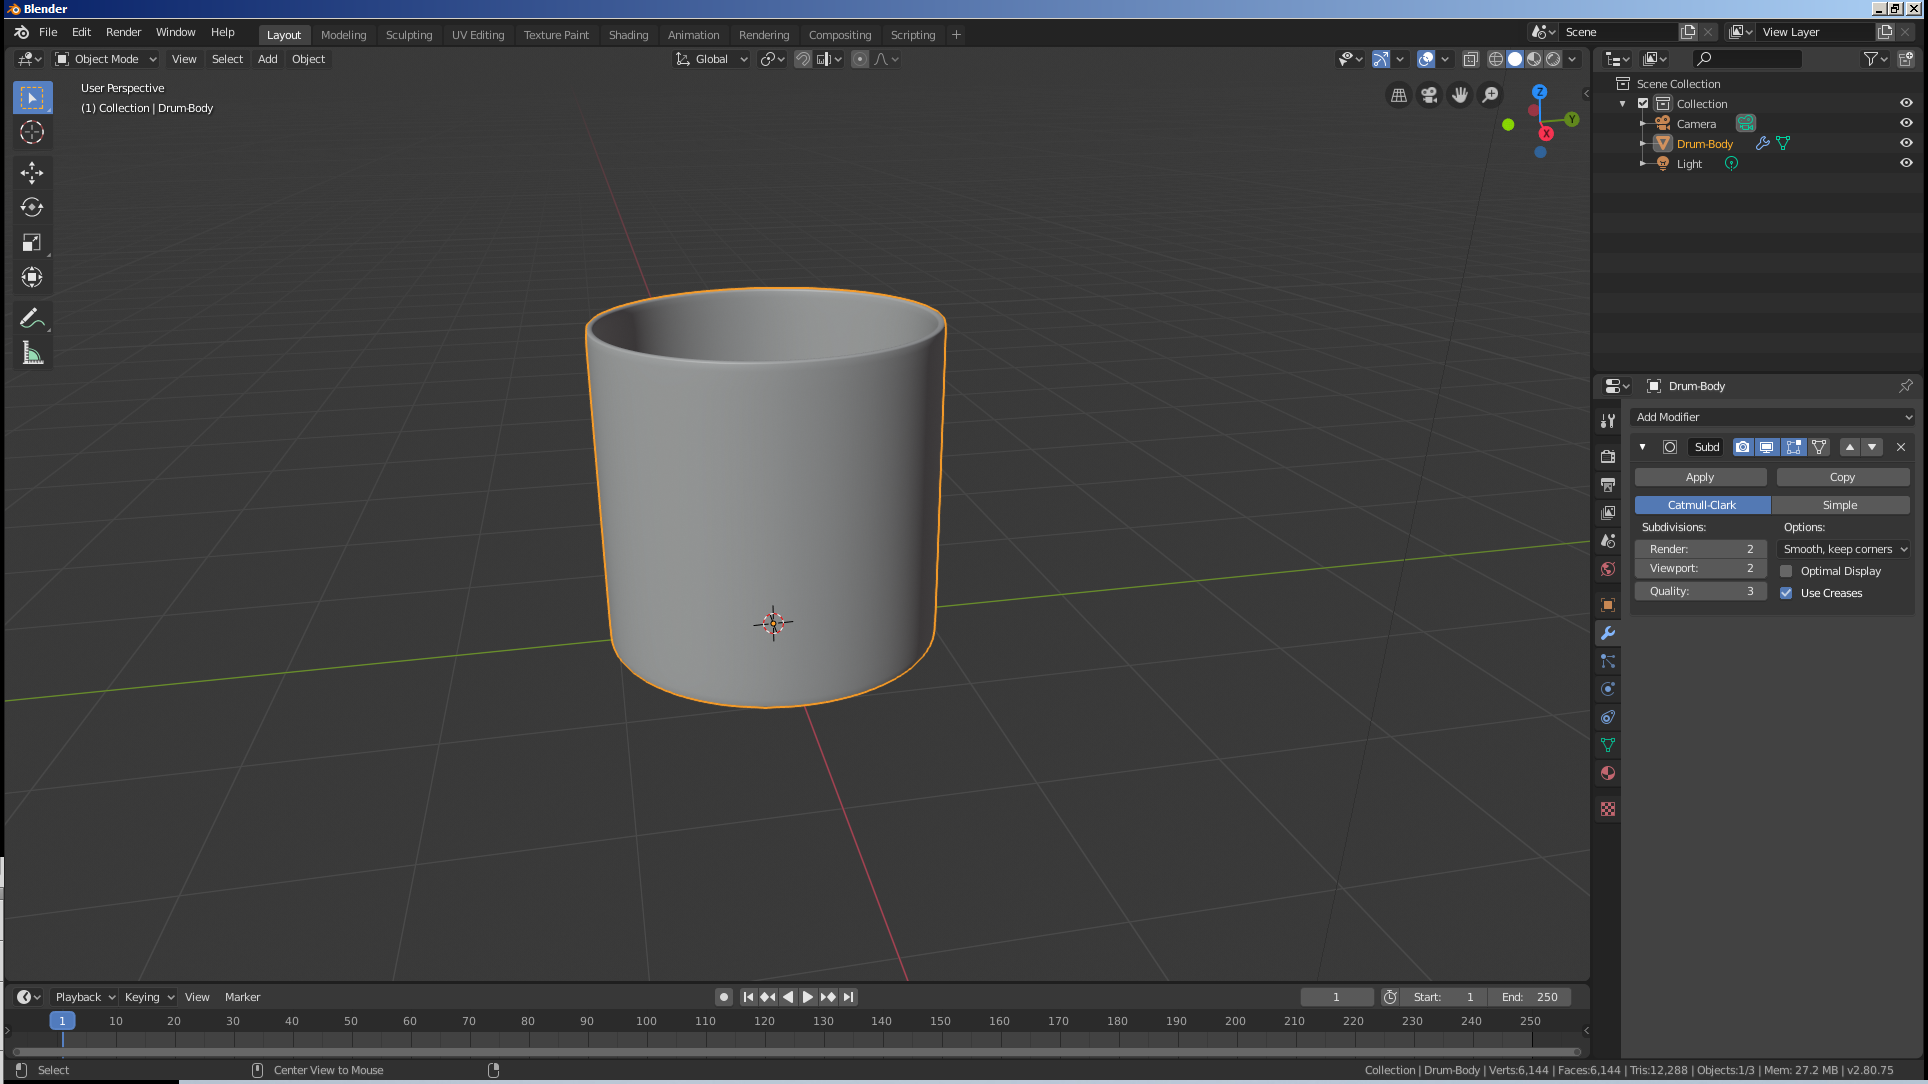
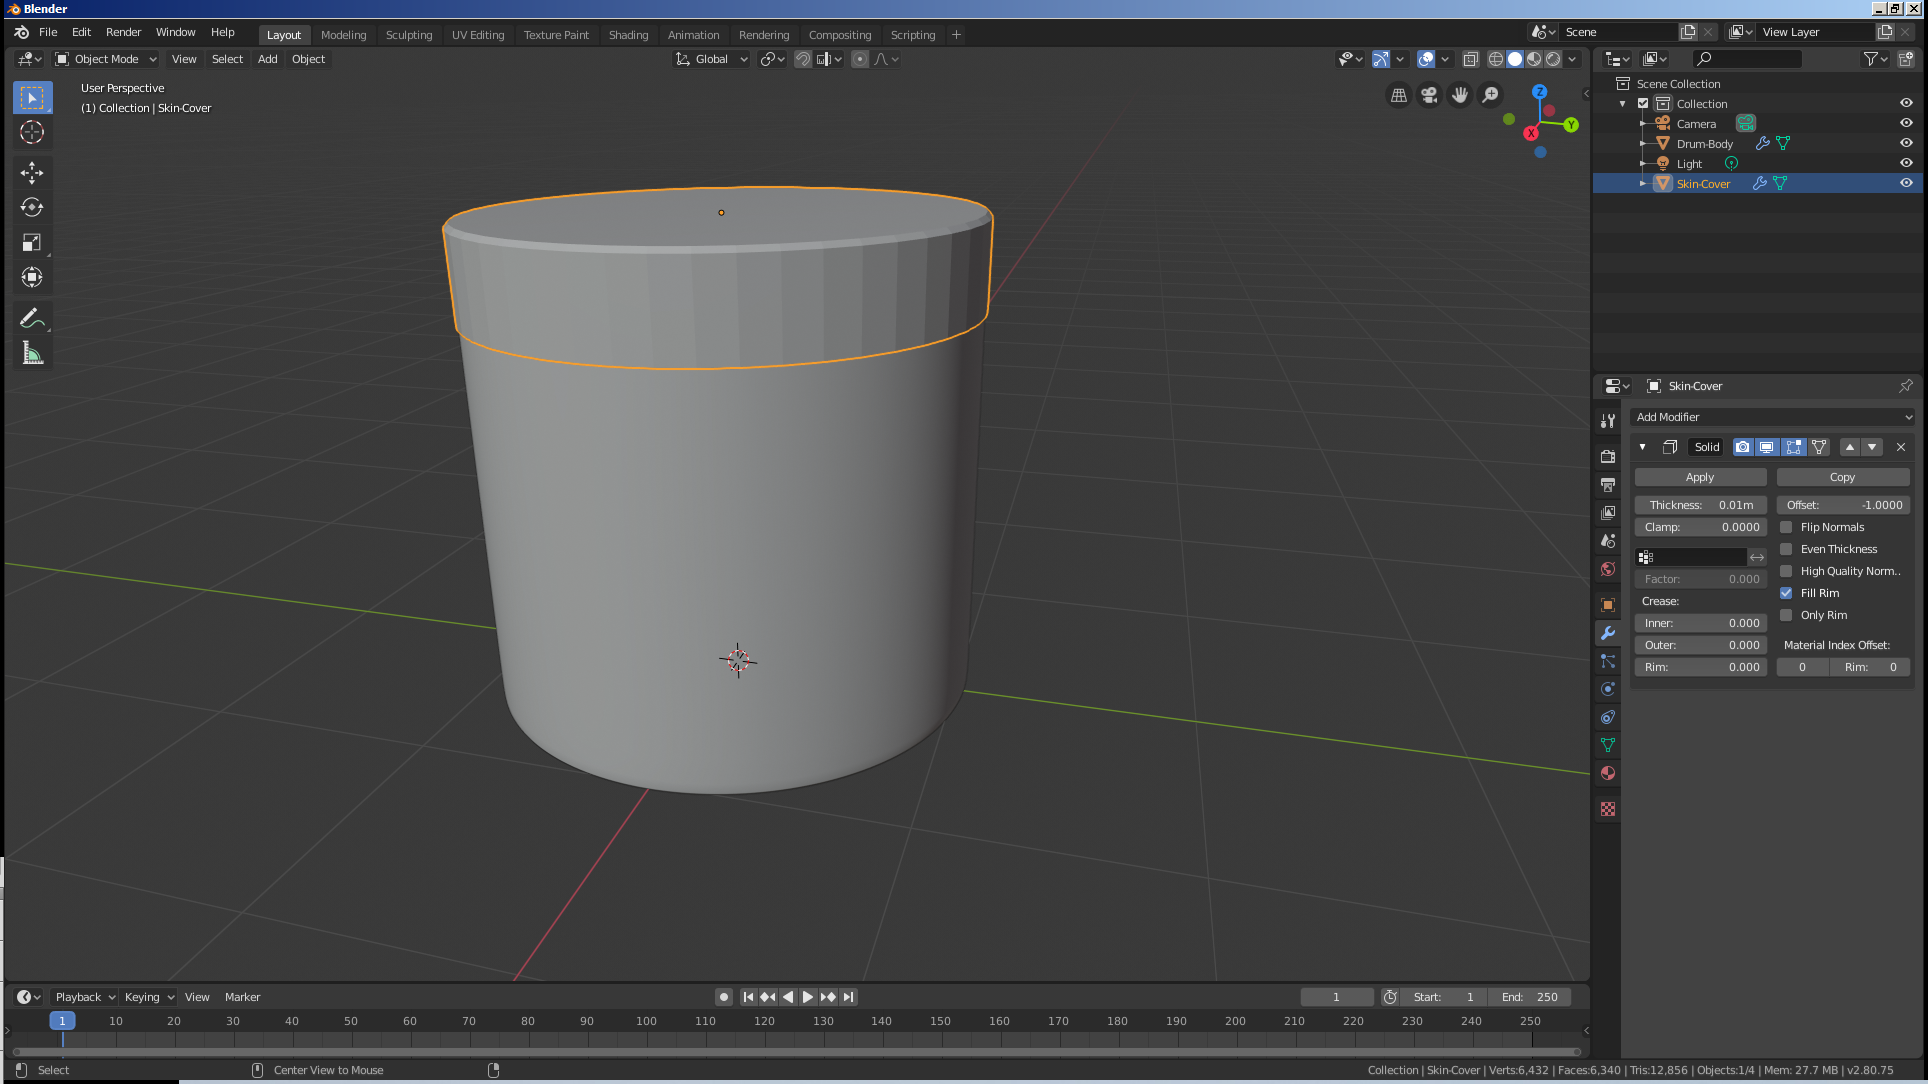
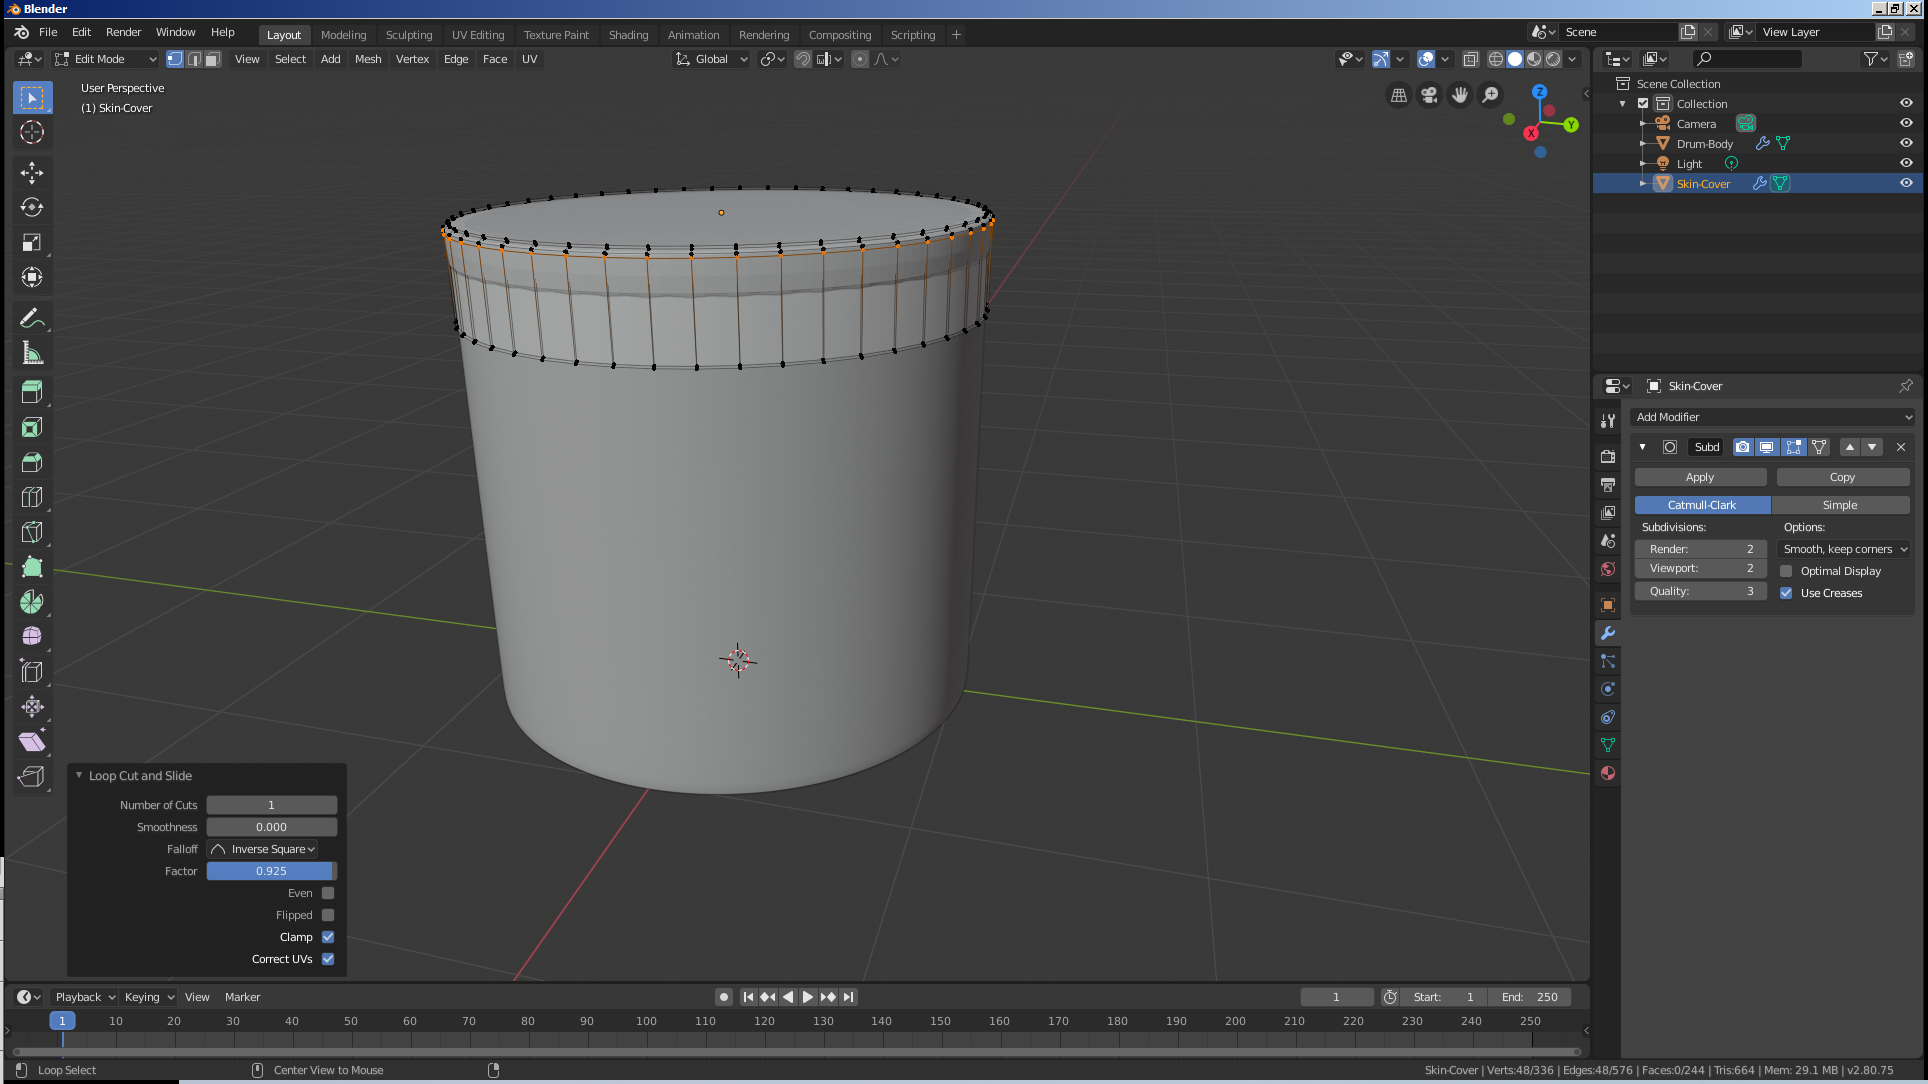
Practical Learning: Modeling the Drum Body
Vertices:  48
Fill Type: Nothing
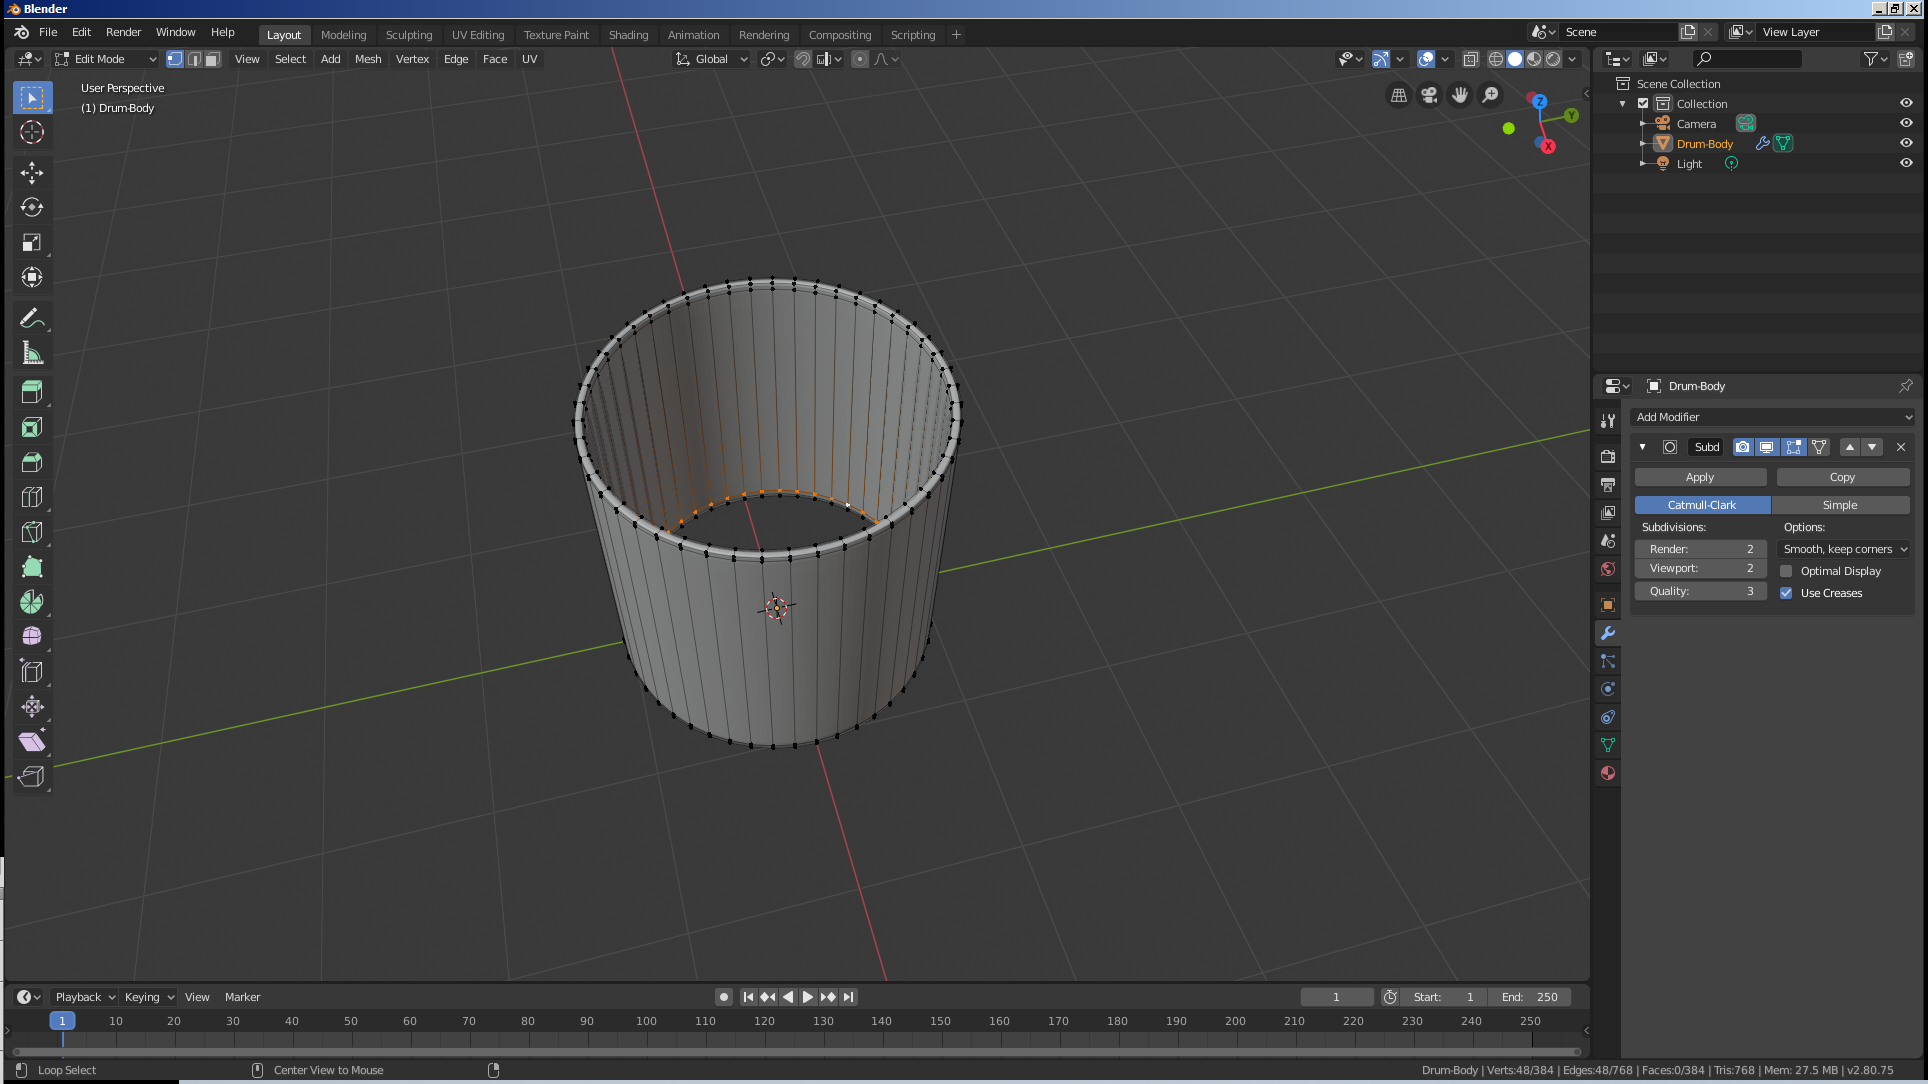
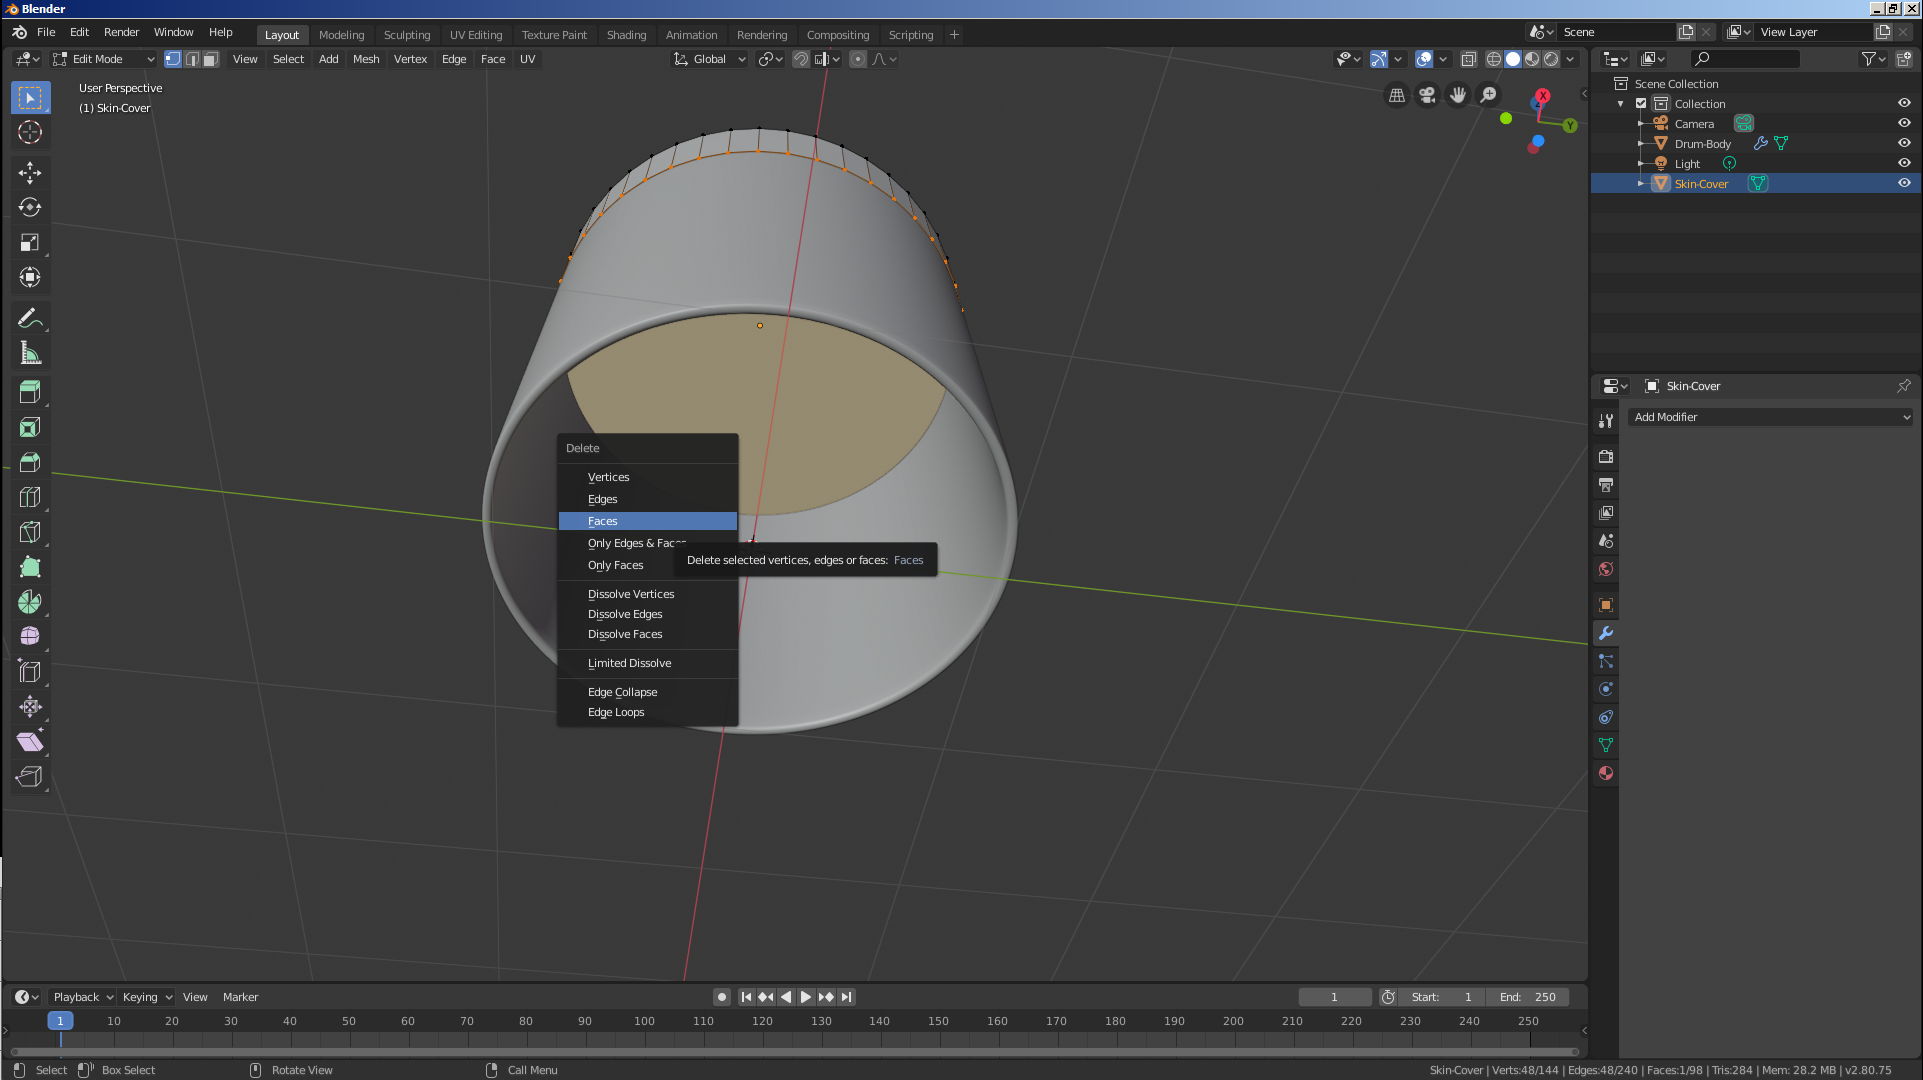
![]() Practical Learning: Creating the Beating Rim
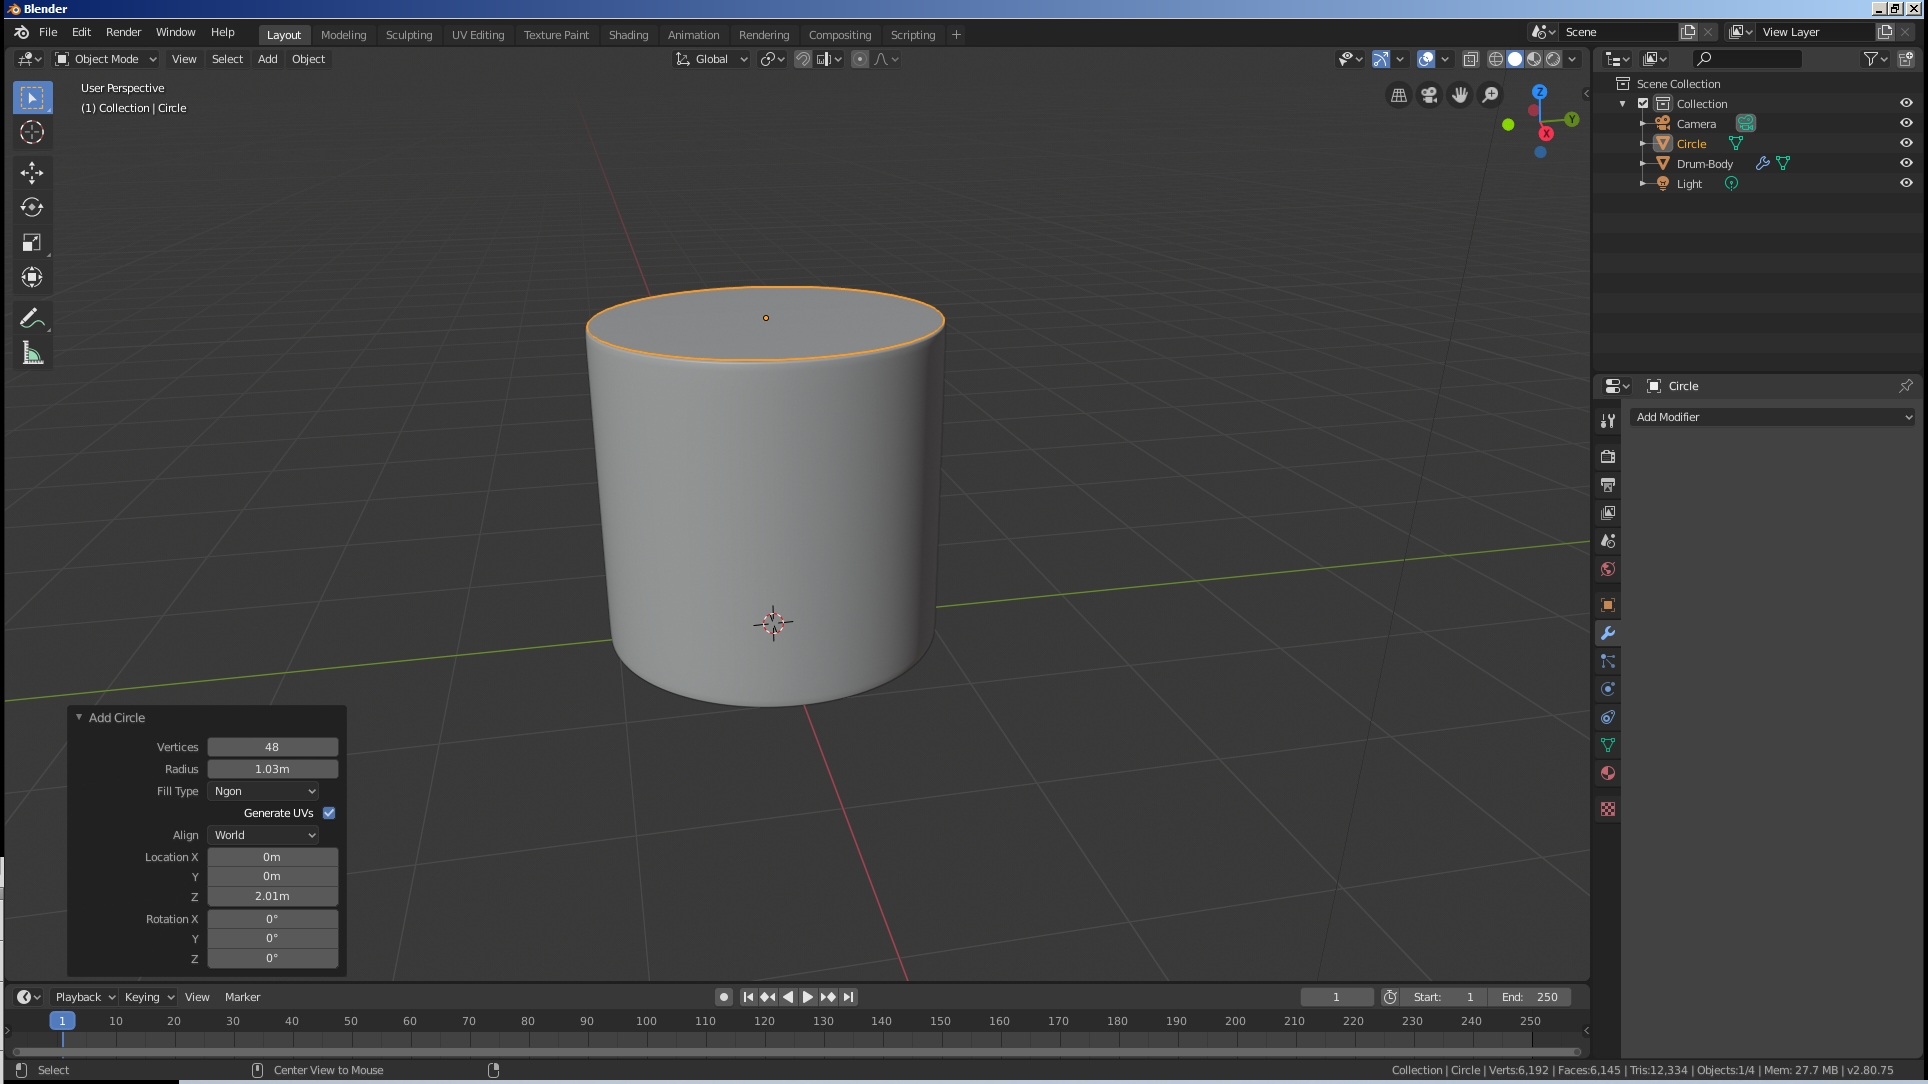
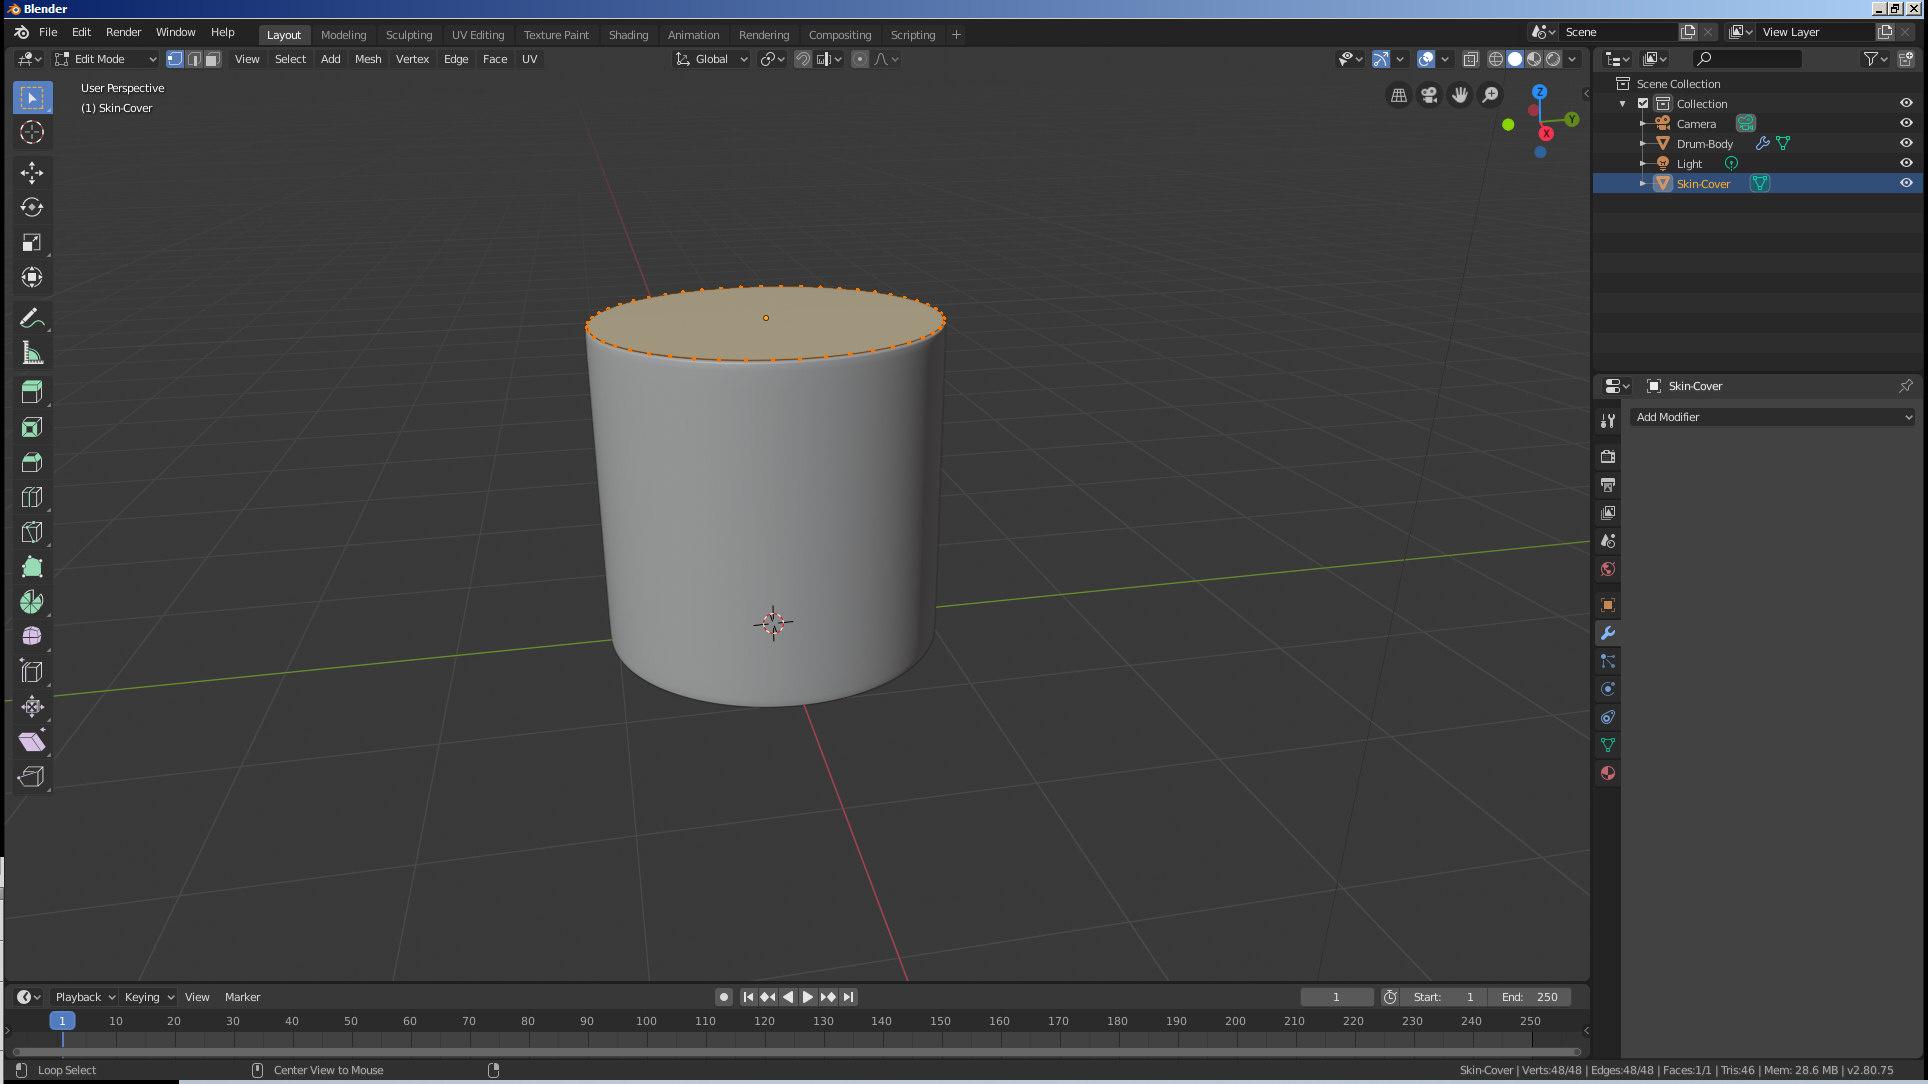
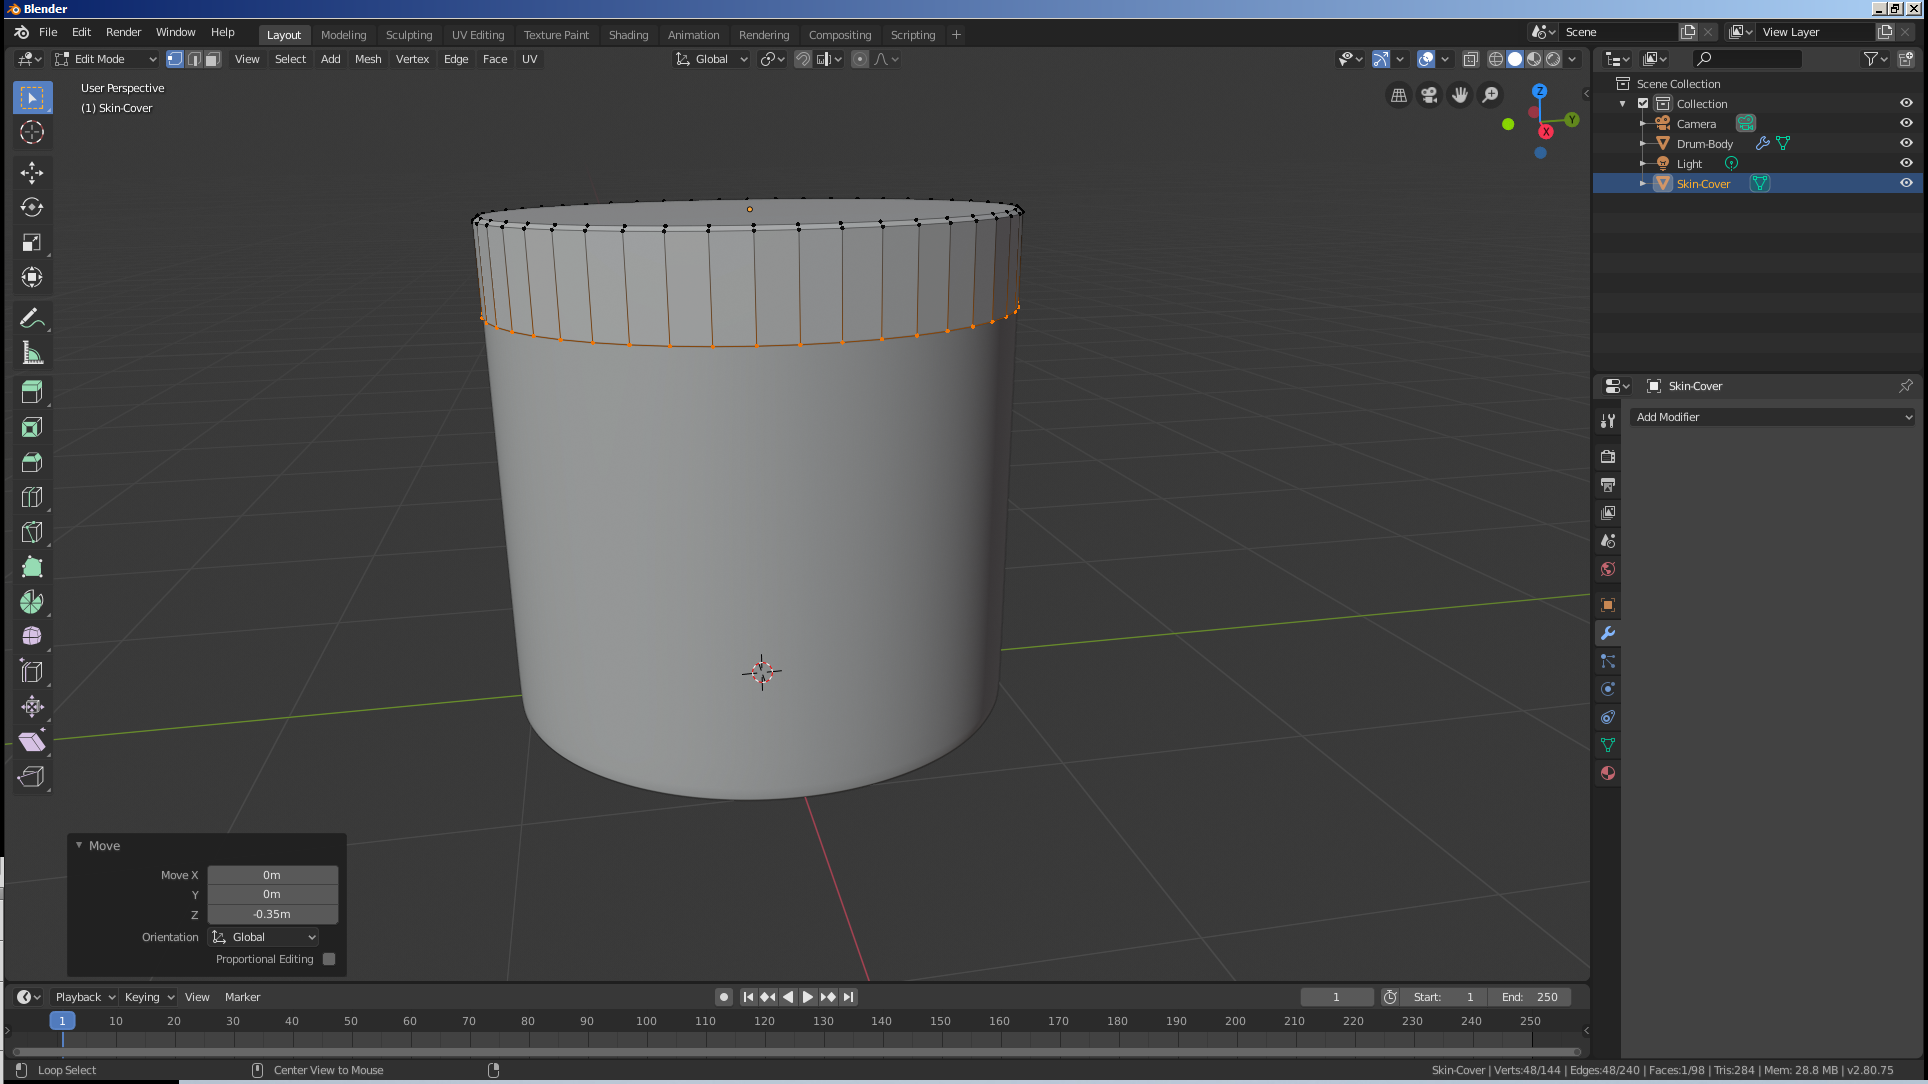
Practical Learning: Creating the Beating Rim
Vertices:     48
Radius:       1.035
Fill Type:    N-gon
Location - Z: 2.005


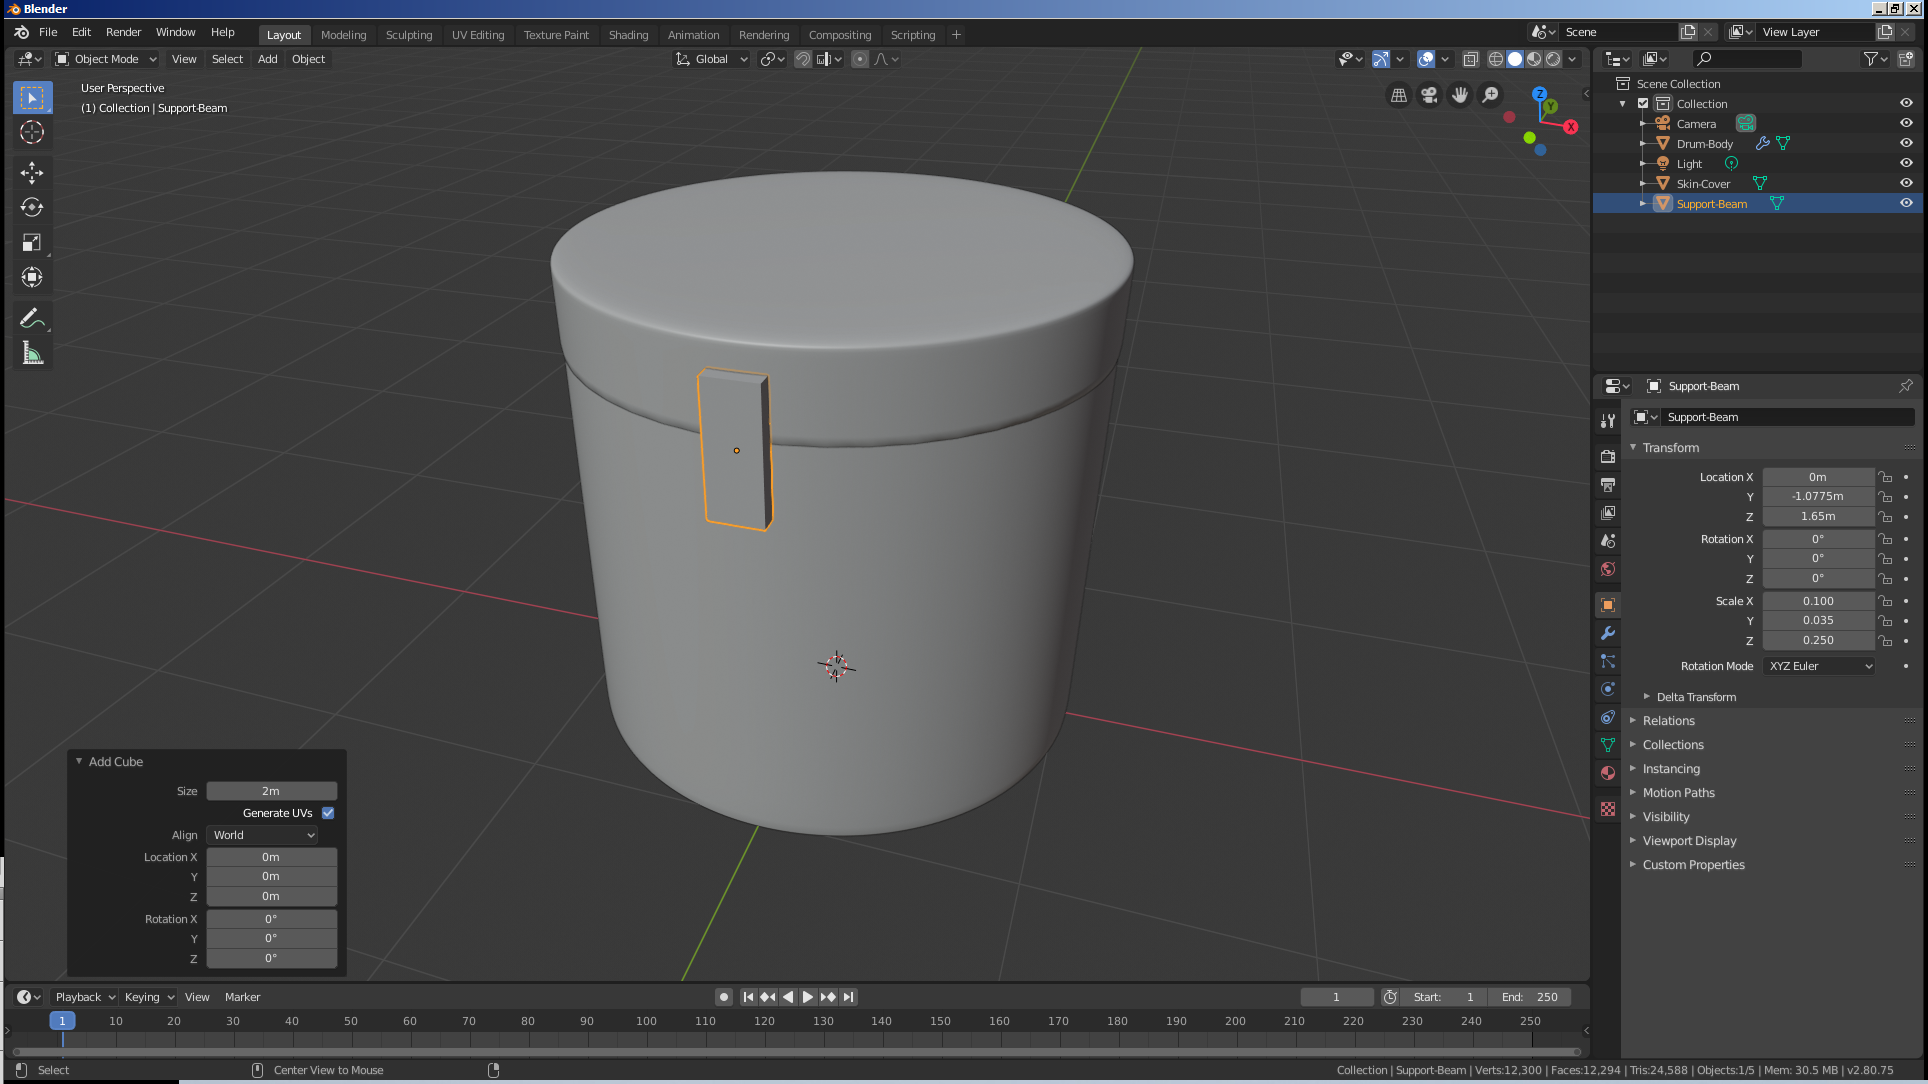
![]() Practical Learning: Modeling the Wood Supports
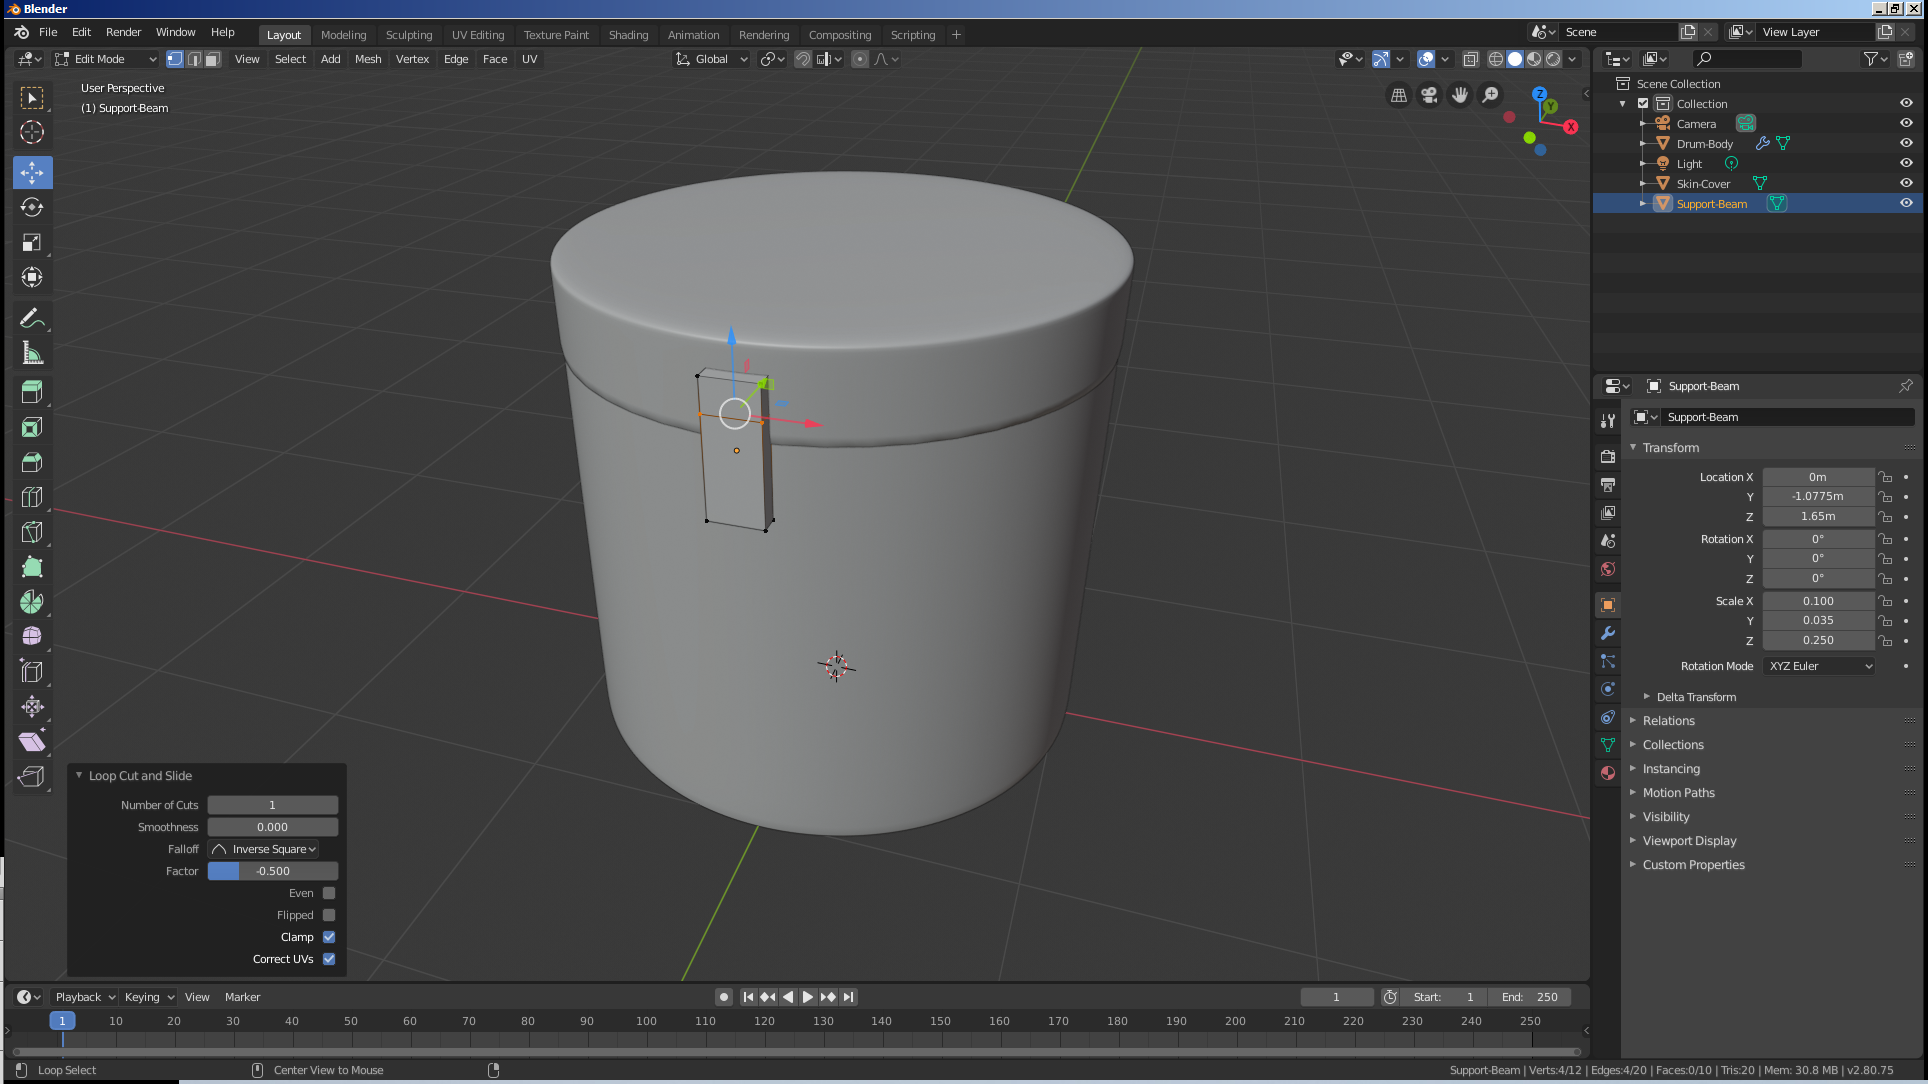
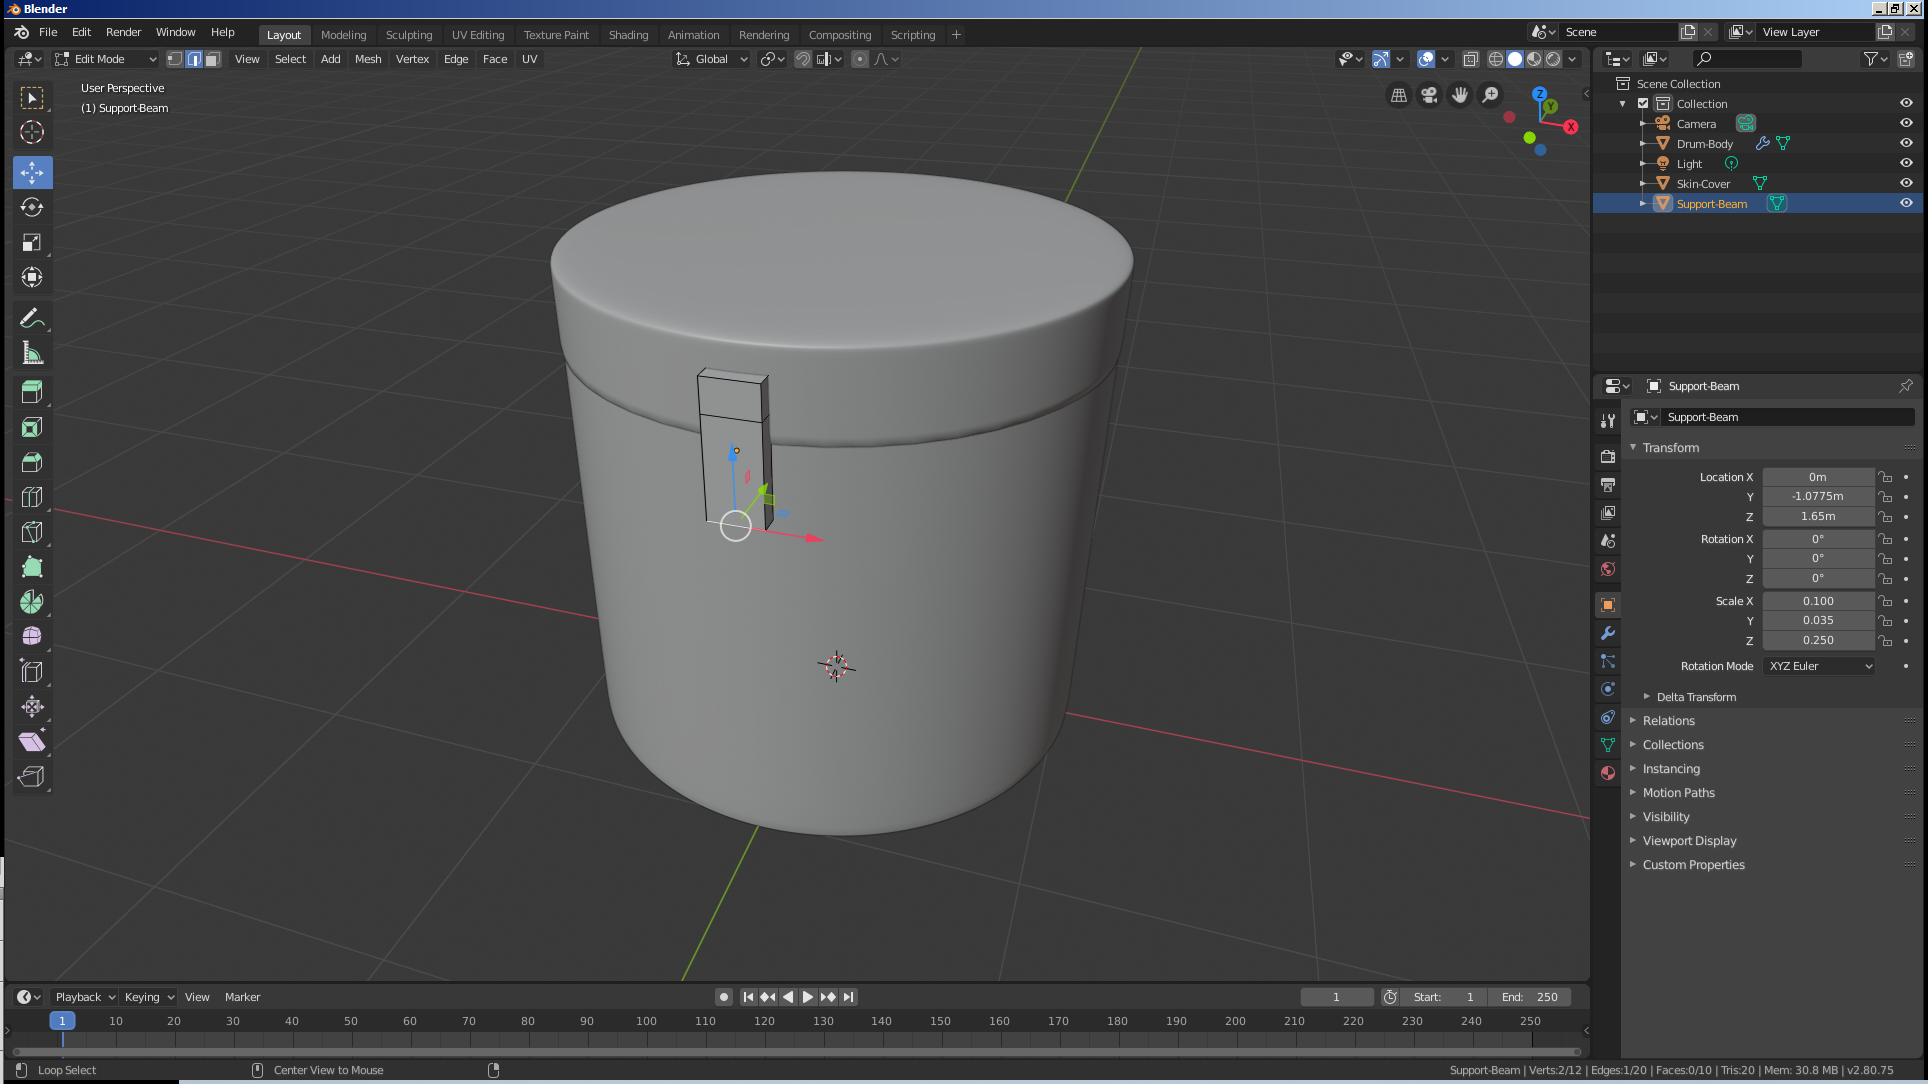
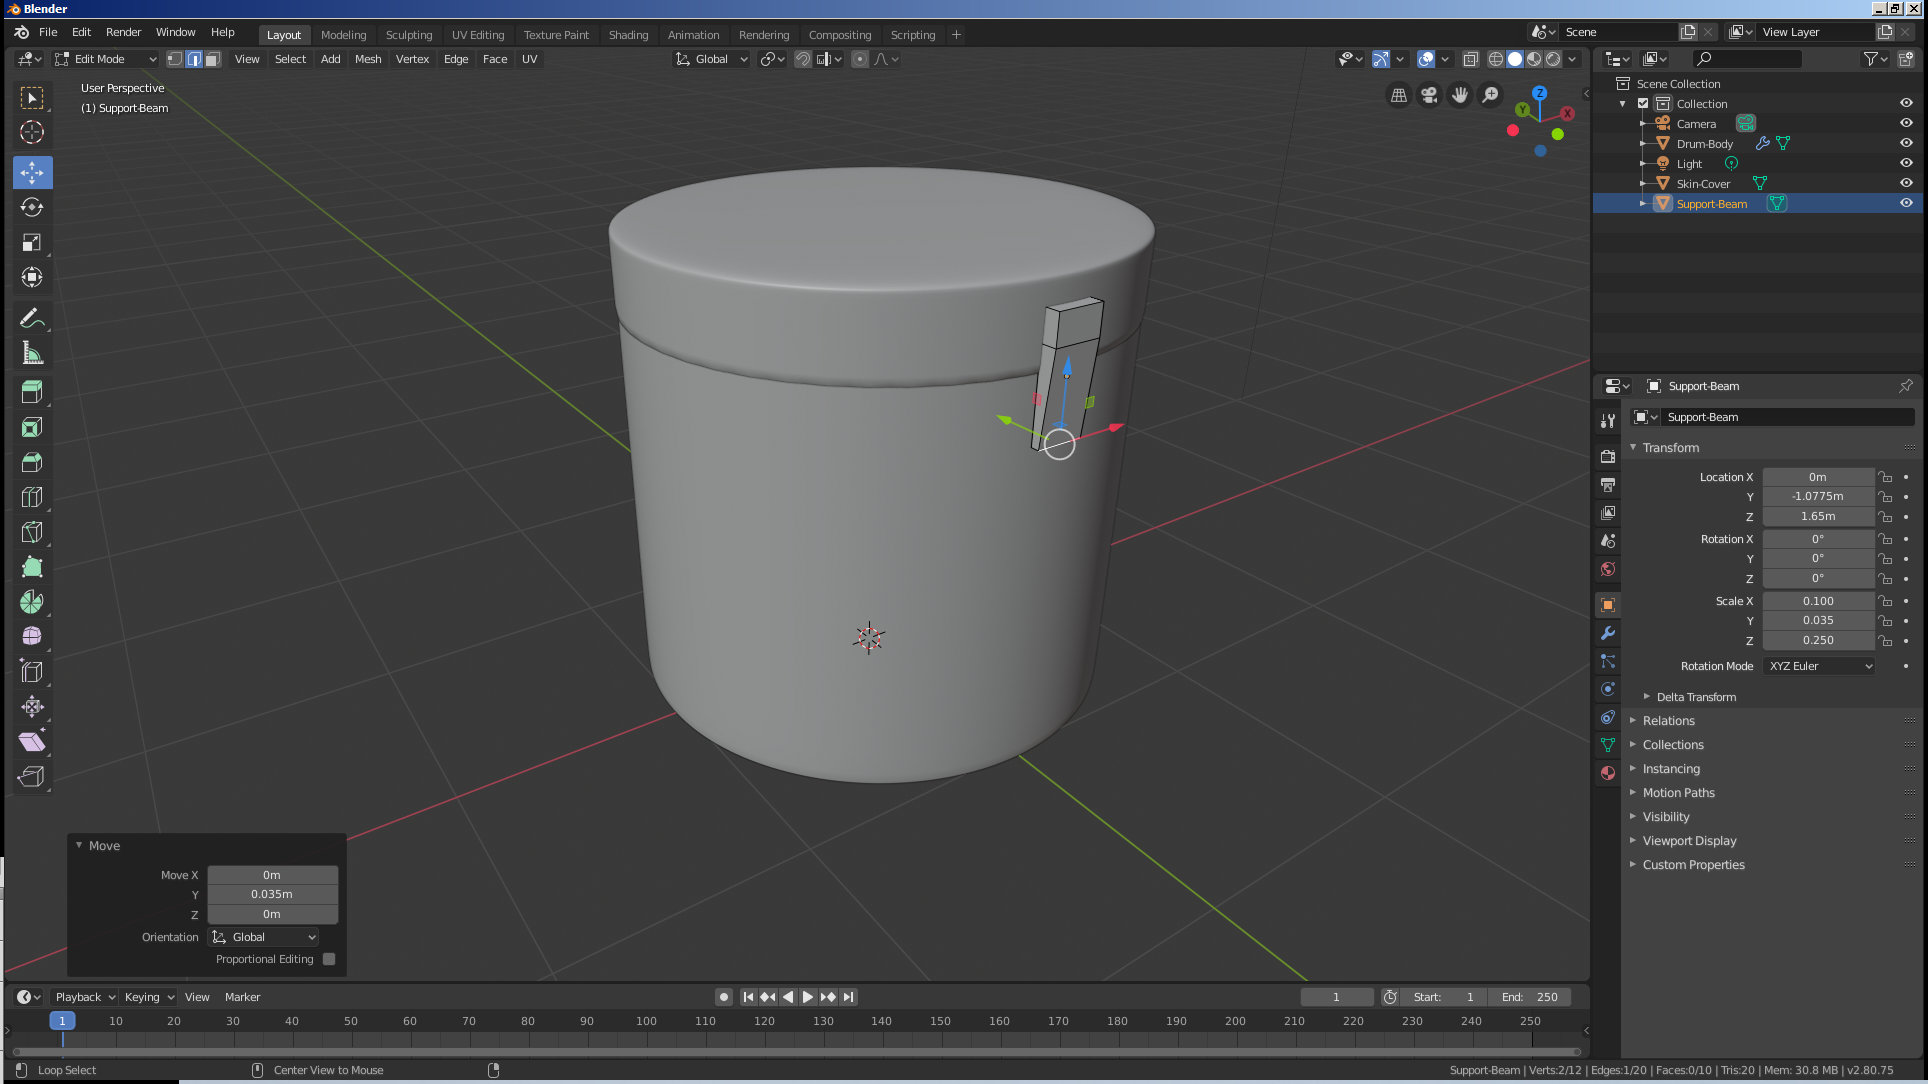
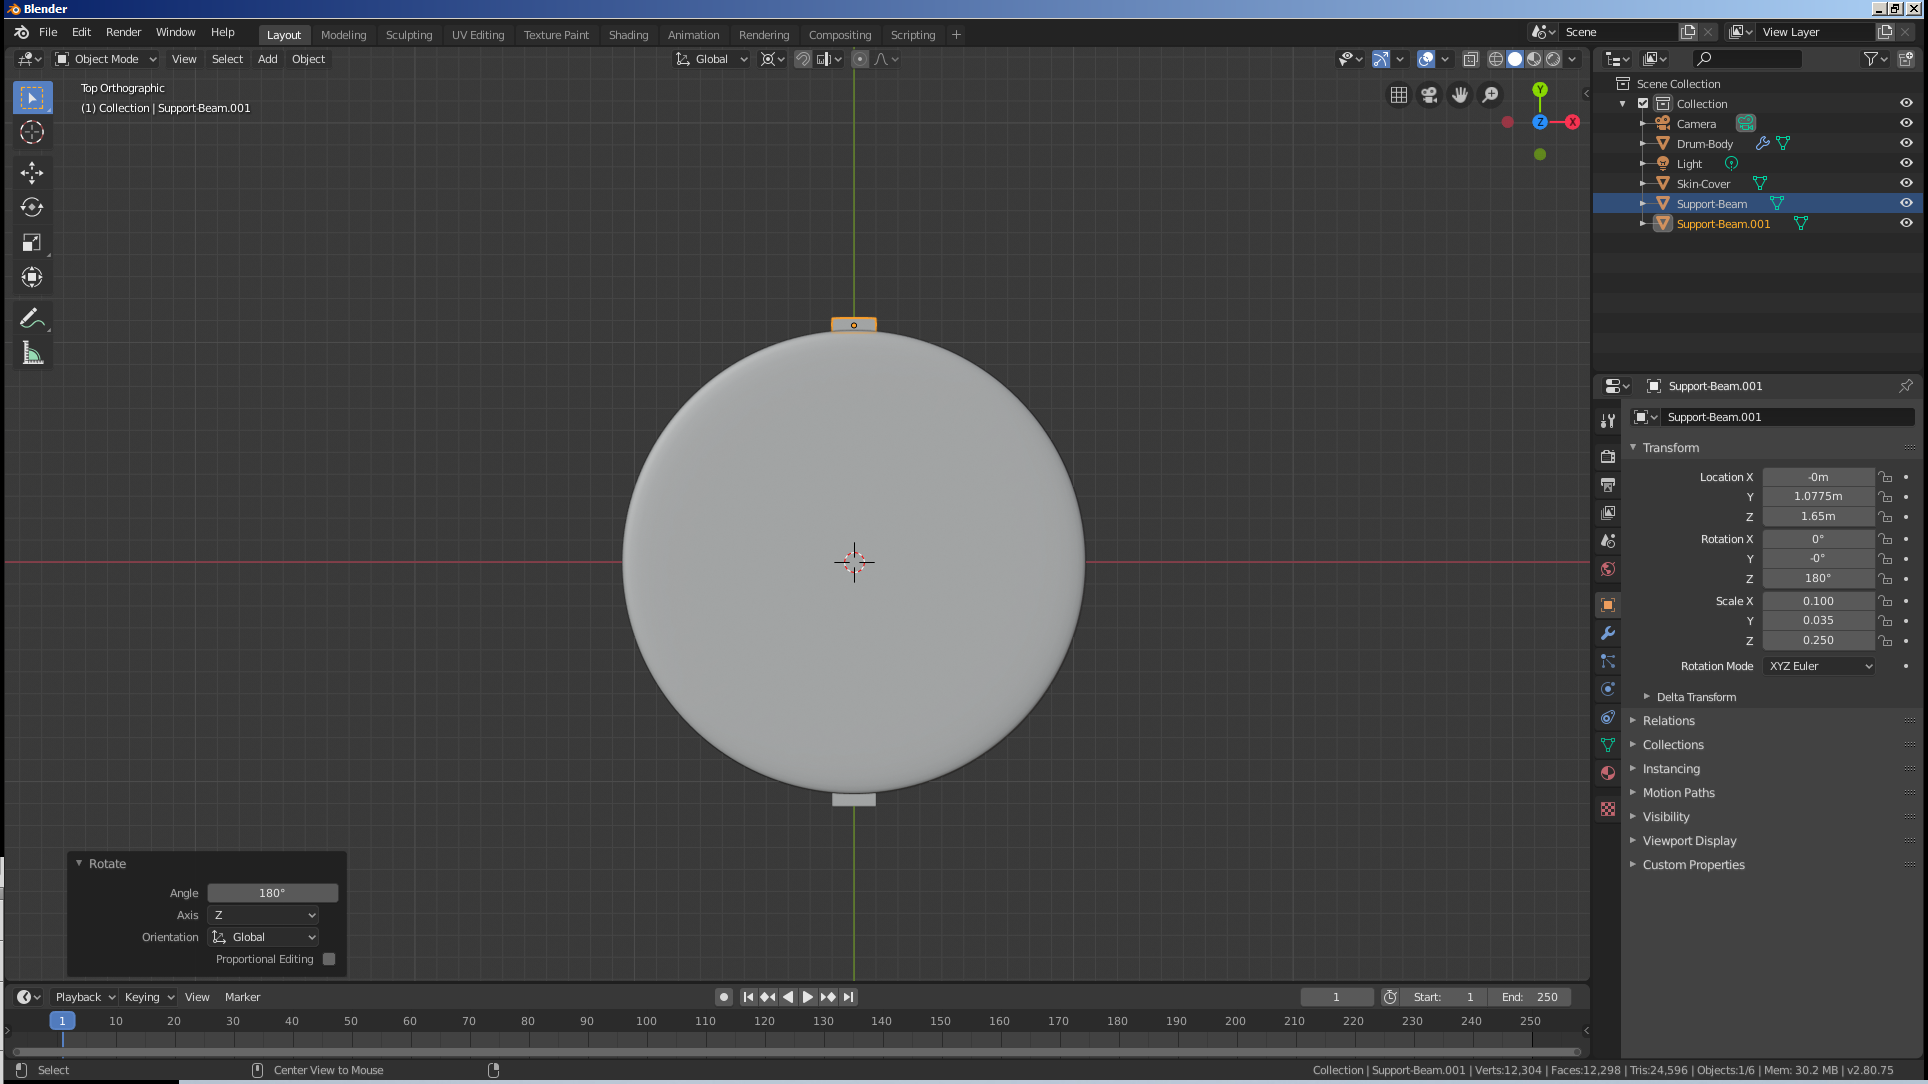
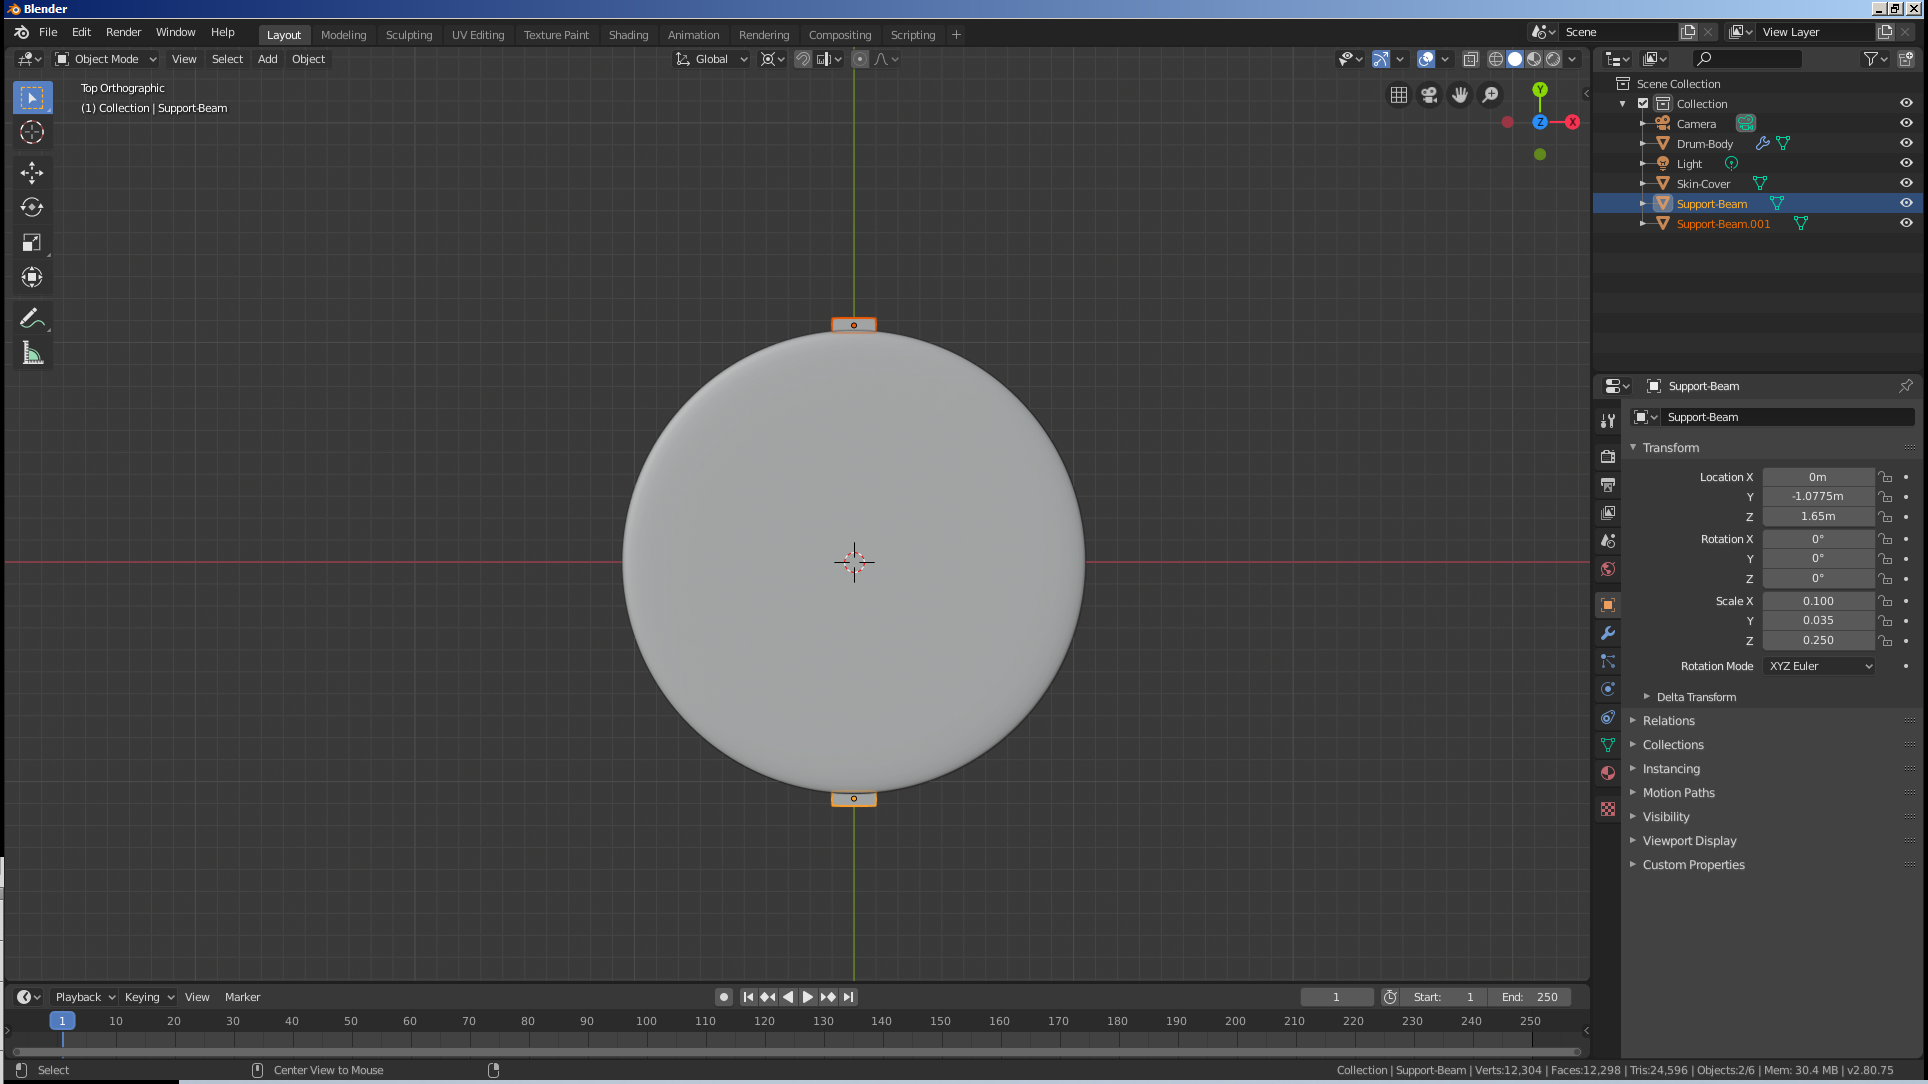
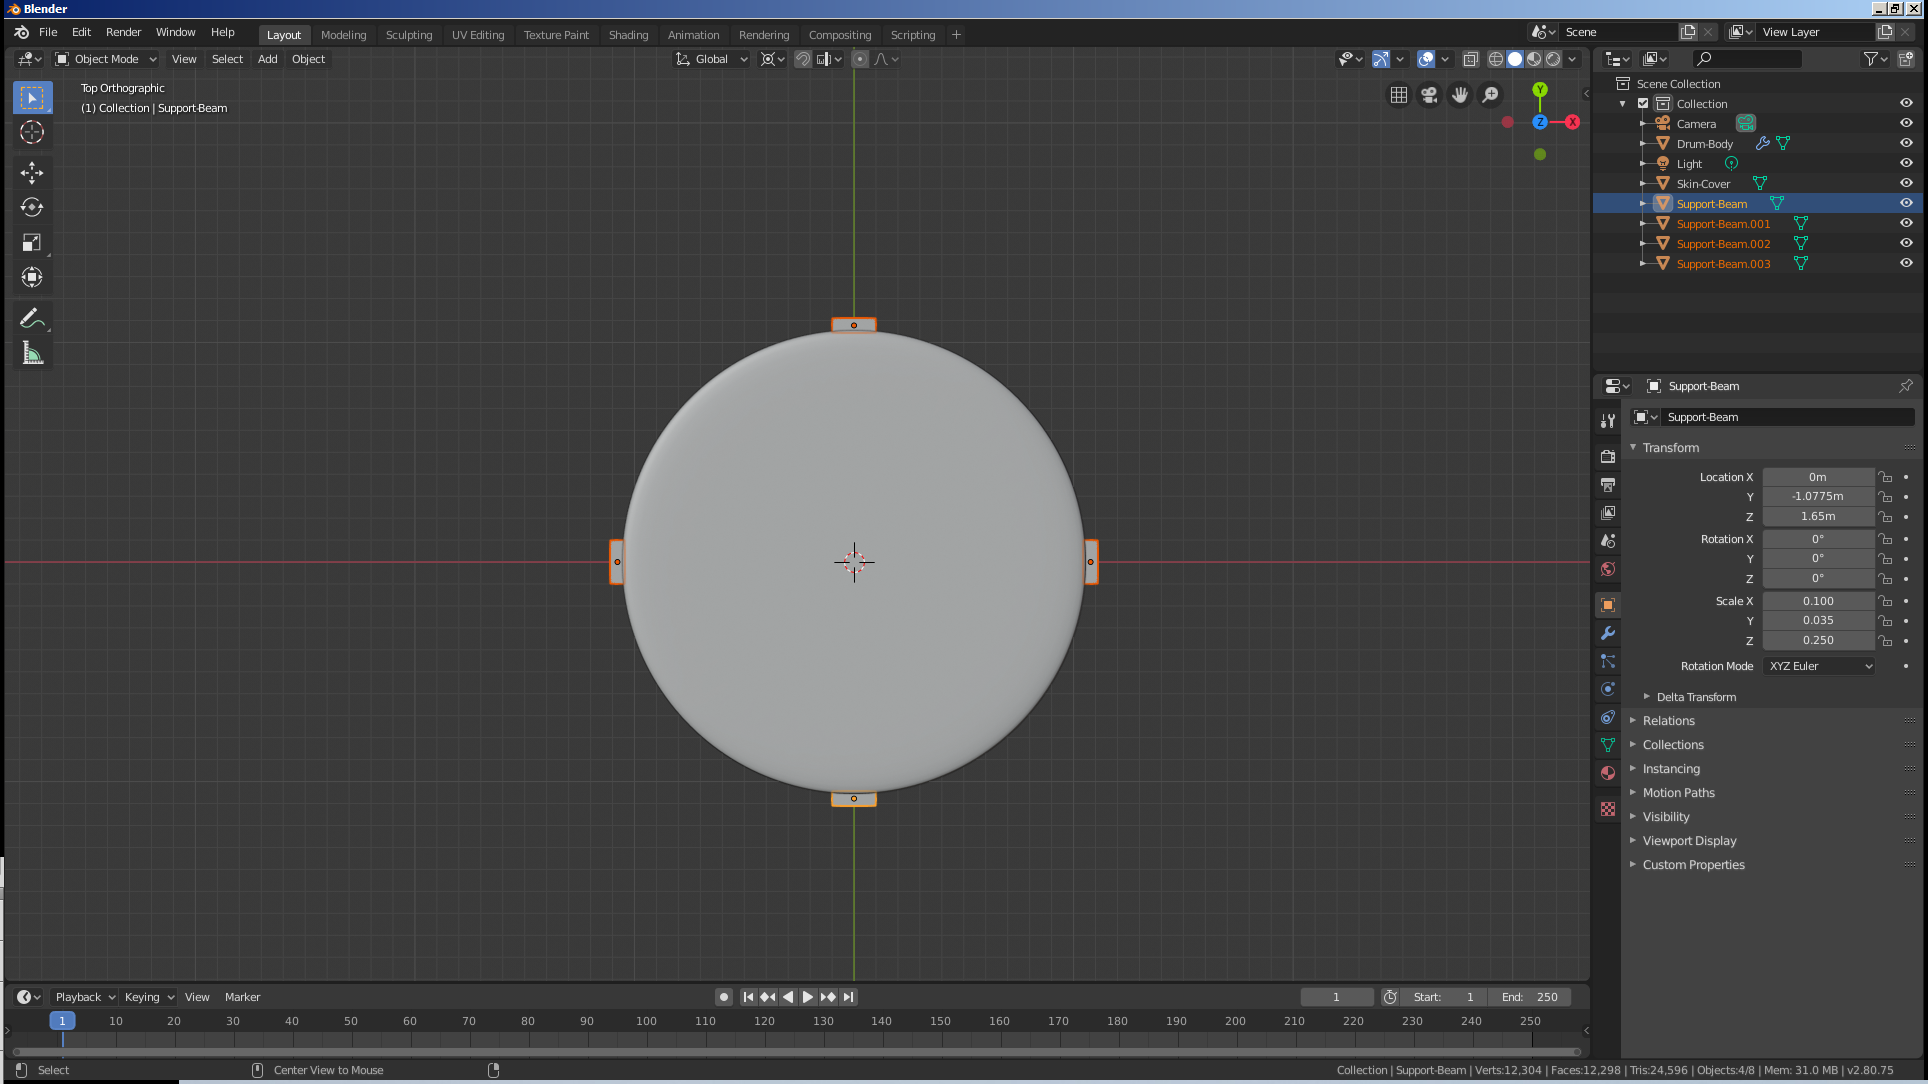
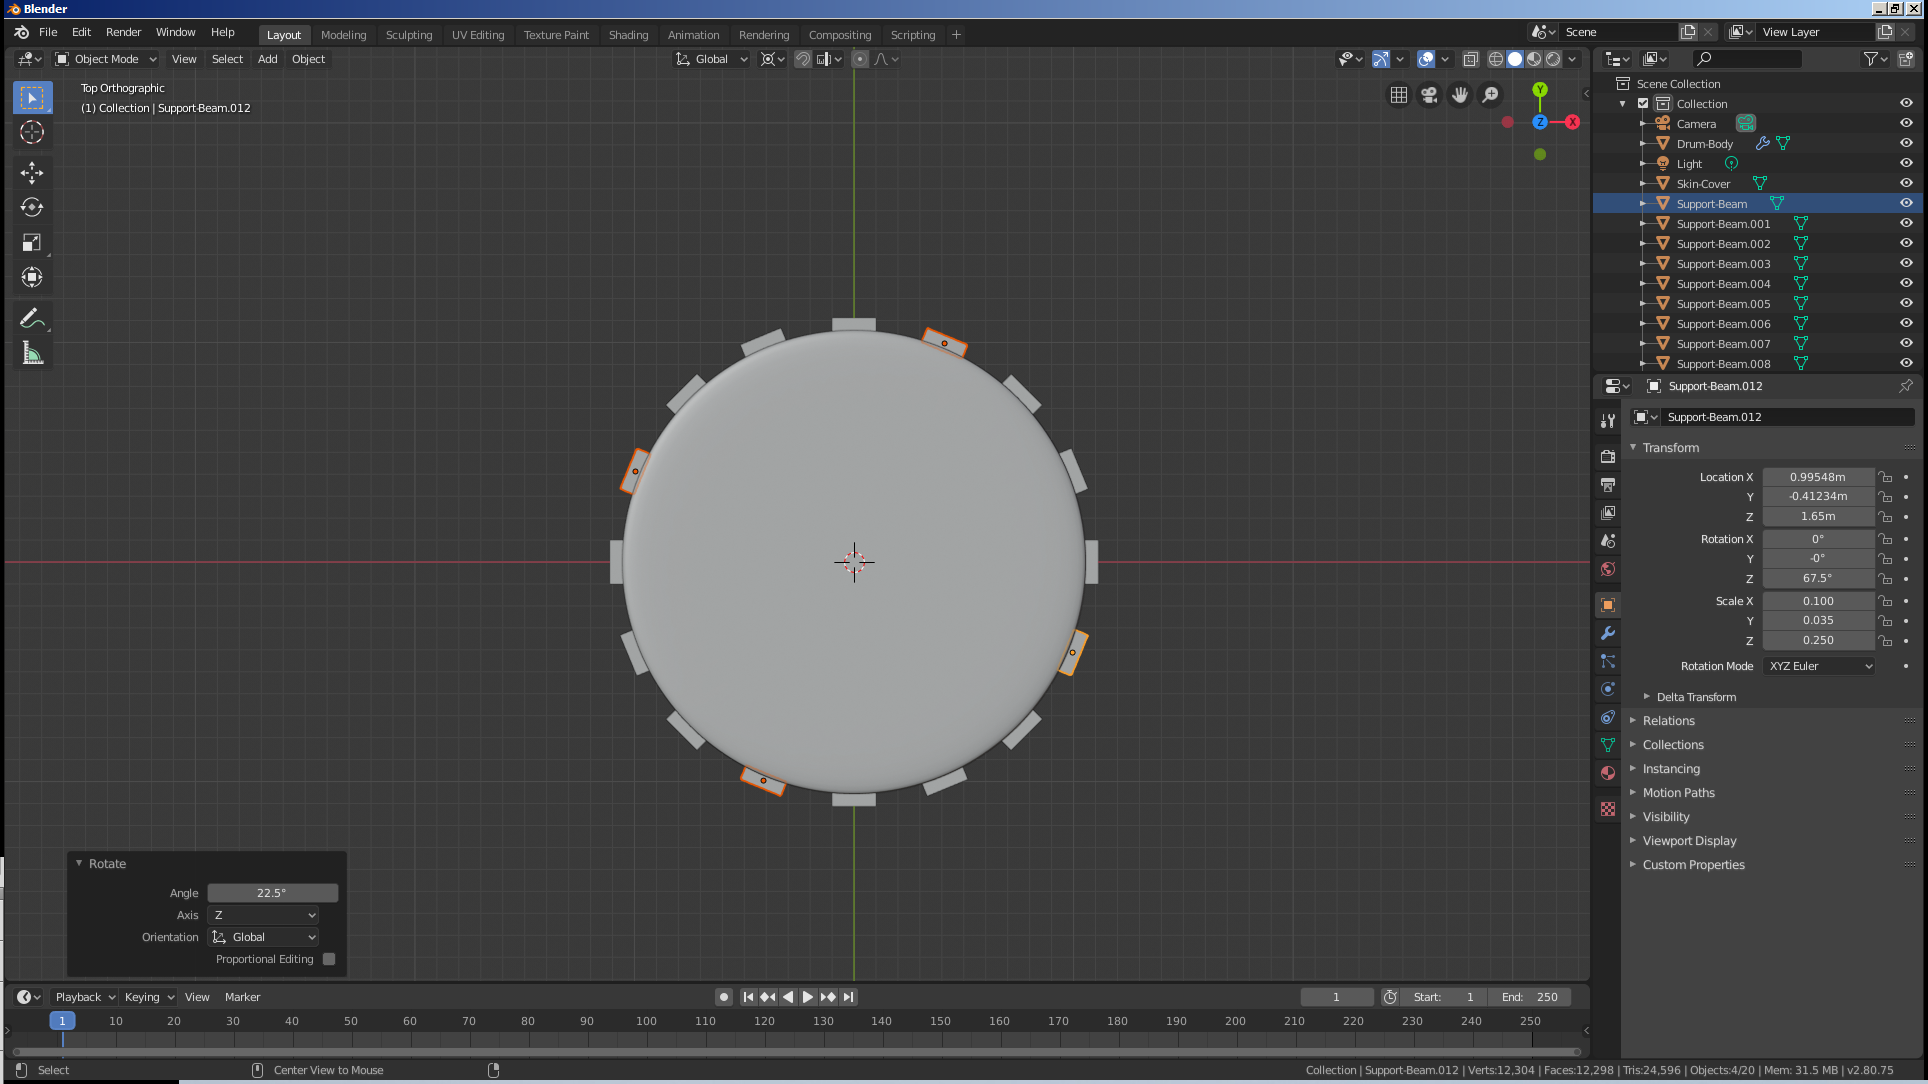
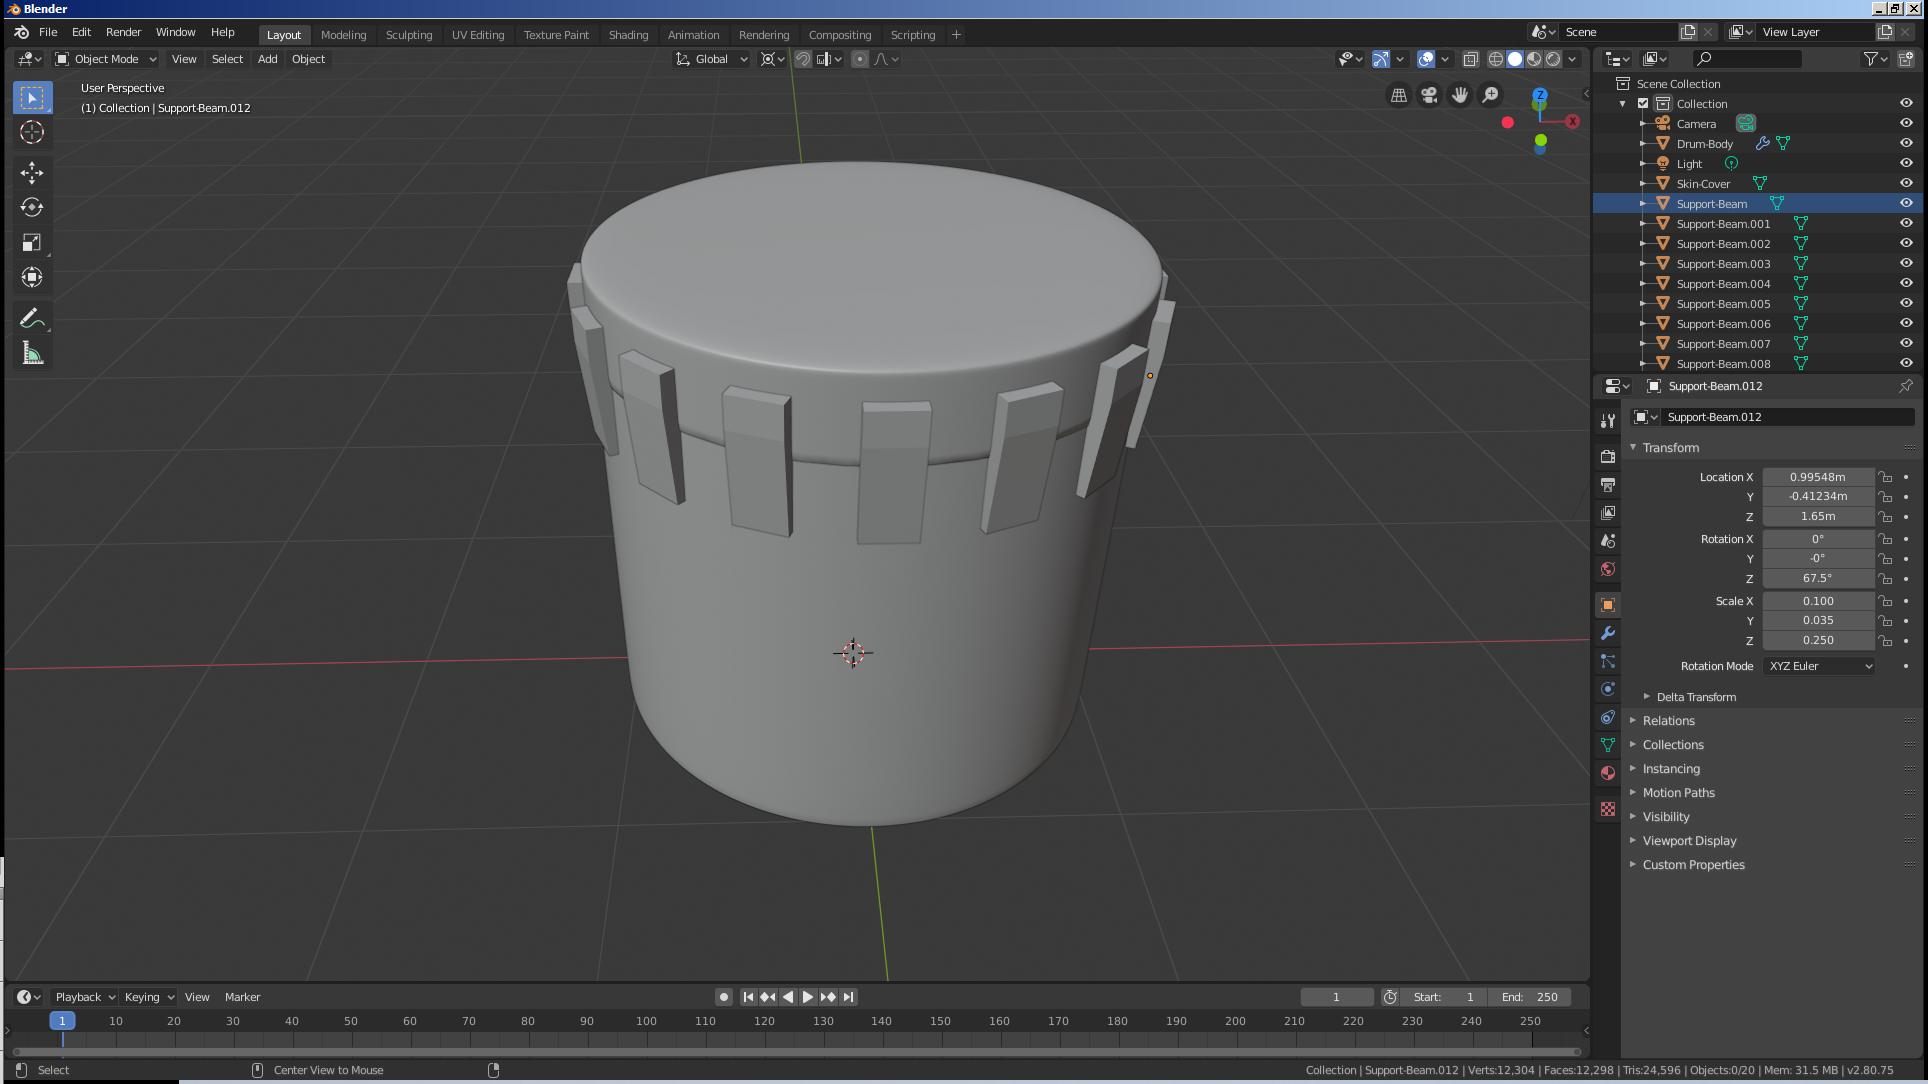
Practical Learning: Modeling the Wood Supports
Location X:  0
         Y: -1.0775
         Z:  1.65
Scale    X:  0.1
         Y:  0.035
         Z:  0.25

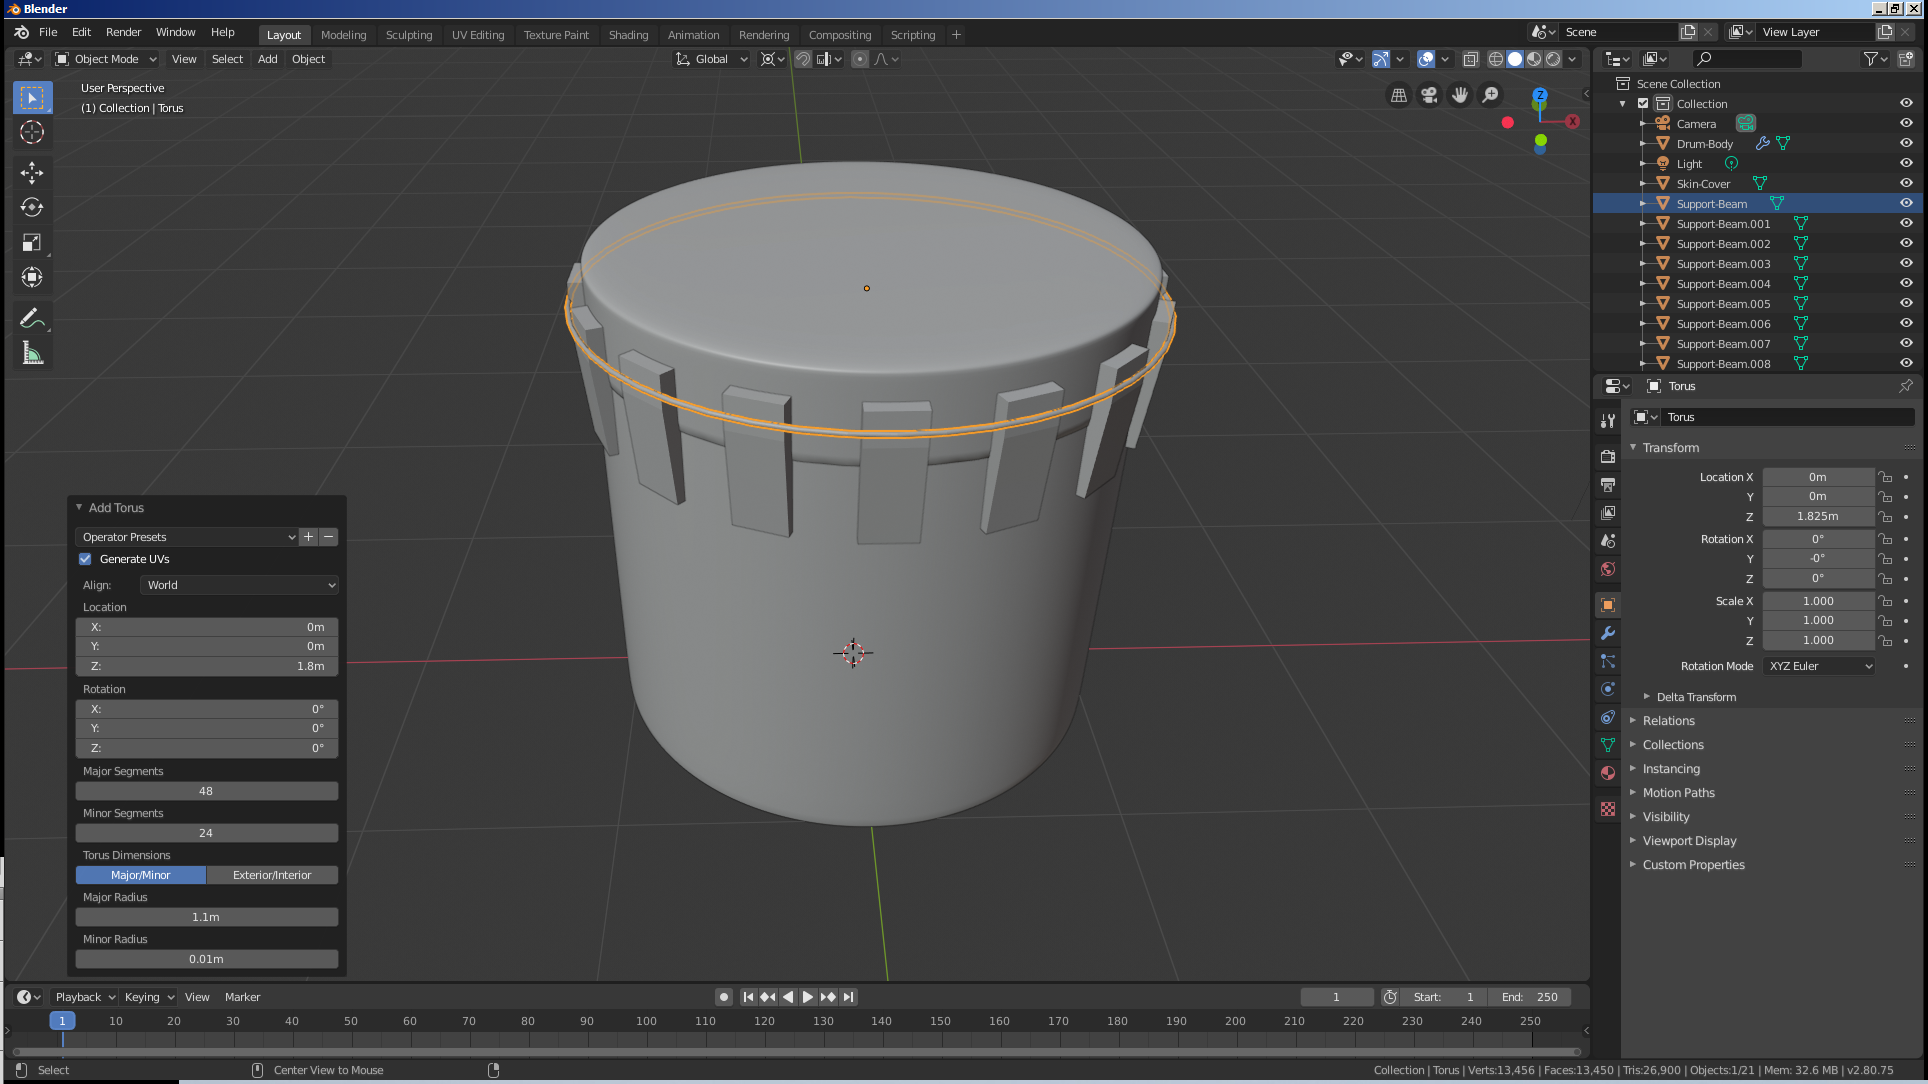
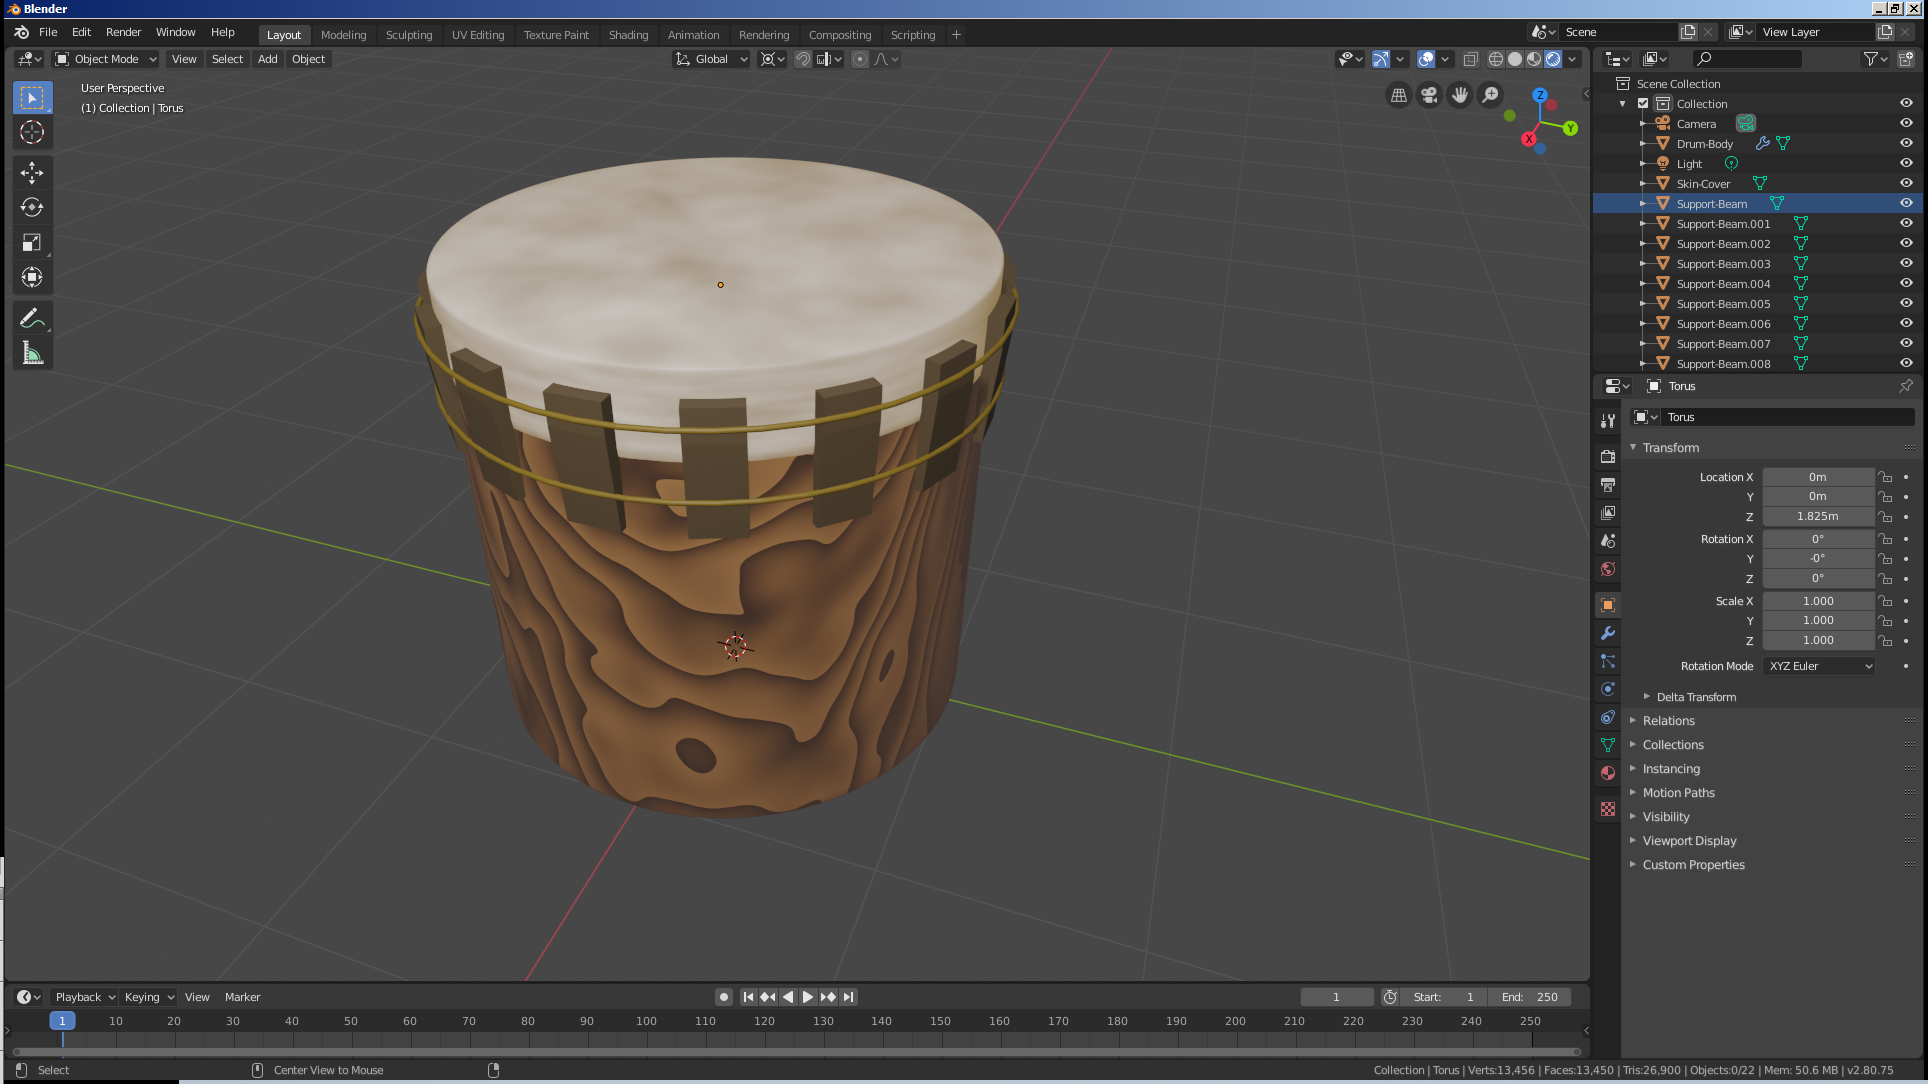
![]() Practical Learning: Modeling the Support Holders
Practical Learning: Modeling the Support Holders
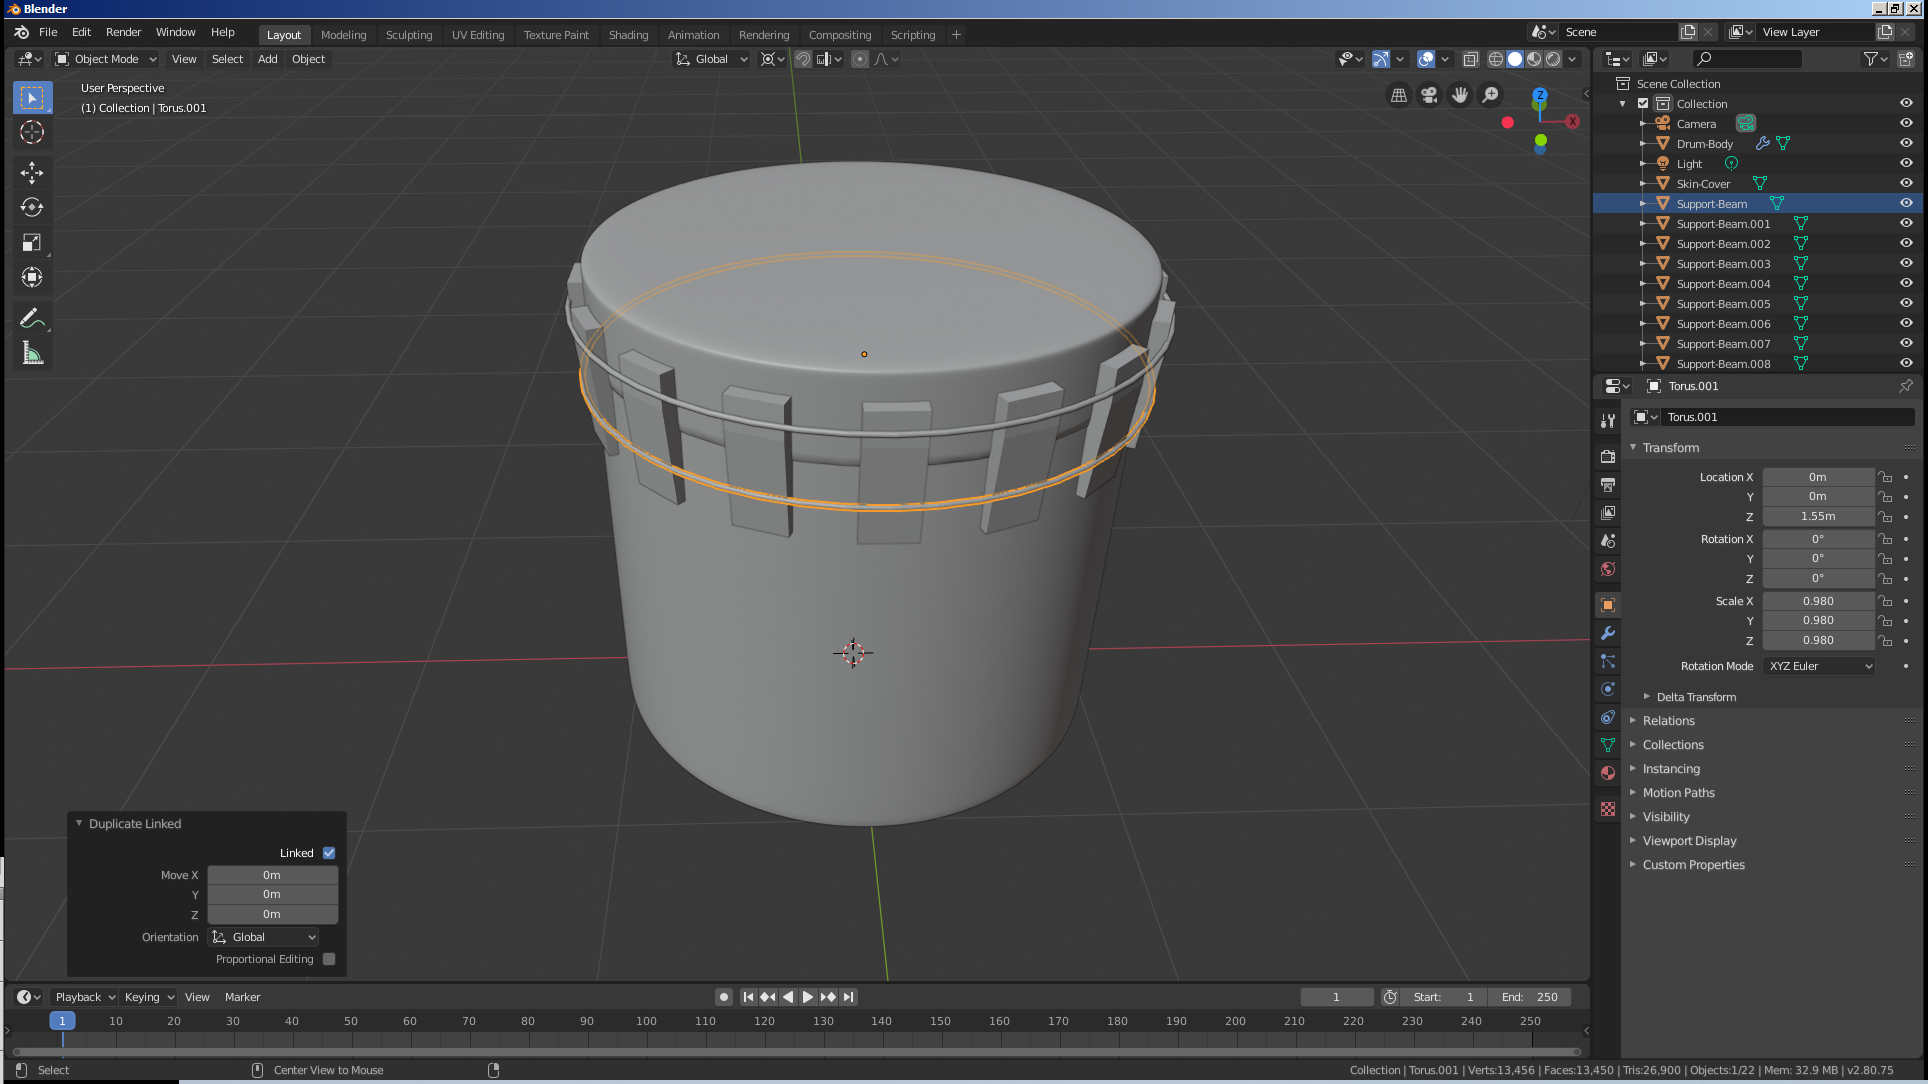
Minor Segments: 24
Major Radius:   1.12
Minor Radius:   0.01
Location   - Z: 1.825
Location - Z: 1.55
Scale    - X: 0.98
	         Y: 0.98
           Z: 0.98
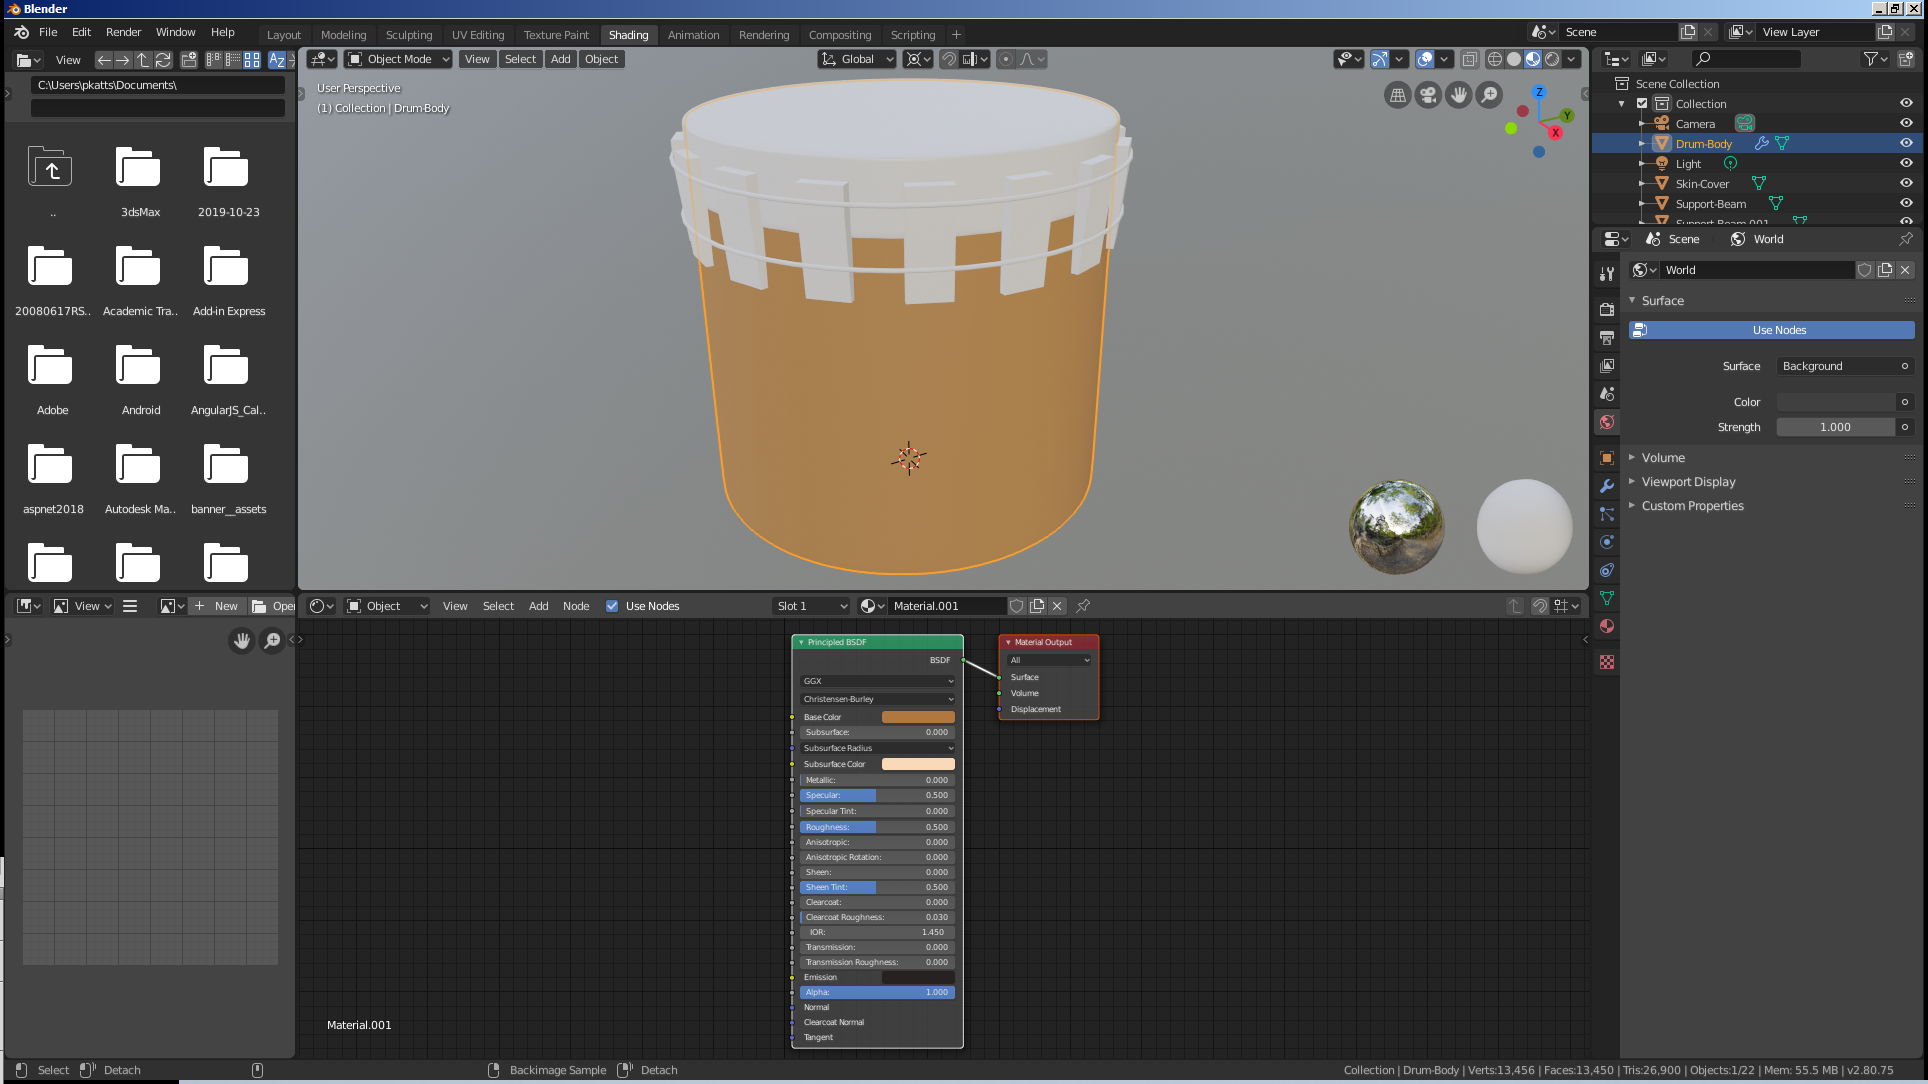
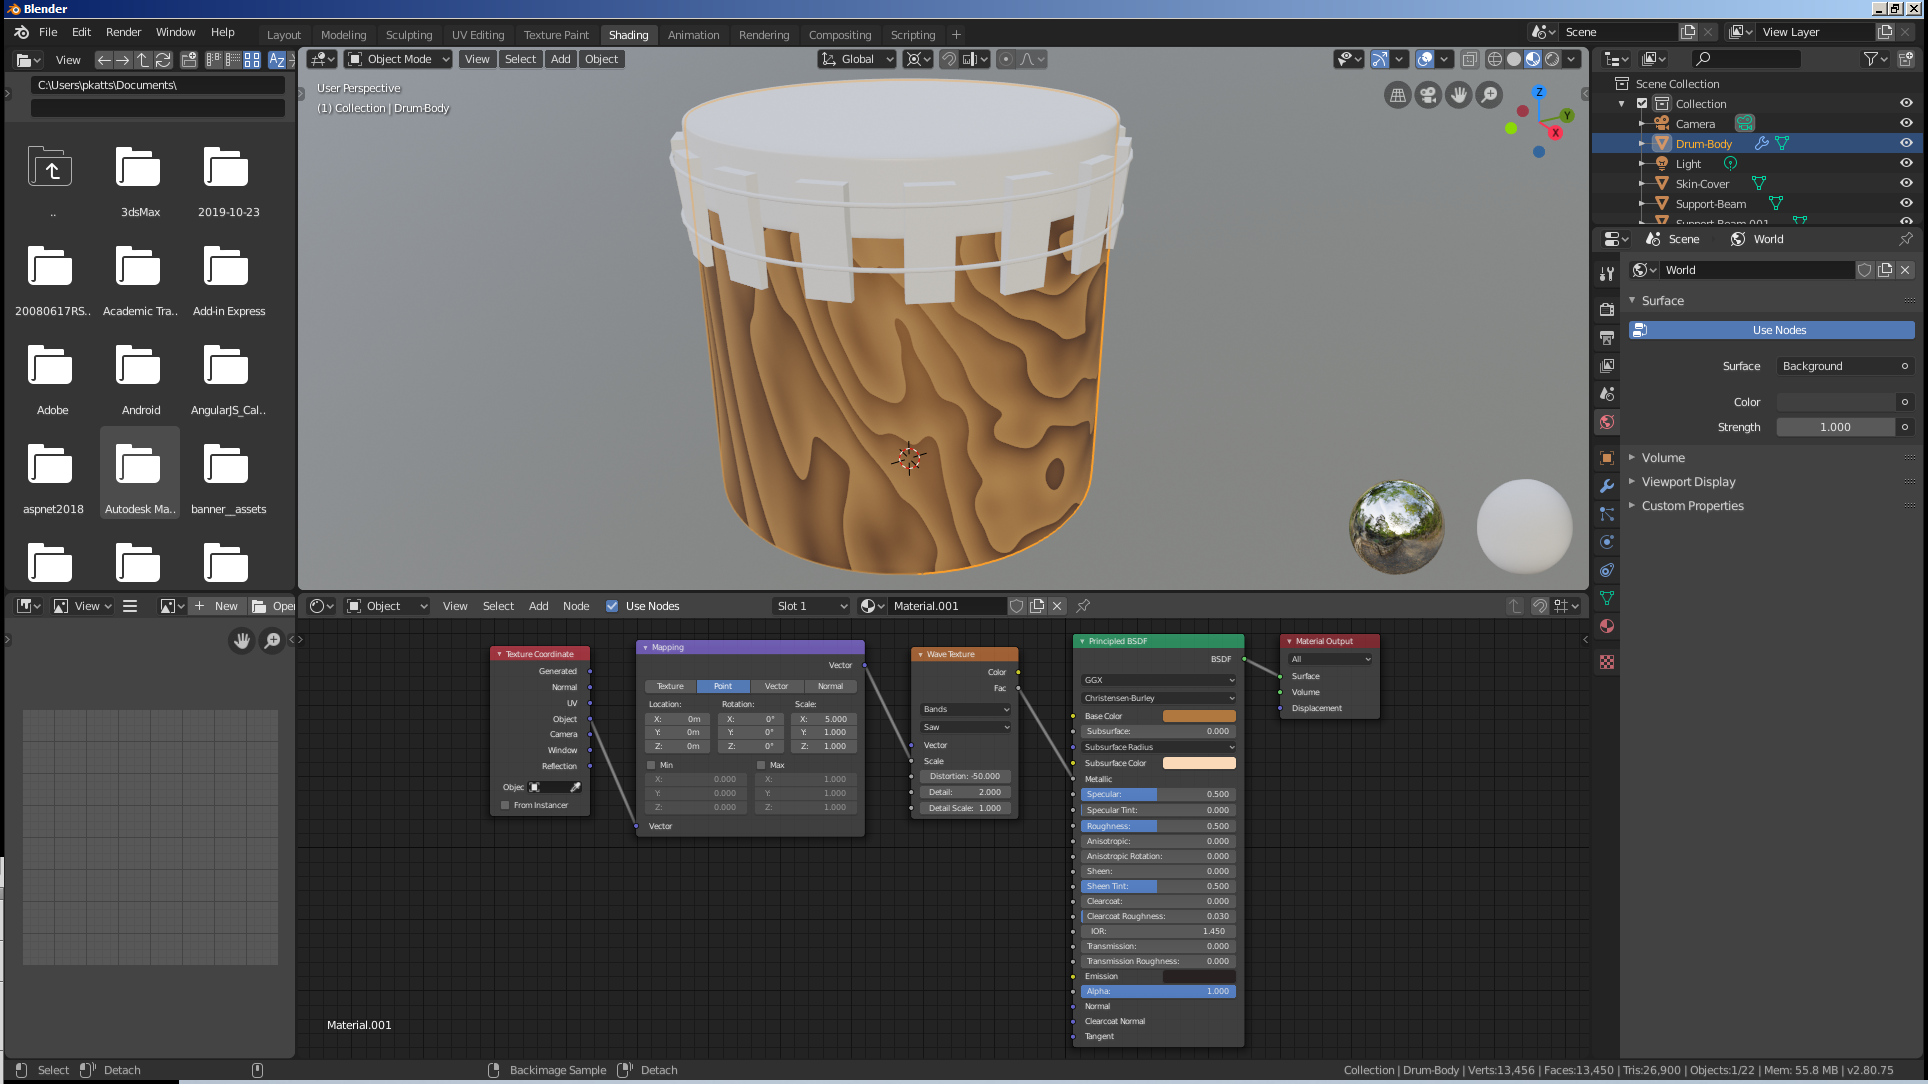
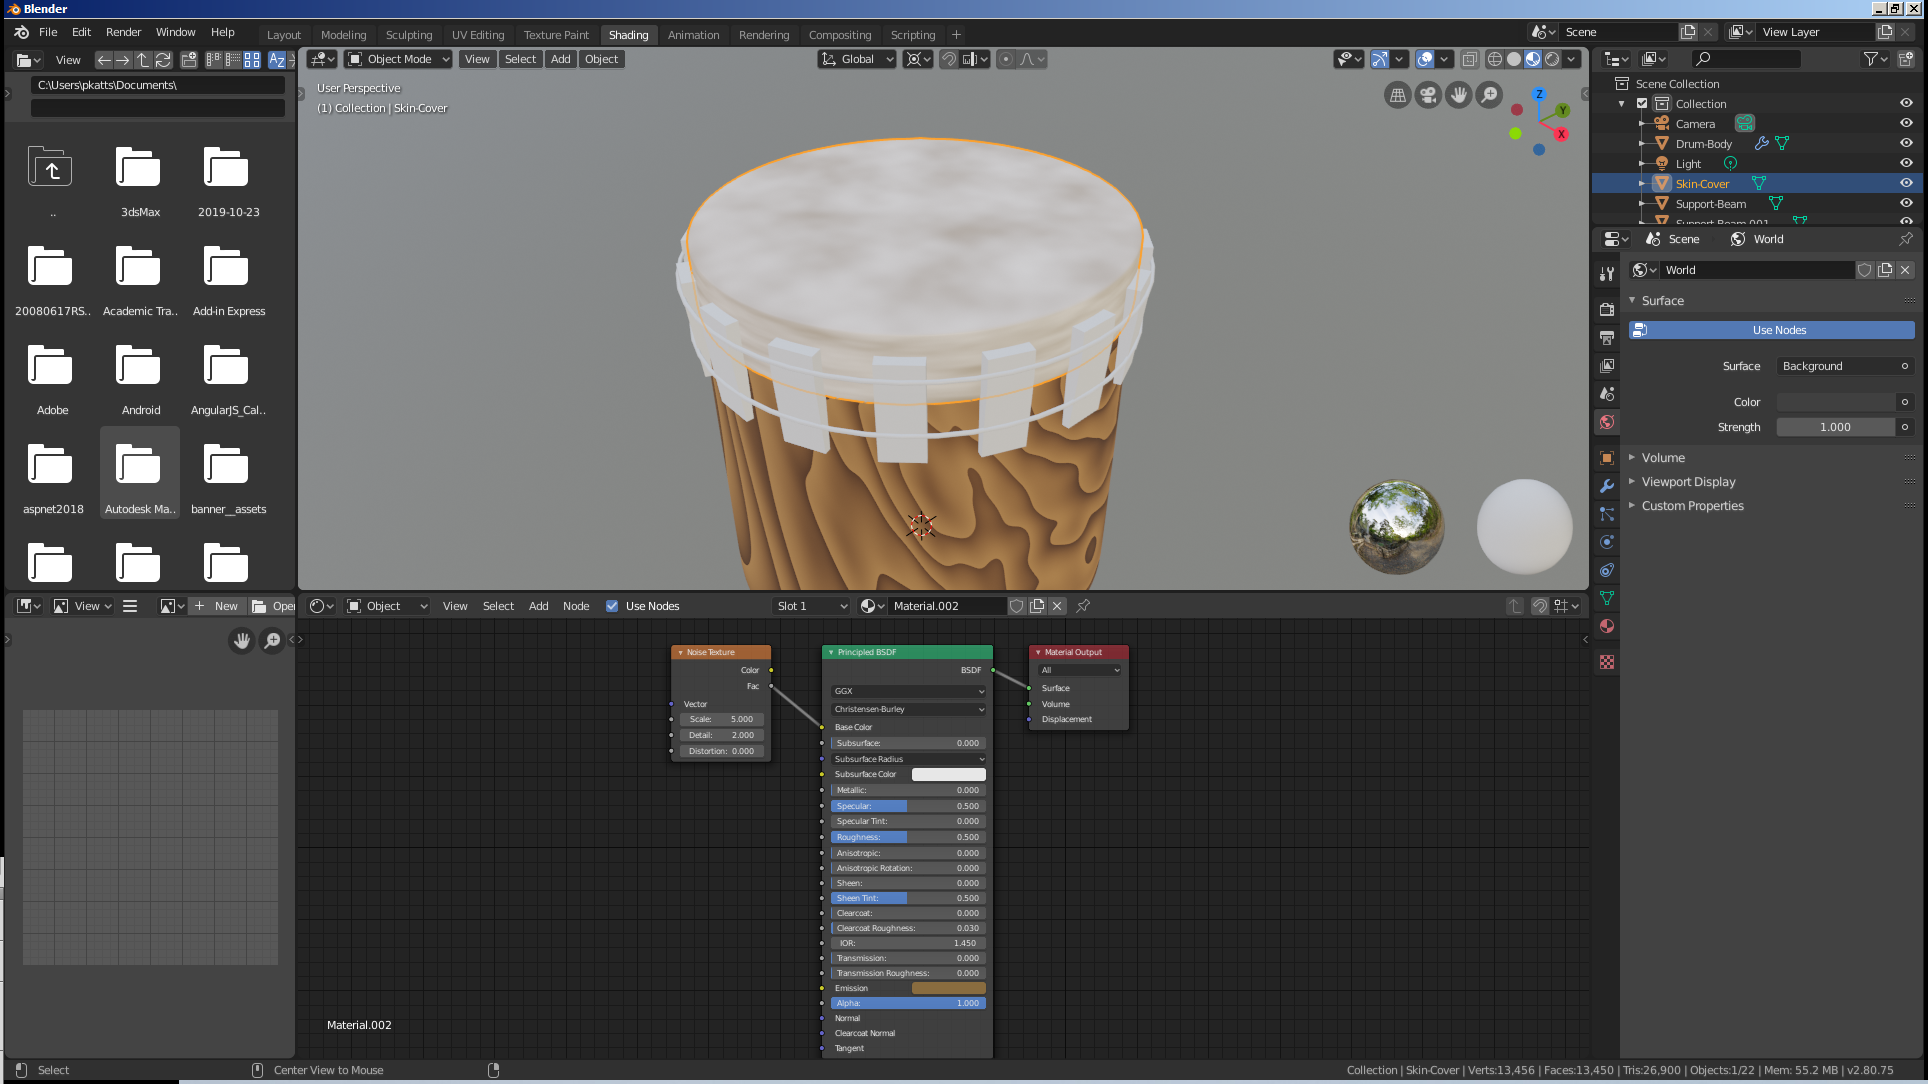
![]() Practical Learning: Creating the Materials
Practical Learning: Creating the Materials
R: 0.435
G: 0.185
B: 0.05
R: 0.020
G: 0.015
B: 0.015
Saw
Distortion: -50
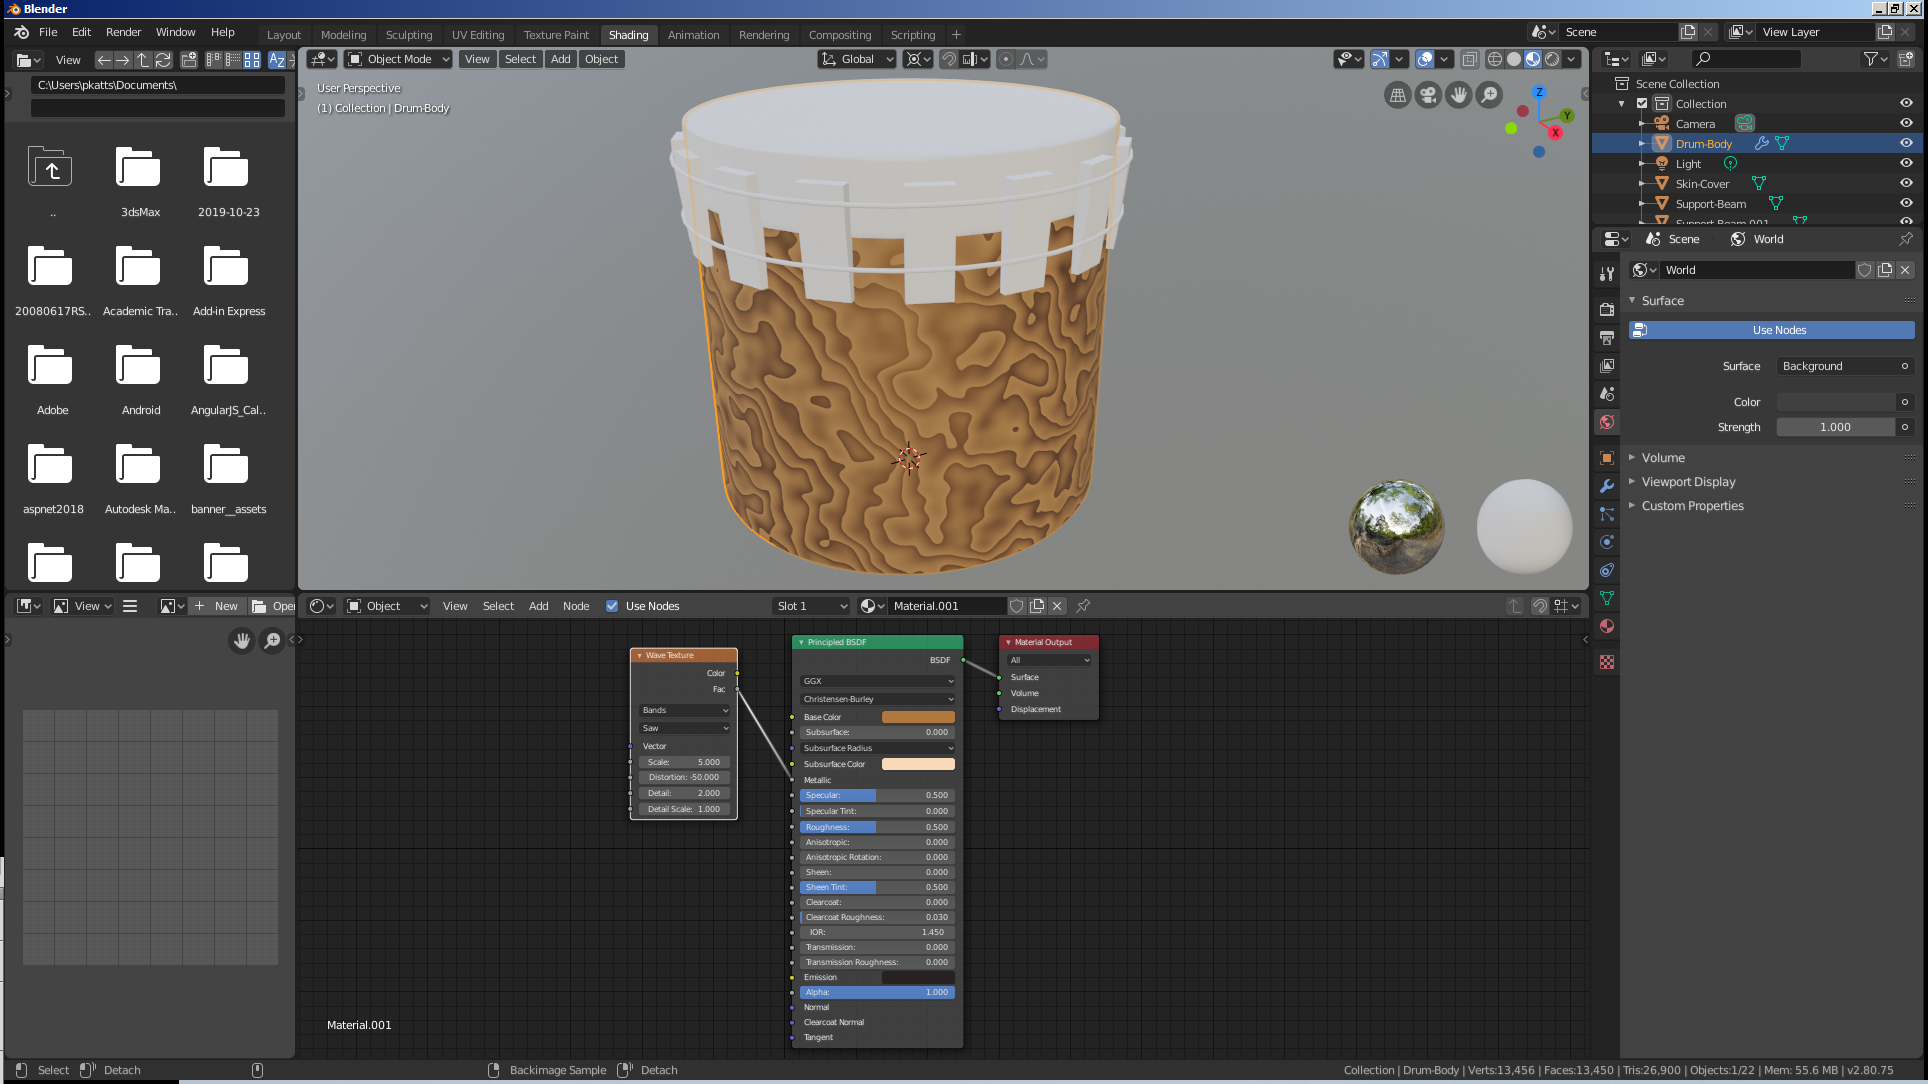
Scale - X: 5
R: 0.25
G: 0.15
B: 0.05
R: 0.125
G: 0.085
B: 0.045
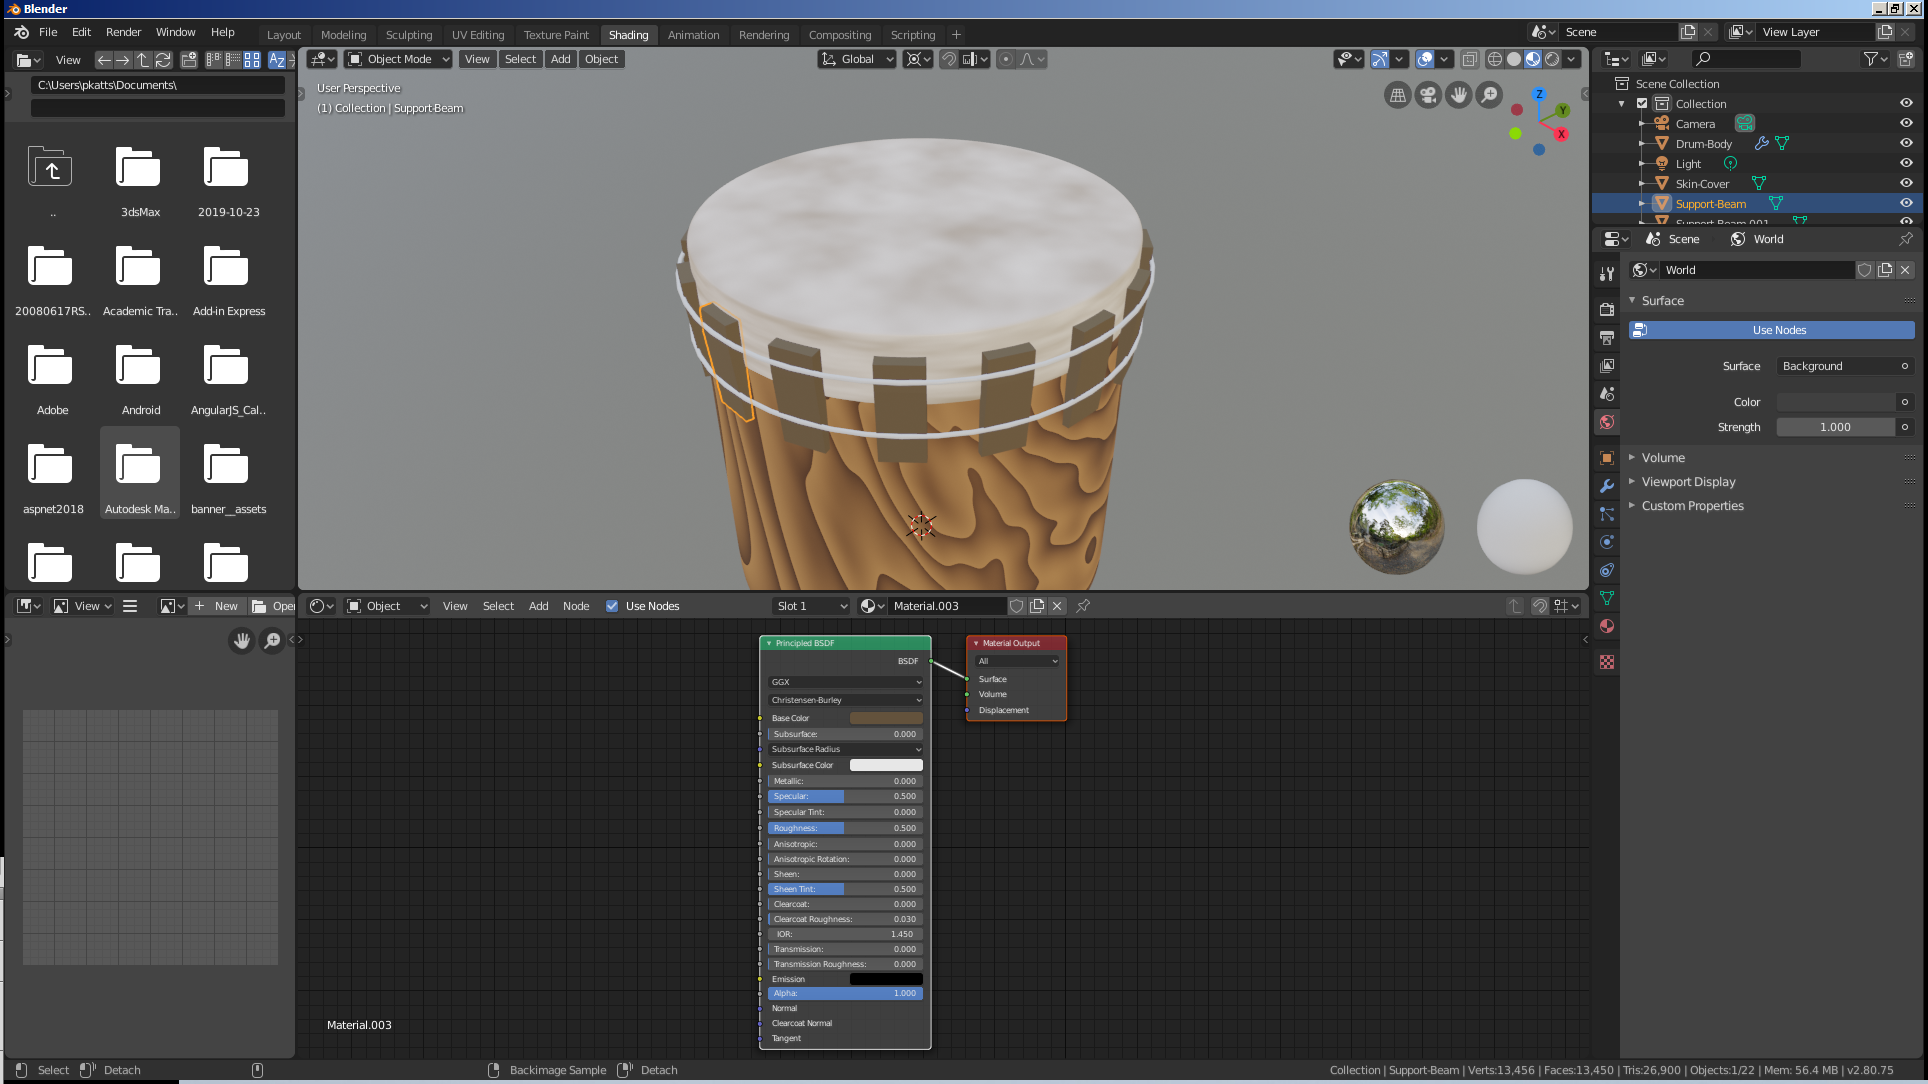
R: 0.255
G: 0.155
B: 0.015
|
|
|||
| Barn | Copyright © 2016-2024, FunctionX | Monday 26 August 2024, 22:03 | Simple Door |
|
|
|||