Data Field Design
 |
Data Field Design |
Form and Report Design
Controls Selection
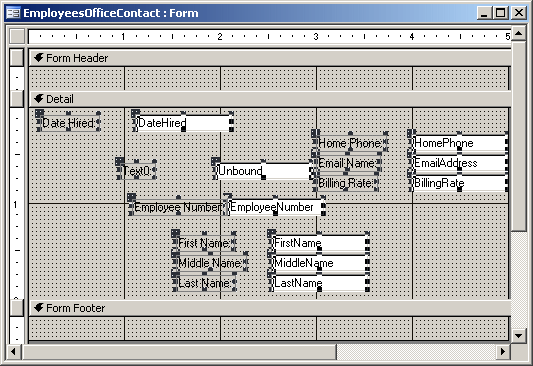
To manipulate controls on the form, you will regularly need to select them. When
one control is selected, you can change only its characteristics. When many controls are selected, you can make a change that would impact all of them.
To select a control, you can just click it. A control that is selected displays 8 handles around
it:
To select:
![]() Practical Learning: Selecting Controls
Practical Learning: Selecting Controls


 |
 |
Controls Moving
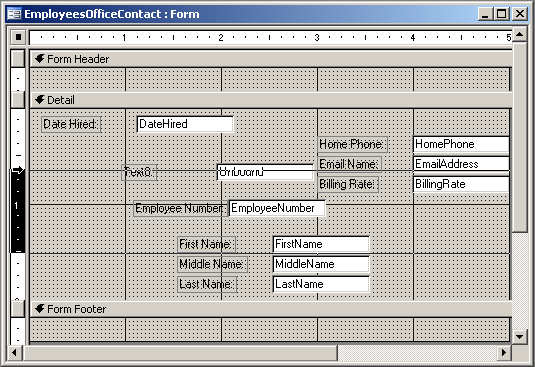
Once a control is selected, as your mouse moves over a selected control, its pointer displays a different cursor. Two of these cursors can be used to move a control:
| Pointer | Role |
| Moves the (one) selected control | |
| Moves the control and includes its dependent, if
any. Also moves a group of selected controls |
![]() Practical Learning: Moving Controls
Practical Learning: Moving Controls
|
Controls and Sections Sizing |
|
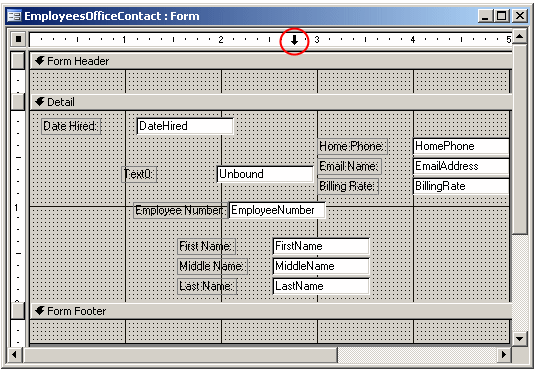
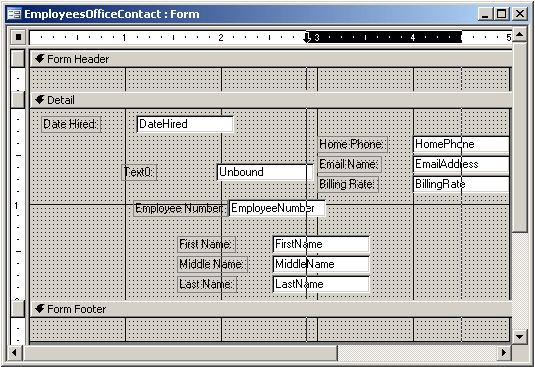
Resizing an object allows you to change its height or its width. This can be applied to forms, reports, their sections, or the controls they are hosting. To physically change the width of a form or a report, position the mouse on its right border until the cursor turns into a vertical beam with a double-horizontal arrow:
Then click and drag left or right until you are satisfied.
To change the width of the form or report and the height of the lowest section at the same time, you can position the mouse on the lower-right corner. The cursor would change into a small square with 4 arrows:
You can then click and drag left, right, up, down, or diagonally.
Although these pointers can be used to resize one control, they can also be applied to a group of controls. |
![]() Practical Learning: Resizing Controls
Practical Learning: Resizing Controls
|
|
Controls Deletion |
|
If you have added a control or it was created by the Form Wizard or the Report Wizard, you can delete it. You can also delete a group of controls in one step. |
![]() Practical Learning: Deleting Controls
Practical Learning: Deleting Controls
|
|||||
|
Tab Ordering |
|
The controls on a form are aligned in the order you desire for their sequence. Unfortunately, when you add a control on the form that already has other controls, regardless of the section or area you place the new control, it is sequentially positioned at the end of the existing controls. If you don't fix it, the data entry personnel could have a hard time figuring out how the sequence should be followed. When writing Visual Basic code, you will also find out that the sequence of navigation of controls on a form is very important. The sequence of controls navigation is set using the Tab Order dialog box. The Tab Order dialog box is available when the form is opened in Design View. Once in Design View, either (1) on the menu bar, click View -> Tab Order; or (2) right-click on the form and click Tab Order. The simplest and quickest way to rearrange the order of items is to click the Auto Order button. Sometimes, you will not like the arrangement made by the Tab Order dialog box. To rearrange items manually, move a row or a group of rows using the same technique we used to move field names on a table's Design View. |
![]() Practical Learning: Sequentially Ordering Controls
Practical Learning: Sequentially Ordering Controls
|
|
Opening an "Un-Openable" Form |
|
Some of the forms created by the Database Wizard were programmed not to be opened from the Database Window, for good reasons. To explain why, here is an example. Imagine that you create a form to process credit card payments when a customer has chosen to perform such a form of payment. The form used to process this payment should be opened only when the customer has decided to make a payment with a credit card. The user does not need to open such a form from the Database Window. Therefore, you would prevent this form from being accessed in any other way than from the form that is supposed to request its service. In the Rockville Techno database, such forms are the Project (since every project is related to a particular client, the Projects form should be opened from a chosen client), the Payment (unless performing a payment, and we want a particular payment to be related to the appropriate project, the Payment form should not be opened otherwise), and etc forms. To open such a form, you have two alternatives:
To open such a form in Form View (or in Datasheet View if that is the way the database developer wanted to display it), open its parent form, and click the appropriate button to open the desired form (all these dependent forms have their button on the parent form). To open the form in Design View, you don't have to have its parent form; you can:
|
![]() Practical Learning: Opening a Form in Design View
Practical Learning: Opening a Form in Design View
|
|
MOUS Topics |
| S22 | Switch between object views |
|
Exercises |
Yugo National Bank
|
|
|
||
| Previous | Copyright © 2002-2007 FunctionX, Inc. | Next |
|
|
||