
A Survey in Microsoft Access

|
A Survey in Microsoft Access |
Introduction
A survey is a technique of sampling data from a number of respondents. For example, a business can create a survey, submit it to customers for feedback and get indicative ideas of what the customers appreciate or dislike about the business. There are no set rules as to how a survey is used or even why a person or a company would initiate one. It depends on the intention and the intended result.
You can easily create a survey using Microsoft Access. As always, planning is crucial. In fact, probably the most difficult aspect of a survey is to know what to ask and what choices to present to the respondents. For our example, imagine you have a sample of people who use Microsoft Access and you want to investigate what their involvement with MS Access is.
Survey Planning
You can start by creating a list of questions to ask the respondents. For our example, imagine you come up with questions like these:
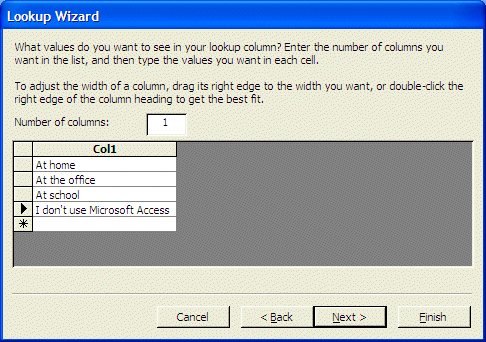
| Question 1: Where do you mostly use Microsoft Access? | |
| At home | |
| At the office | |
| At school | |
| I don't use Microsoft Access | |
| Question 2: What version of Microsoft Access are you currently mostly using? | |
| Access 2 or Prior to 97 | |
| Access 97 | |
| Access 2000 | |
| Access 2002 | |
| Access 2003 | |
| I don't mostly use Microsoft Access | |
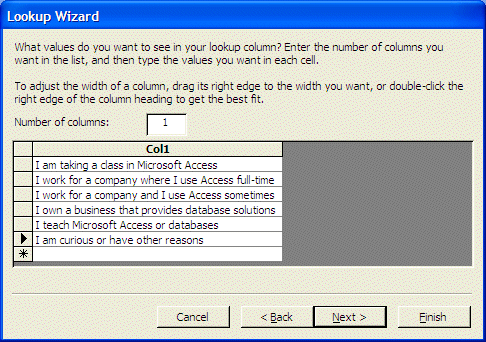
| Question 3: How do you currently relate to Microsoft Access? | |
| I am taking a class in Microsoft Access | |
| I work for a company where I use Access full-time | |
| I work for a company and I use Access sometimes | |
| I own a business that provides database solutions | |
| I teach Microsoft Access or databases | |
| I am curious or have other reasons | |
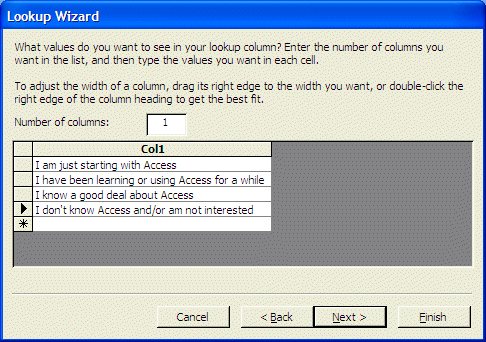
| Question 4: What is your level of knowledge of Microsoft Access? | |
| I am just starting with Access | |
| I have been learning or using Access for a while | |
| I know a good deal about Access | |
| I don't know Access and/or am not interested | |
| Question 5: If you combine Access with another product, please select it | |
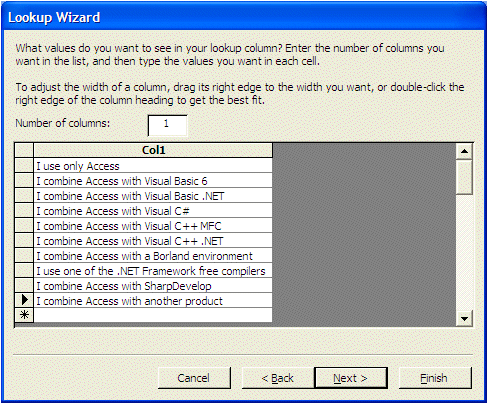
| I use only Access | |
| I combine Access with Visual Basic 6 | |
| I combine Access with Visual Basic .NET | |
| I combine Access with Visual C# | |
| I combine Access with Visual C++ MFC | |
| I combine Access with Visual C++ .NET | |
| I combine Access with a Borland environment | |
| I use one of the .NET Framework free compilers | |
| I combine Access with SharpDevelop | |
| I combine Access with another product | |
| Question 6: What are your plans with regards to Microsoft Access? | |
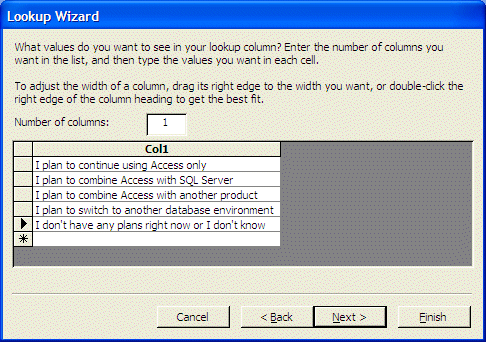
| I plan to continue using Access only | |
| I plan to combine Access with SQL Server | |
| I plan to combine Access with another product | |
| I plan to switch to another database environment | |
| I don't have any plans right now or I don't know | |
Survey Creation
After planning the survey, you can create it. You can start from a normal table in Design View. Although you can use a long name for any question, you should use short ones. The first question can be named Question1, the second question can be named Question2, and so on. To give an indication of what a question is, you can change its Caption in the Design View accordingly. If you are equipped with the paper you used to plan the survey, which you should be, you can omit the captions as they may appear too long.
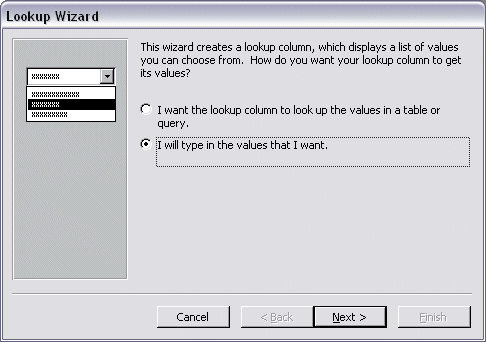
To provide the various answers for each question, once again you have many options. For an advanced survey, you can first create a table for each question, then link all question-tables to a central table. The easiest alternative is to use the Lookup Wizard and its second radio button to create the answers.
An alternative to creating the answers is still to use the Lookup Wizard but, because the Lookup Wizard has some limitation on the length of its strings, you can provide non-explicit answers such as Answer 1, Answer 2, etc, depending on the number of answers.
Practical Learning: Creating the Survey


Form Creation
After initiating the table, you would then create a form or a Data Access Page. This is where you would have to be creative. Because the form or the DAP is the object you would present to the users, it must be as explicit, indicative, and clear as possible.
Practical Learning: Creating the Form

 |
 |
 |
Chart Creation
One of the ways, or the main reason, people use a survey is to study data in it. One way to do this is to generate charts. In this exercise, we will not go through all the details of chart creation as covered in our Lesson 19. Just keep in mind that, once a survey has been completed or once you have some data already, you can isolate which ones to study, using charts.
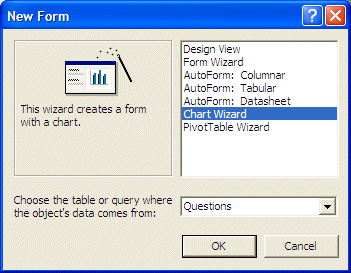
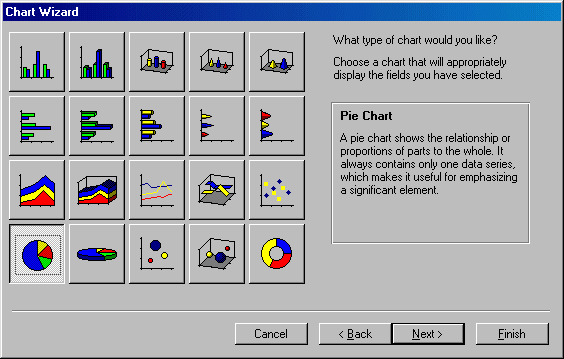
In this exercise, we will generate a pie chart that allows us to know what version is mostly used by our respondents.
Practical Learning: Creating a Chart

|
|
||
| Home | Copyright © 2004-2019, FunctionX | |
|
|
||