|
|
A client/server application is an application that uses a central place to
store its values (or records) but is (or can be) accessed from one or more
computers. It allows many people to use the same application. There are various
types of client/server applications, including flat-file applications,
databases, and web-based applications. |
Just like there are various types of applications,
there are also different techniques or means of creating them. For this
example, we will use Microsoft Visual Studio 2010 to create a file-based
applications (you could also use Microsoft Visual C# 2010 Express, which
is freely downloadable from the Microsoft web site).
We will create a fictitious application used by a car
rental company. It will have a list of customers who rent cars, a list of
employees who can perform the transactions, and a list of cars to be
rented. The records will be kept in different files. Some time to time, a
customer will want to rent a car or a customer will bring back a car. This
will be done as order processing.
As mentioned already, the records will be kept in
files. All the files used in this application will be in a specific
folder. As the network administrator, you should create thi folder before
it can eb used. Because this is a networked folder, you should also share
it.
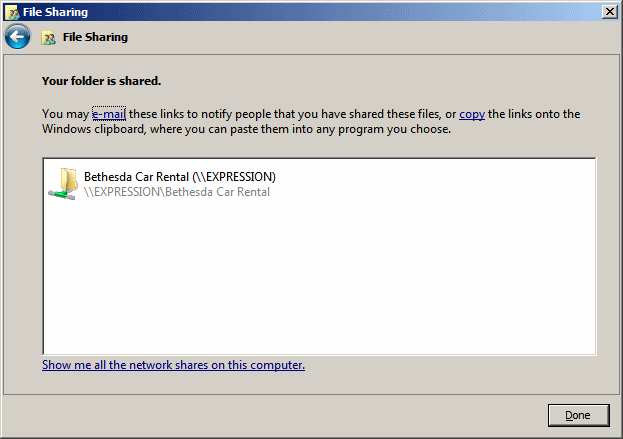
For this application, we will use a folder named
Bethesda Car Rental in the C: drive of a server named EXPRESSION. If you
want to use a different folder, in our code, change that name.
To share the folder used in this application, after
creating it, right-click it and click Share... In the combo box, select
Everyone and click Add. Click the arrow button of Reader and click
Contributor:

Click Share:

Click Done to close the dialog box.