Home

Creating a Client Server Application


ApplicationApplication: Creating the Executable

  1. To build the application, on the main menu, click Build -> Build Solution
  2. On the main menu, click File -> Close Project.
    Normally, at this time, you can locate the BethesdaCarRental1.exe file and distribute it. Otherwise, Microsoft Visual Studio allows you to create a setup program that other people can conveniently use
  3. To start a new project, on the main menu, click File -> New Project...
  4. In the left list, expand Other Project Types
  5. Expand Setup and Deployment
  6. Click Visual Studio Installer
  7. In the middle list, click Setup Project
  8. Change the Name to Bethesda Car Rental
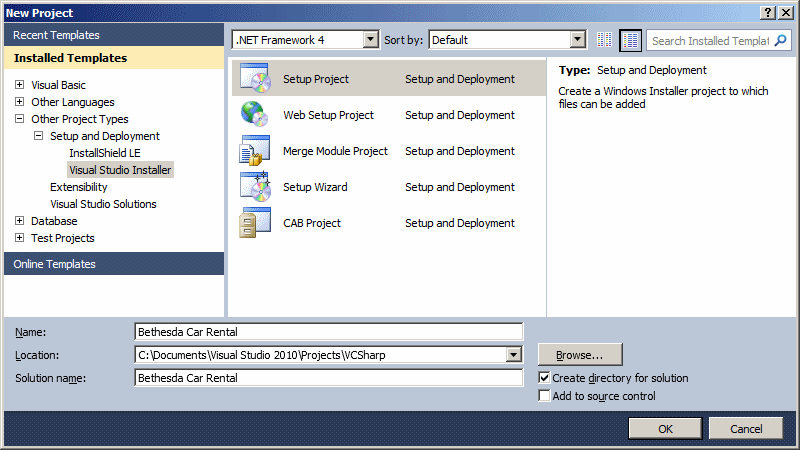
    New Project
  9. Click OK
  10. On the main menu, click Project -> Add -> File...
  11. Locate the file witl the .exe extension from the previous project. It should be named BethesdaCarRental1.exe et may be inside the BethesdaCar1\BethesdaCarRental1\bin\Debug sub-folder
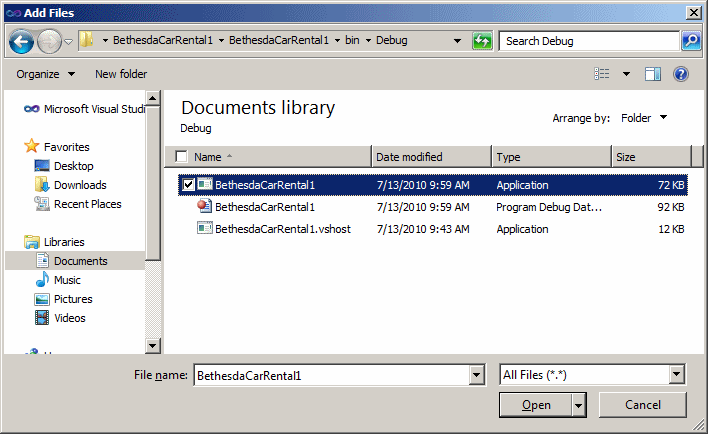
     
    Add Files
  12. Select the file and click Ope
  13. To create the setup program, on the main menu, click Build -> Build Bethesda Car Rental
  14. On the main menu, click File -> Close Project
  15. Open a file utility such as Windows Explorer
  16. Locate the BCR Setup folder of the previous project. Locate the BCR Setup sub-folder inside of it. You should see a Windows Installer file named BCR Setup and an application named setup
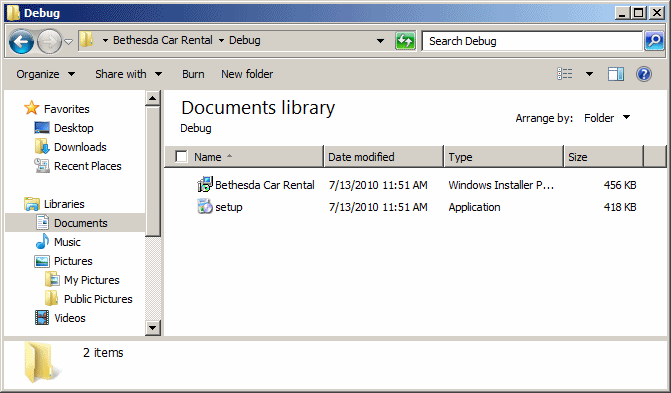
     
    Setup Files
     
    You should rename the setup application and give it a meaningful name. In this example, we rename it Bethesda Car Rental
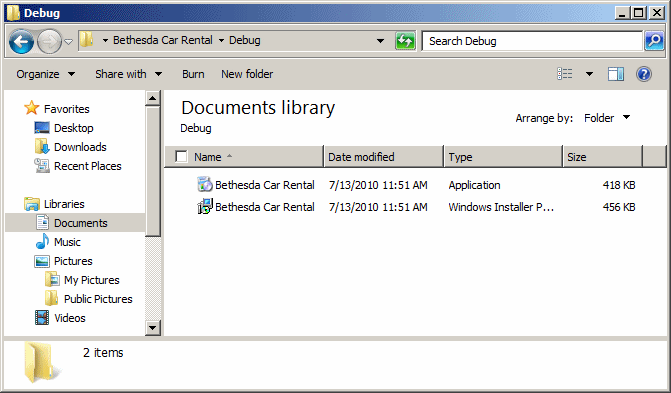
     
    Setup Files
  17. Copy both files to a USB drive. Take that drive to a computer that needs the application.
    If you have an intranet web site, install the files in a folder that can be accessed from the site
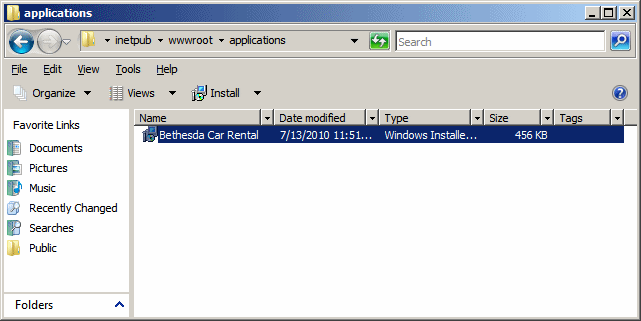
     
    Application
     
    Create a link to the file (here is an example: <a href="applications/Bethesda Car Rental.msi">Download Application</a>). When networked computers access the intranet site, the link should appear. They can click it. Instruct the users to click Run and continue with the wizard


ApplicationApplication: Testing the Application

  1. After installing the application on a computer, execute it
  2. In the Central form, click the Customers button
  3. Click the New Customer button continually and create a few customers as follows:
     
    Driver's Lic. # State Full Name Address City ZIP Code
    M-505-862-575 MD Lynda Melman 4277 Jamison Avenue Silver Spring 20904
    379-82-7397 DC John Villard 108 Hacken Rd NE Washington 20012
    J-938-928-274 MD Chris Young 8522 Aulage Street Rockville 20852
    497-22-0614 PA Pamela Ulmreck 12075 Famina Rd Blain 17006
    922-71-8395 VA Helene Kapsco 806 Hyena Drive Alexandria 22231
    C-374-830-422 MD Hermine Crasson 6255 Old Georgia Ave Silver Spring 20910
    836-55-2279 NY Alan Pastore 4228 Talion Street Amherst 14228
    397-59-7487 TN Phillis Buster 724 Cranston Circle Knoxville 37919
    115-80-2957 FL Elmus Krazucki 808 Rasters Ave Orlando 32810
    294-90-7744 VA Helena Weniack 10448 Great Pollard Hwy Arlington 22232
  4. Close the Customers form
  5. On the Central form, click the Employees button
  6. Create a few employees as follows:
     
    Employee # First Name Last Name Title Hourly Salary
    62-804 Henry Larson General Manager 32.25
    73-947 Helene Sandt Intern 12.85
    40-508 Melanie Karron Sales Representative 14.75
    22-580 Ernest Chisen Sales Manager 26.95
    20-308 Melissa Roberts Sales Representative 16.45
    Bethesda Car Rental: Employees
  7. Execute the application
  8. Click the Cars button and create the cars
     
    Bethesda Car Rental - Car Editor
  9. Close the Car Editor form
  10. Click the Rental Order button
  11. Create a rental order as follows:
     
    Bethesda Car Rental: Rental Order
  12. Click Save
  13. Click New Rental Order/Reset
  14. Create a new rental order as follows
     
  15. Close the form
  16. Click the Rental Orders button
  17. To open a previously created order, in the Receipt Number, type 100002
  18. Click Open
  19. Change the Mileage End value to 112 miles after the Mileage Start value
  20. Change the End Date to 5 days after
  21. Change the Order Status to Car Returned
  22. Click the Calculate button to get the final evaluation
     
    Bethesda Car Rental: Rental Order
  23. Click Save
  24. On the form, click Print
  25. On the Print dialog box, click Print
  26. To open another rental order, in the Receipt Number, type 100002 and click Open
  27. Update the values on the rental order
  28. Click Calculate
     
  29. Click Print and click Print
  30. Click Save
  31. Close the Order Processing form
  32. Close the Central form


Previous Copyright © 2010-2016, FunctionX Home