|
|
When it comes to databases in a network, you have many
choices. You can create a simple file (called flat file)
database. You can use an
XML-based application. You can use Microsoft
Access. You can also use any of the database environments on the market
(such as MySQL or Oracle). One more option
at your disposal is Microsoft SQL Server. It is important to know that each
environment has its advantages and disadvantages, its features and lack of
those. |
If you want to use Microsoft SQL Server in your
network, of course you must first acquire it. Once again you have many
options:
- If you are not on a budget, you can purchase Microsoft SQL Server
Enterprise edition or Microsoft SQL Server Standard
- If you are cheap or you want to minimize your expenses, you can
first install Microsoft Windows Server 2008 Standard Edition (or
Microsoft Windows Server Foundation, which is the easiest to acquire
in the industry because some companies would install it in the server
they are selling you). After installing the server, you can download a
free edition of Microsoft SQL Server Express
- For a small business, probably the best way to go is to acquire
Microsoft Small Business Server (SBS). It comes in two version.
Microsoft SBS Standard doesn't come with Microsoft SQL Server and it
has some limitations so that most small businesses would not need. A
better alternative is Microsoft SBS Premium, which comes with both
Microsoft Exchange and Microsoft SQL Server (Standard, which should be
enough for a small business). When you install Microsoft SBS Premium,
it doesn't install Microsoft SQL Server. This means that you would
have to install it separately
- The other two options are Microsoft SQL Server Workgroup or
Microsoft SQL Server Developper edition (there is also Microsoft SQL
Server Web)
After acquiring Microsoft SQL Server, you must install
it, on the server of course. It has some prerequisites that you will be
prompted to have on the server. Also, you must use an account that has
administrative rights on the server. Once you are ready,
install Microsoft SQL Server.
|
Preparing the Server for Remote Connectivity
|
|
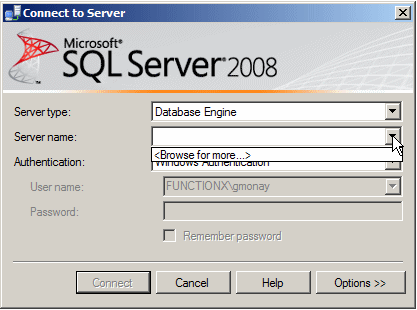
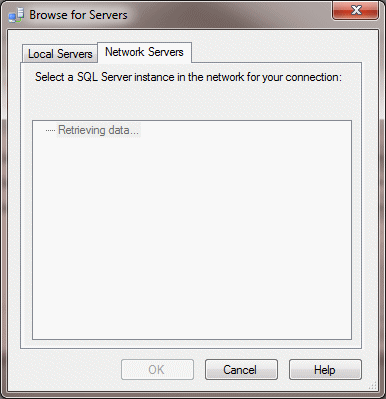
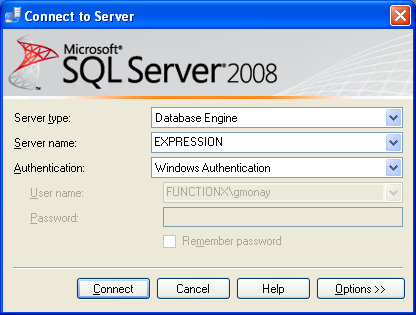
Before being able to connect client workstations to a
database, you must prepare the
server. Once the server can receive external connections, you can either
connect to it when you launch SQL Server Management Studio or change the
connection after starting Microsoft SQL Server.
In most cases, the default installation of Microsoft SQL
Server doesn't allow clients to connect to it. Sometimes, if you try
establishing a connection to the server, you may receive an error as "A
network-related or instance-specific error occurred while establishing a
connection to SQL Server.":

There are a few actions you must first perform, from the
operating system's firewall to Microsoft SQL Server's own configuration. One of the actions you should take care of for client
connectivity is to dig/create a hole in the firewall.
Besides taking care of the firewall, you should
configure TCP/IP connectivity and create an alias.
To do
this, on the server:
- Click Start -> Control Panel
- Double-click Windows Firewall
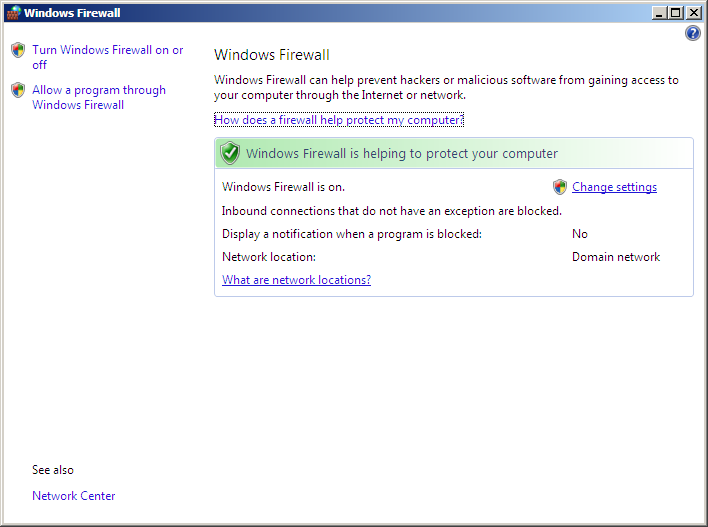
- Click Change Settings. If you receive a warning message,
click Continue
- In the Windows Firewall Settings, click Exceptions

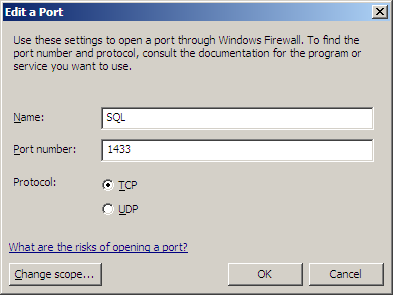
- Click Add Port...
- Set the Name to SQL
- In the Port Number text box, type 1433 and
make sure the TCP radio button is selected:
- Click OK
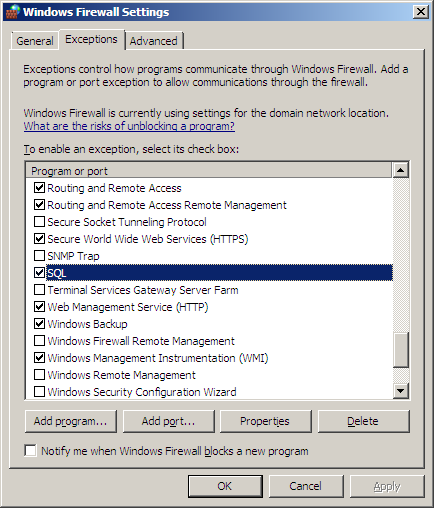
- Click OK
- Close Windows Firewall
- Close Control Panel
- Click Start -> (All) Programs -> Microsoft SQL Server ->
Configuration Tools -> SQL Server Configuration Manager. If you receive
a warning message, click Continue
- In the left frame, expand SQL Server Configuration Manager
(Local) (it should be expanded already).
Click SQL Server Services
- In the right frame, right-click SQL Server (MSSQLSERVER) and
click Stop.
If the SQL Server Browser is started, to stop it, right-click SQL Server Browser and click Stop

- In the left frame, expand SQL Server Network Configuration
- Click Protocols for MSSQLSERVER
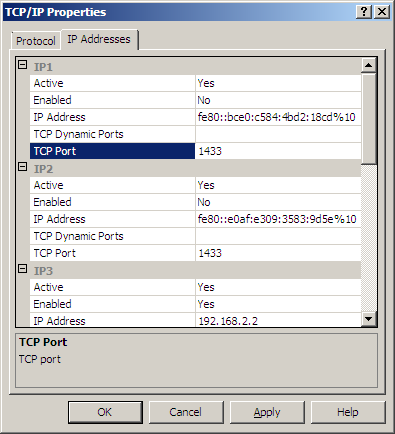
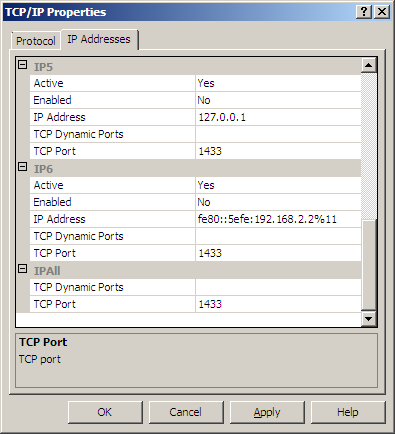
- In the right frame, right-click TCP/IP and click Properties
- Click IP Addresses
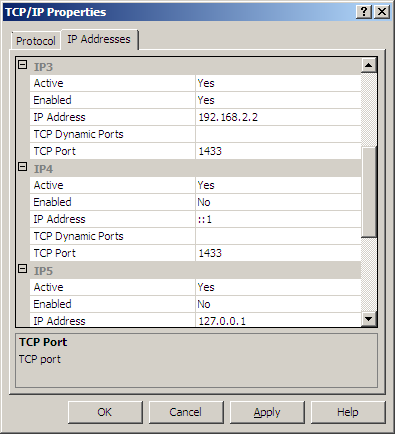
- In the IP1 section, if the value of TCP Port is not 1433, click TCP
Port, press Tab, and type
1433.
Put the same value for the TCP Ports in the other sections
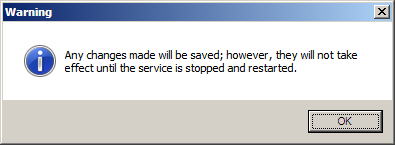
- Click OK. You may receive a message box:
Click the Protocol tab. If TCP/IP is not enabled, right-click TCP/IP,
click
Enable, and click OK
- In the left frame, expand SQL Native Client 10.0
Configuration
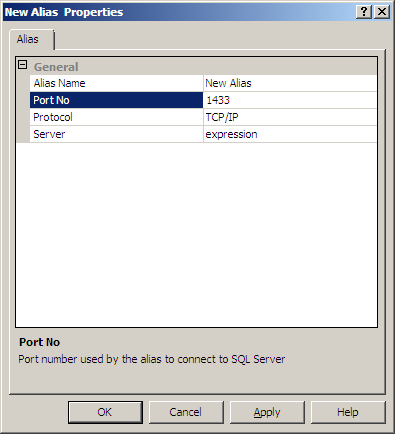
- Right-click Alias and click New Alias...
- Accept the name of New Alias.
Set the Port No to
1433 and accept the Protocol as TCP/IP
- Type the name of the computer in the Server text box (case
insensitive)
- Click OK
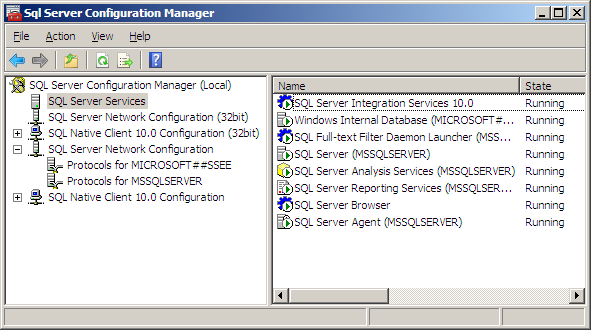
- In the left frame, click SQL Server Services
- In the right frame, right-click SQL Server (MSSQLSERVER)

- Click Start
- Right-click SQL Server Browser and click Start
- Also start SQL Server Agent
- Close SQL Server Configuration Manager
- Start Microsoft SQL Server and connect
- In the Object Explorer, right-click the name of the computer
and click Properties
- In the left frame, click Connections.
In the right
section, make sure Allow Remote Connections To This Server is checked.
If it is not, check it

- Click OK
|
Microsoft SQL Server Logins
|
|
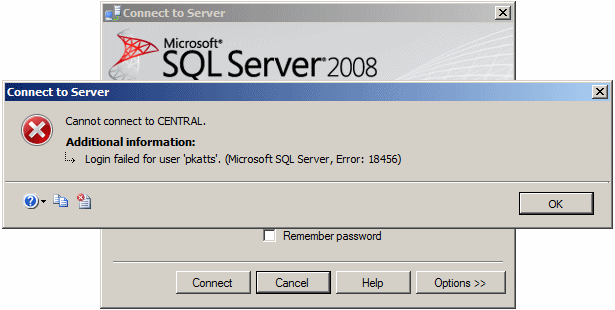
In order to connect to a database, a user must be authenticated. The authentication is done
using a username and a password. In the absence of this, a user would
receive an error:
The user can also take advantage of the group he or she
belongs to. For this reason, the ability to be authenticated in order to
access the database or resource is called a login.
Before creating a login, the person for whom you want to
create the account must have a user account on the domain (the server). In other words, the
user must have an account that allows him
or her to establish a connection to the
network.
To visually create a login in Microsoft SQL Server, in
the Object Explorer, expand the Security node. Right-click Login and click
New Login...
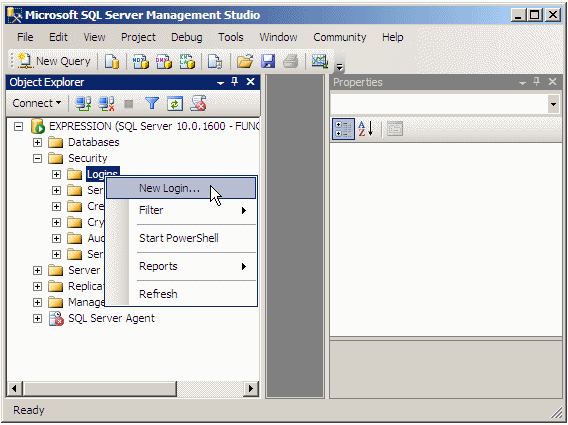
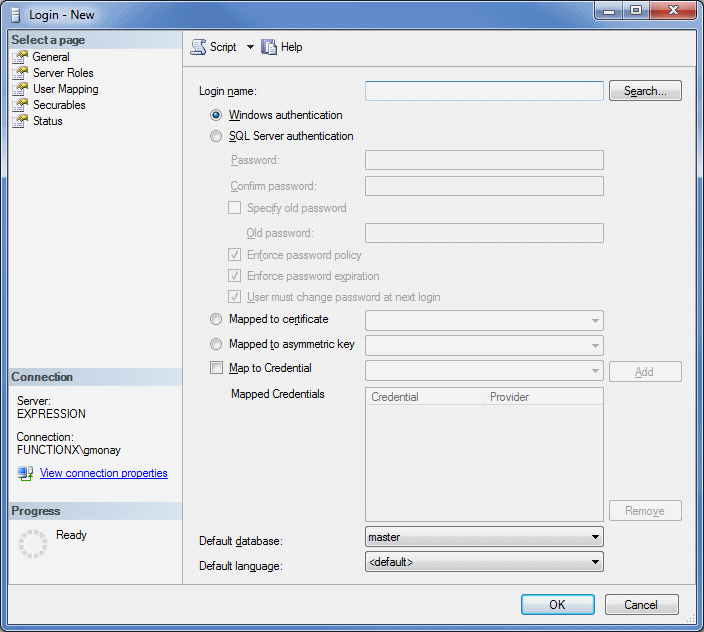
This would display the Login - New dialog box:
|
The Type of Authentication
|
|
To connect to a Microsoft SQL Server database,
the user must have a user name and a password. If you are visually creating a login and if you want the
Microsoft Windows operating system to take care of logging, in which case
the user will be able to connect to Microsoft SQL Server without providing a
user name and a password, click the Windows Authentication radio button (it
is the default and should be selected already).
Here is an example:

Of course, the user's account must have been created
already on the server (domain).
The user must also provide a password, which must
be associated with the login. If you are visually creating the login, to
provide a password, first click the SQL Server Authentication radio button.
Then click the Password text box and type the desired password. Click the
Confirm Password text box and type the same password.
|
Installing the Client Tools of Microsoft SQL
Server
|
|
Microsoft SQL Server make it possible to manage the server
from a client workstation; that is, from almost any computer that can
access the server. To use and manage the server from a workstation, you must install the client tools
on the workstation you intend to use.
To install the client tools of Microsoft SQL Server,
you use the same DVD of the server installation but make different
choices. Because you need a professional operating system, the computer
must run Microsoft Windows XP Professional, Microsoft Windows Vista higher
than Home
Premium, or Microsoft Windows 7 higher than Home Premium. This means that Home Based
and Home Premium operating systems must not be used in this scenario (of
course you can install Microsoft SQL Server on Microsoft Windows Vista or
7 Home Premium, but those operating systems cannot access a Microsoft
Windows Server 2008 computer, so there is no need to consider them in this
case).
|
 Practical
Learning: Installing Client Tools Practical
Learning: Installing Client Tools
|
|
- Start the client computer (Microsoft Windows XP Professional or
Vista-7 > Home Premium)
- Log in with an account that can connect to the server (this means
that you must provide a username, a password, and select the domain)
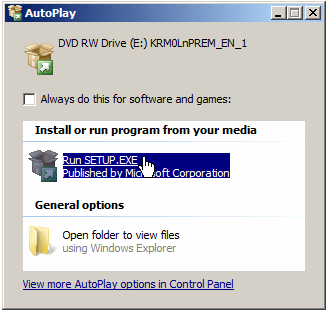
- Put the Microsoft SQL Server DVD in the drive and close it
- Click Run SETUP.EXE to start the installation
- If you are asked to install the .NET Framework and/or a hotfix, do
it.
In the left section, click Installation
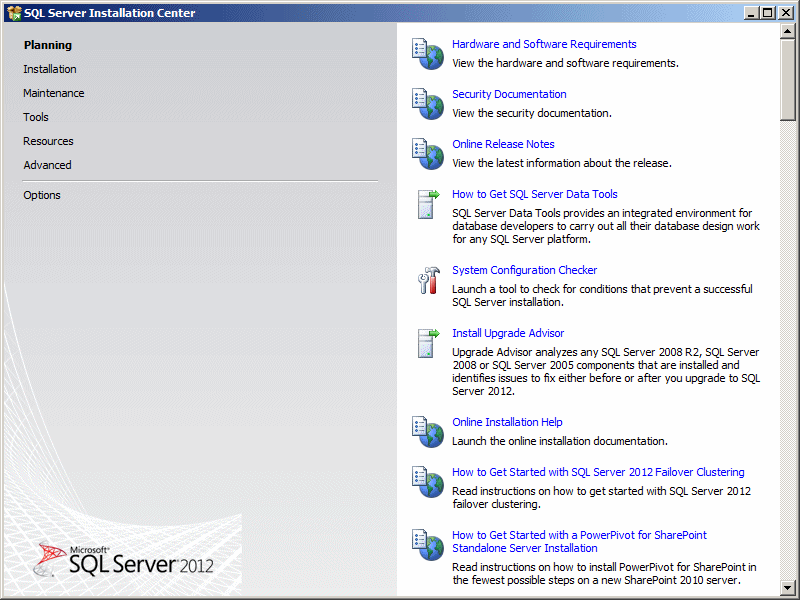
- Click New SQL Server Stand-Alone...
The installation would
start

- You may be asked to restart the computer, or if you receive an
error that the computer did not restart, then restart it. Then restart
the installtion

Click OK
- On the next page, a message may ask you to install support files.
Click Install
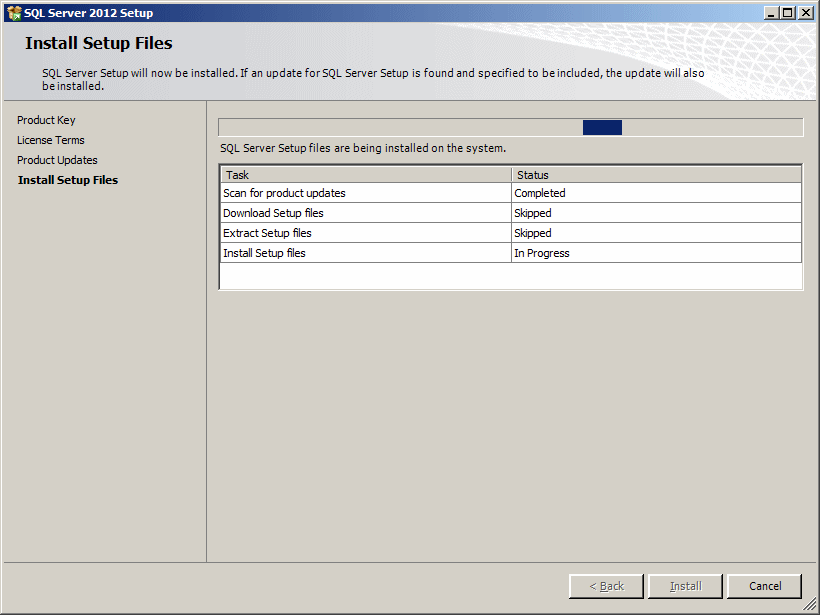
- Click Next
- The next page should show you a summary and may show a warning about the
firewall:
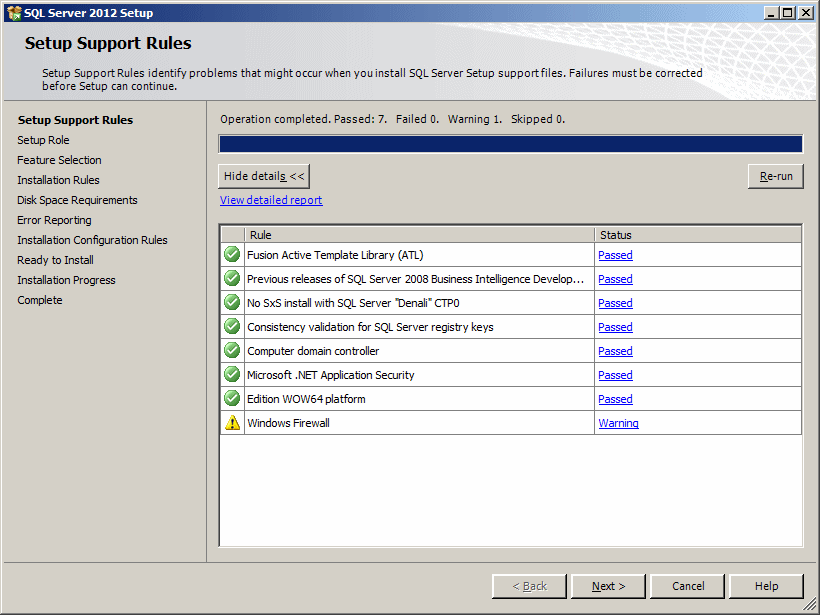
Ignore the warning and click Next - Click Next
- If asked for the product key, type it and click Next
- Click the check box to accept the license agreement and click Next
- To install the client tools, click the check boxes of Client Tools
Connectivity, Client Tools SDK, and Management Tools - Basic

- After making your selections, click Next
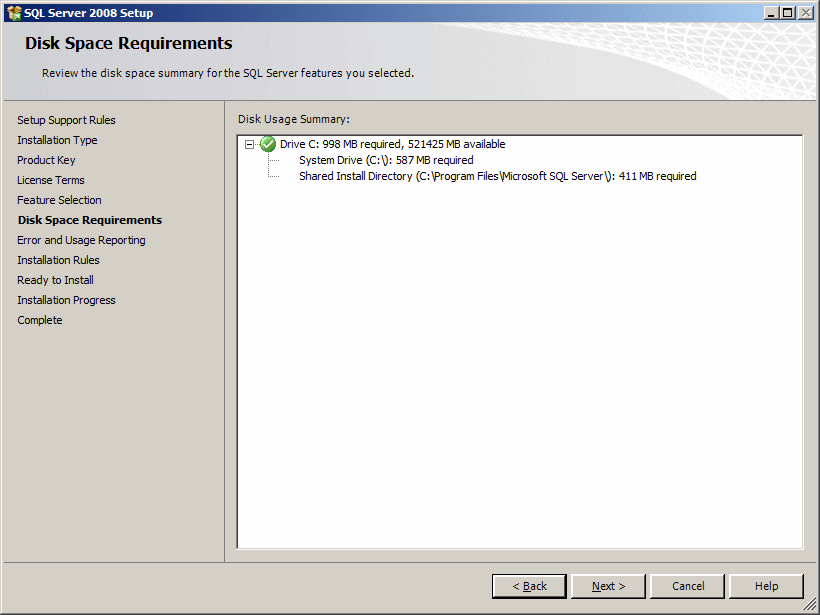
- Click Next
- Click Next
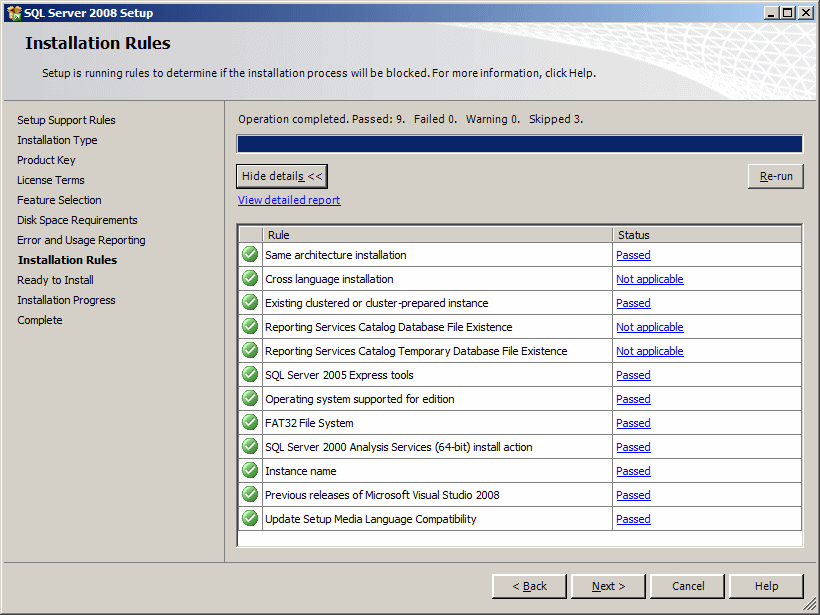
- Click Next
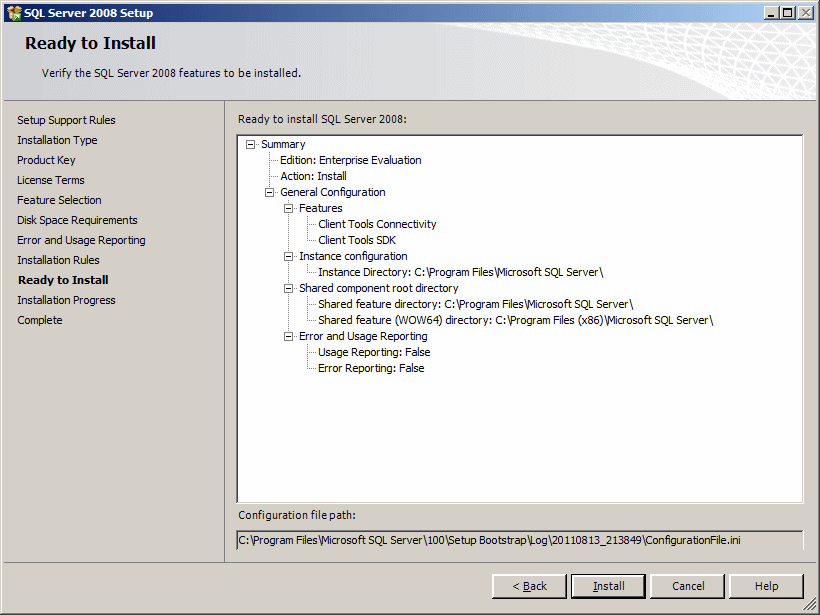
- Click Install
- Click Next.
After a while, a message box will come up

- Click Next
- You should receive a message box announcing that the installation
was successful:
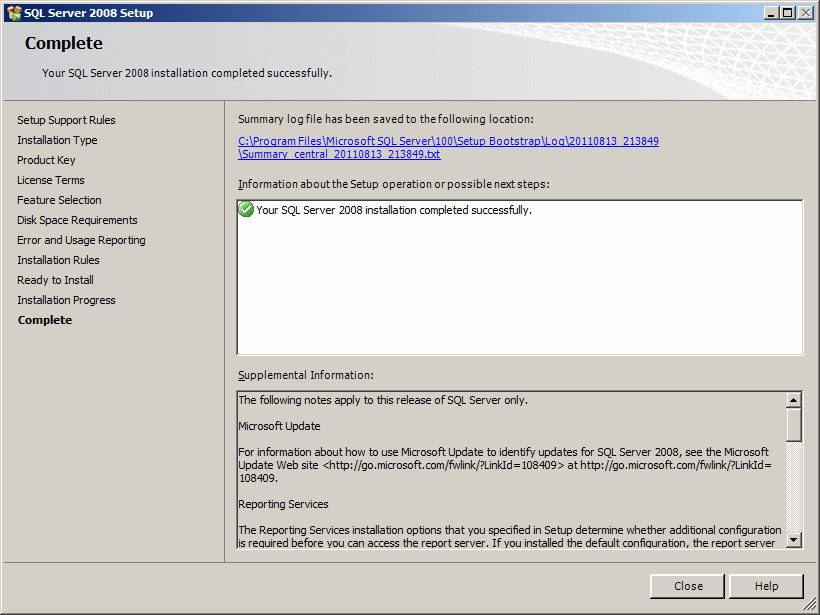
Click Close


