 |
Introduction to Controls |
|
Controls Fundamentals |
|
Introduction |
|
By itself, a form means nothing. Its role is revealed in the objects it holds. You can add such objects to a form or the body of a spreadsheet. |
|
|
- Start Microsoft Excel
- On the Ribbon, click Developer
- In the Code section, click Visual Basic
|
The Spreadsheet |
When working in Microsoft Excel, you can use Windows controls either on the work area or in a form in Microsoft Visual Basic. Therefore, just like a form, a spreadsheet also is a container of controls.
|
Introduction to Windows Controls |
The main objects used to help a person interact with the computer are Windows controls. There are two main ways you can access these objects when working with Microsoft Excel.
If you are working in Microsoft Excel, you can add or position some Windows controls on the document. To do that, on the Ribbon, click Developer. In the Control section, click Insert:
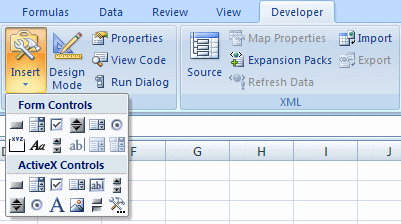
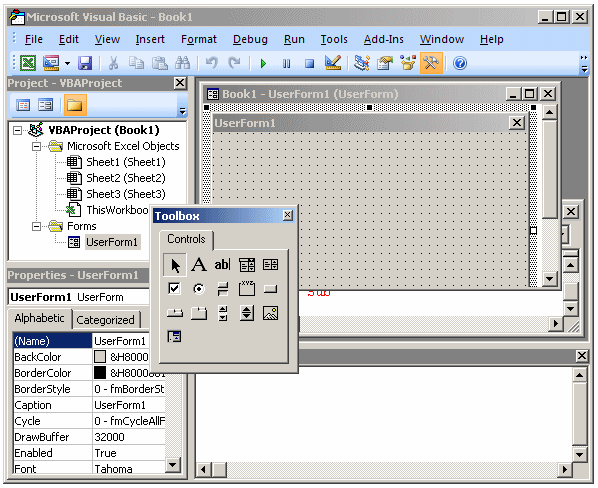
This would display the list of controls available in Microsoft Excel. The controls appear in two sections: Form Controls and ActiveX Controls. If you are working on a spreadsheet in Microsoft Excel, you should use only the controls in the ActiveX Controls section. If you are working on a form in Microsoft Visual Basic, a Toolbox equipped with various controls will appear.
|
|
- To create a form, on the main menu, click Insert -> UserForm
- To access its associated module, right-click the form and click View Code
- To return to the form, on the main menu, click Window and click the menu item that has (UserForm).
- In Microsoft Visual Basic, notice that a Toolbox appears next to the form
- To return to Microsoft Excel, on the Taskbar, click Microsoft Excel
- To display the controls, in the Controls section of the Ribbon, click Insert
|
Using Additional Objects |
The Developer tab of the Ribbon in Microsoft Excel provides the most regularly used controls. These controls are enough for any normal spreadsheet you are developing. Besides these objects, other controls are left out but are still available. To use one or more of these left out controls, in the Controls section of the Ribbon, click Insert and click the More Controls button:
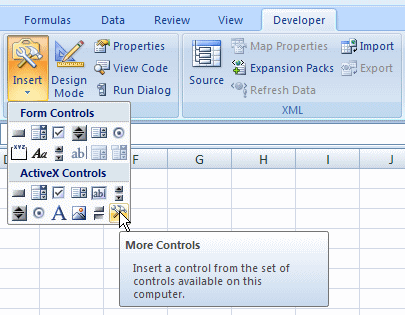
This would open the More Controls dialog box:

You can scroll up and down in the window to locate the desired control. If you see a control you want to use, click it and click OK.
In Microsoft Visual Basic, to access more controls, on the main menu, you can click Tools -> Additional Controls... This would open the Additional Controls dialog box:
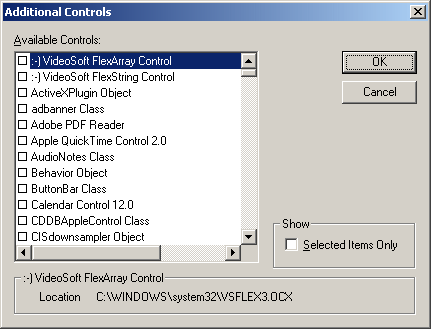
To select a control, you can click its check box. After selecting the controls, click OK.
|
The Names of Controls |
Every control in the Developer tab of the Ribbon or in the Toolbox of Microsoft Visual Basic has a specific name. You may be familiar with some of these controls. If you are not sure, you can position the mouse on a control and a tool tip would come up. In our lessons, we will use the tool tip of a control to name it. The names we will use are:
| ActiveX Controls | Name | Forms Controls | Name |
| Command Button | Label | ||
| Combo Box | Toggle Button | ||
| Check Box | |||
| List Box | TabStrip | ||
| Text Box | MultiPage | ||
| Scroll Bar | ScrollBar | ||
| Spin Button | Text Box | ||
| Option Button | Image | ||
| Label | RefEdit | ||
| Image | Frame | ||
| Toggle Button |
|
Adding a Control to a Container |
|
Adding One Control |
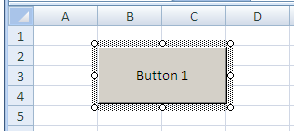
To use one of the controls from the Ribbon or the Toolbox, you can click it. If you then simply click its container, the control would be added where you clicked and with some default dimensions.
In Microsoft Excel, if you click the button control in the Form Controls section and click the work area, just after the control has been added the Assign Macro dialog box would come up:
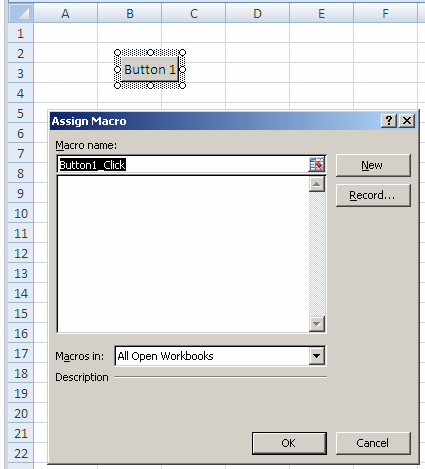
In our lessons, when working in Microsoft Excel, we will avoid using the objects in the Form Controls section.
If you want, instead of clicking and releasing the mouse, you can click and drag. This allows you to "draw" the control and give the dimensions of your choice. If the control has already been added but you want it to assume different dimensions, you can click it to select it and then drag one of its border handles.
To programmatically add a control to a spreadsheet, use the following formula:
Private Sub Exercise()
    Worksheets(1).OLEObjects.Add "Forms.ControlName.1"
End Sub
The only thing you need to know and change about this formula is the ControlName factor. We will learn about Worksheets(1) in Lesson 12. Use the following names:
| Use this Name | To Get a | Use this Name | To Get | |
| CheckBox | Check Box | ComboBox | Combo Box | |
| CommandButton | Command Button | Label | Label | |
| ListBox | List Box | Image | Image | |
| OptionButton | Option Button | ScrollBar | Scroll Bar | |
| SpinButton | Spin Button | TextBox | Text Box | |
| ToggleButton | Toggle Button |
Here is an example that creates and positions a text box on a spreadsheet:
Private Sub Exercise()
    Worksheets(1).OLEObjects.Add "Forms.TextBox.1"
End Sub
|
Adding Many Controls |
The above technique is used to add one control at a time. If you want to add the same control again, you must click it on the Ribbon or in the Toolbox and click its container again. If you plan to add the same control many times, in the Toolbox of Microsoft Visual Basic, double-click the control and click the form as many times as necessary. When you have reached the desired number of copies of that control, to dismiss it, in the Toolbox, click the same control again, click another control, or click the Select Objects button.
|
|
- To add a control to the document, Under ActiveX Controls, click the
Command Button
button
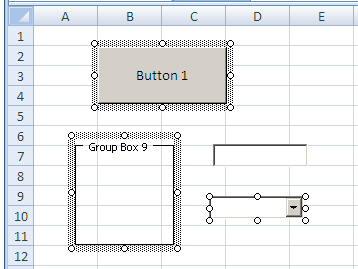
 and click a box (any box in the work area)
 - To add another control, in the Controls section of the Ribbon, click the
arrow under Insert and click the Combo Box button
 and
click somewhere in the work area away from the previously added button
 - On the Taskbar, click Microsoft Visual Basic to return to it
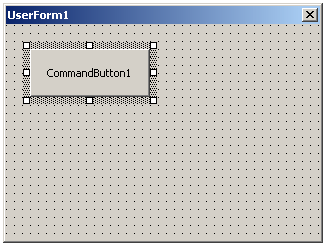
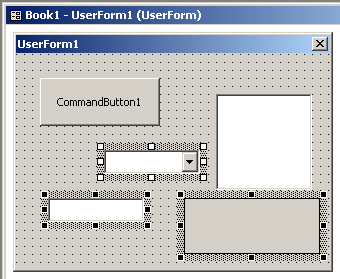
- On the Toolbox, click the CommandButton and click somewhere in the top-left section of the form (no need for precision at this time)
- On the Toolbox, click the ComboBox and click somewhere in the middle-center section of the form (no need for precision at this time)
- On the Toolbox, click the CheckBox and click somewhere in the lower-right section of the form (no need for precision at this time)
- To return to Microsoft Excel, click the View Microsoft Excel button

