|
Workbooks |
|
Workbooks Fundamentals |
|
Introduction |
|
When you start Microsoft Excel, it immediately creates a new workbook. You can start working on it and, eventually, you can save it. You are then said to save the workbook. On the other hand, if you have an existing workbook somewhere in the computer or from an attached document sent from a message to you, you can open it as a document. |
|
|
- Start Microsoft Excel
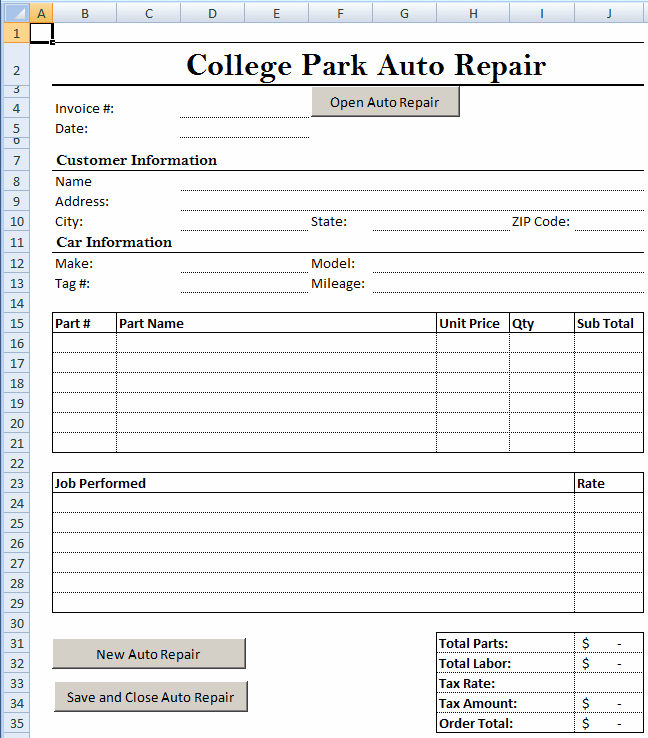
- From the resources that accompany these lessons, open the CPAR1 workbook
- To save it, press F12
- In the Save As Type combo box, select Excel Macro-Enabled Workbook (*.xlsm)
- Accept the name of the file and click Save
- On the ribbon, click Developer
- In the Controls section, click Insert
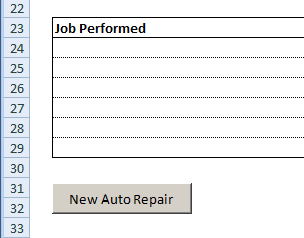
- In the ActiveX Controls section, click Command Button (ActiveX Control)
- Click the empty area in the lower-left section of the worksheet
- Right-click the newly added button and click Properties
- Change its properties as follows:
(Name): cmdNewAutoRepair
Caption: New Auto Repair - Move and enlarge the button

- Right-click the button and click View Code
- Write the code as follows:
Option Explicit Private AutoRepairExists As Boolean Private Sub cmdNewAutoRepair_Click() AutoRepairExists = False End Sub - Return to Microsoft Excel
|
Referring to a Workbook |
In the VBA language, a workbook is an object that belongs to a collection called Workbooks. Each workbook of the Workbooks collection is an object of type Workbook, which is a class.
As seen in the previous lesson with regards to collections, each workbook of the Workbooks collection can be identified using the Item property. To programmatically refer to a workbook, access the Item property and pass either the index or the file name of the workbook to it.
After referring to a workbook, if you want to perform an action on it, you must get a reference to it. To do this, declare a Workbook variable and assign the calling Item() to it. This would be done as follows:
Private Sub cmdSelectWorkbook_Click()
    Dim SchoolRecords As Workbook

    Set SchoolRecords = Workbooks.Item(2)
End Sub
|
Creating a Workbook |
When it starts, Microsoft Excel creates a default blank workbook for you. Instead of using an existing workbook or while you are working on another workbook, at any time, you can create a new workbook.
As mentioned already, a workbook is an object of type Workbook and it is part of the Workbooks collection. To support the ability to create a new workbook, the Workbooks collection is equipped with a method named Add. Its syntax is:
Workbooks.Add(Template) As Workbook
You start with the Workbooks class, a period, and the Add method. This method takes only one argument but the argument is optional. This means that you can call the method without an argument and without parentheses. Here is an example:
Private Sub cmdNewWorkbook_Click()
    Workbooks.Add
End Sub
When the method is called like this, a new workbook would be created and presented to you. After creating a workbook, you may want to change some of its characteristics. To prepare for this, notice that the Add() method returns a Workbook object. Therefore, when creating a workbook, get a reference to it. To do this, assign the called method to a Workbook variable. Here is an example:
Private Sub cmdNewWorkbook_Click()
    Dim SchoolRecords As Workbook

    Set SchoolRecords = Workbooks.Add
End Sub
After doing this, you can then use the new variable to change the properties of the workbook.
|
Saving or Opening a Workbook |
|
Introduction |
After working on a new workbook, you can save it. After programmatically creating a workbook, if you want to keep it when the user closes Microsoft Excel or when the computer shuts down, you must save it. You and the user have the option of using the Save As dialog box.
|
The Default File Location |
When the user starts saving a file, the Save As dialog box displays, showing the contents of the (My) Documents folder. To find out what the default folder is, you can click the Office button and click Excel Options. In the Excel Options dialog box, check the content of the Default File Location text box:

To support the ability to programmatically change the default folder, the Application class is equipped with a property named DefaultFilePath. Therefore, to programmatically specify the default folder, assign its string to the Application.DefaultFilePath property. Here is an example:
Private Sub Exercise()
    Application.DefaultFilePath = "C:\Georgetown Dry Cleaning Services"
End Sub
When this code has executed, the Default File Location of the Excel Options dialog box would be changed.
|
Saving a Workbook |
To visually save a workbook, you can click the Office Button and click Save. You can also press Ctrl + S. If the document was saved already, it would be saved behind the scenes without your doing anything else.
To support the ability to programmatically save a workbook, the Workbook class is equipped with a method named Save. Its syntax is:
Workbook.Save()
As you can see, this method takes no argument. If you click the Office Button and click Save or if you call the Workbook.Save() method on a work that was not saved yet, you would be prompted to provide a name to the workbook.
To save a workbook to a different location, you can click the Office Button, position the mouse on Save As and select from the presented options. You can also press F12. To assist you with programmatically saving a workbook, the Workbook class is equipped with a method named SaveAs. Its syntax is:
Workbook.SaveAs(FileName,
		FileFormat,
		Password,
		WriteResPassword,
		ReadOnlyRecommended,
		CreateBackup,
		AccessMode,
		ConflictResolution,
		AddToMru,
		TextCodepage,
		TextVisualLayout,
		Local)
The first argument is the only required one. It holds the name or path to the file. Therefore, you can provide only a name of the file with extension when you call it. Here is an example:
Private Sub cmdNewWorkbook_Click()
    Dim SchoolRecords As Workbook

    Set SchoolRecords = Workbooks.Add

    SchoolRecords.SaveAs "SchoolRecords.xlsx"
End Sub
If you provide only the name of a file when calling this method, the new workbook would be saved in the current directory or in My Documents (Documents in Windows Vista). If you want, an alternative is to provide a complete path to the file.
|
|
- In the Controls section of the Ribbon, click Insert
- In the ActiveX Controls section, click Command Button
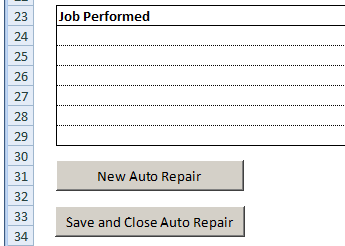
- On the worksheet, click under the previously added button
- Using the Properties window, change the characteristics of the button as
follows:
(Name): cmdSaveAutoRepair
Caption: Save and Close Auto Repair - Move and enlarge the button appropriately:

- Right-click the button and click View Code
- Write its code as follows:
Private Sub cmdSaveAutoRepair_Click() ActiveWorkbook.Save End Sub - Return to Microsoft Excel
|
Saving a Workbook for the Web |
To save a workbook for the web, pass the first and the second argument of the Workbook.SaveAs() method:
Workbook.SaveAs(FileName, FileFormat)
In this case, pass the second argument as xlHTML. Here is an example:
Sub Exercise()
    Workbooks(1).SaveAs "Affiche10.htm", xlHtml
End Sub

